In this installment of Know A Knot we’re going to talk about a knot that kicked my butt for a long time. It’s a middle-of-the-line loop called the directional figure eight.
The directional eight puts a very strong loop in the middle of a line. This loop can be used to attach carabiners, other ropes, or as hand-holds. It can only take strain in one direction, so there are two directional figure eights, each tied in a separate direction. Fortunately, they are tied exactly the same way. Let’s look at the steps to tying it.
I had my girlfriend take the pictures below. If they don’t work for you – since you’ll be doing an mirror image – I won’t be mad if you head over to animatedknots.com to learn this one.
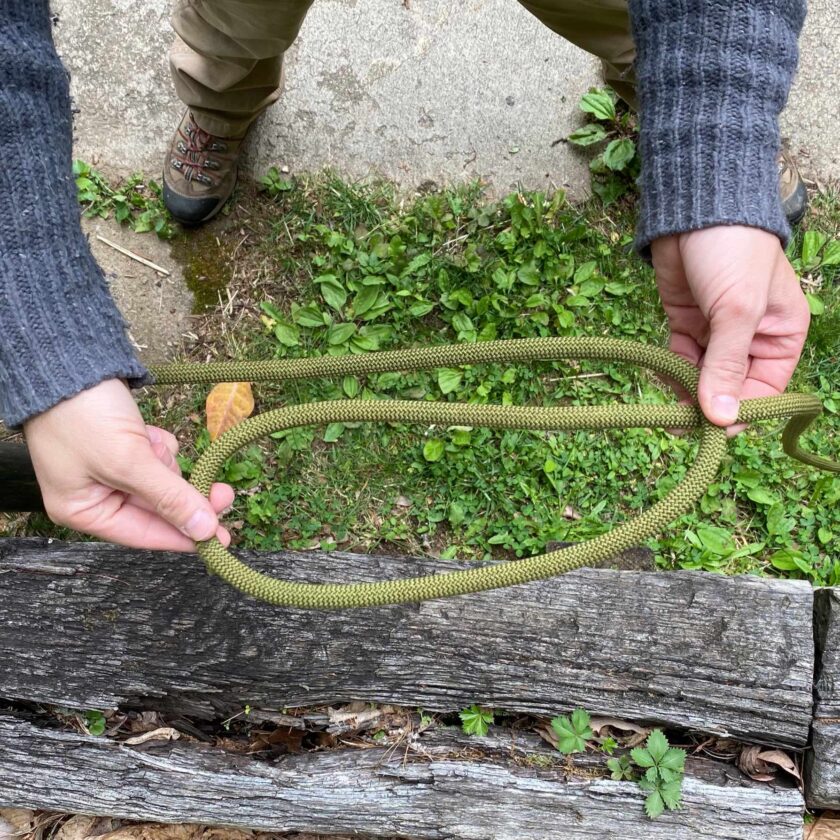
Directional Figure Eight: Step One
One end of your rope should be secured to a stationary object. Begin with grasping the line as shown below. I am going to introduce a loop in to the line by “turning it” like I would turn a key.
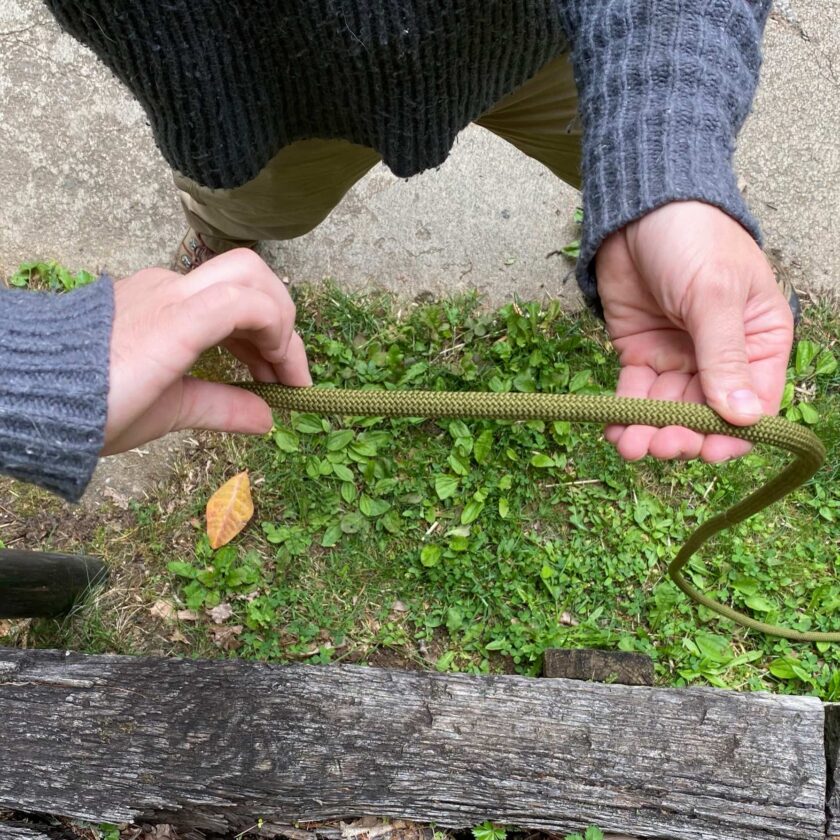
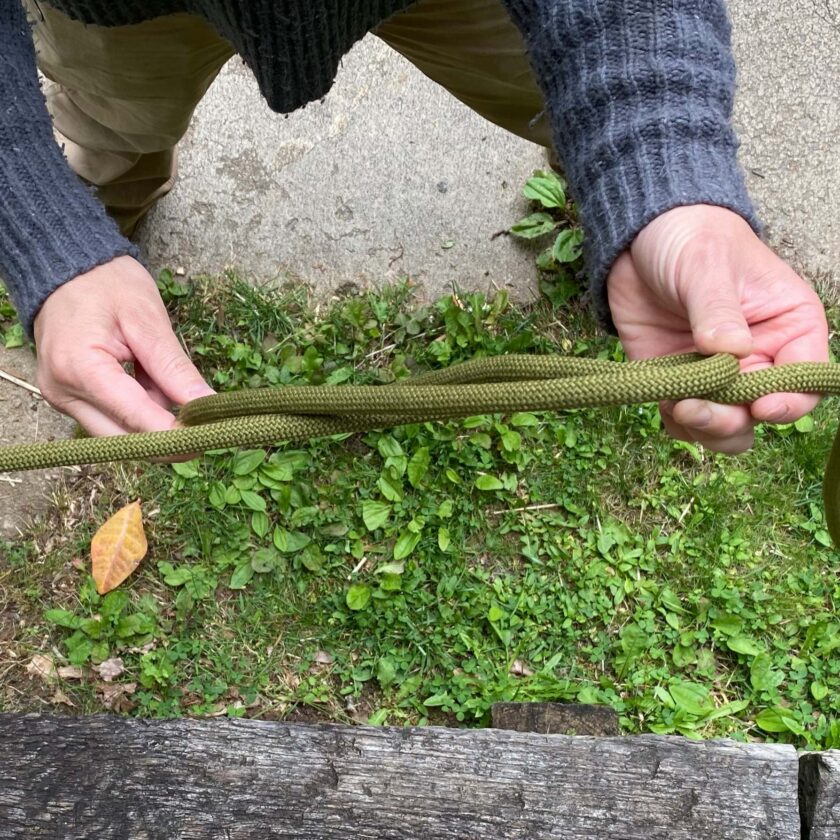
Directional Figure Eight: Step Two
“Turn” the line like you are turning a key. This will create a loop in the line as show below.
After you have turned the line to form the loop, give yourself a bit of slack from the standing end of the line. The end result should look something like:
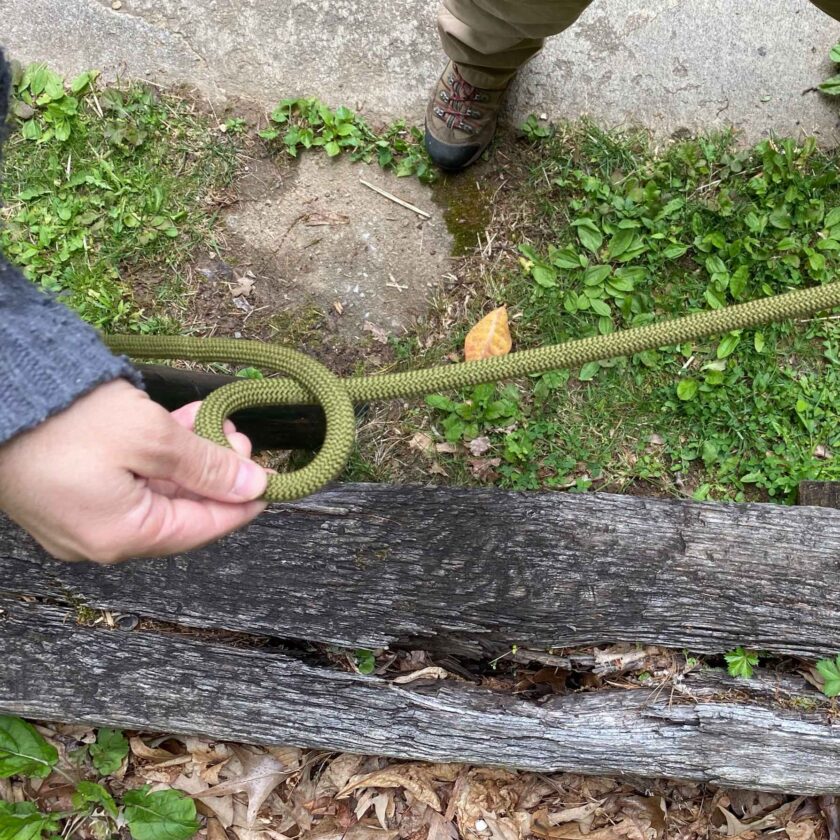
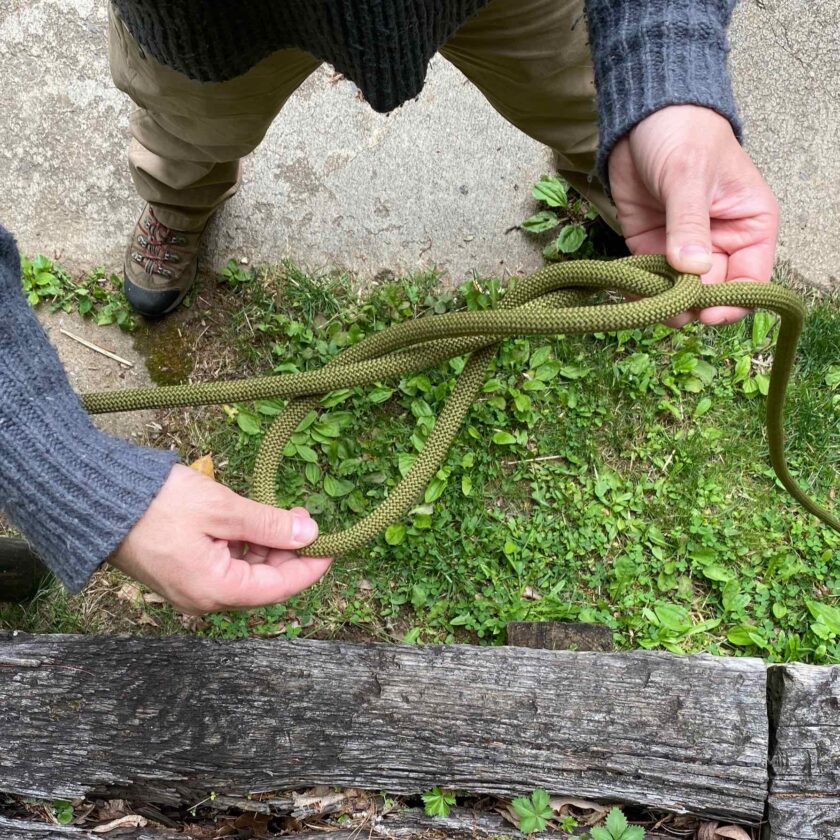
Directional Figure Eight: Step Three
Very important: do not release the loop at this point. Simply raise it slightly above the taut working end of the line and drop it down beside the line. Seriously, this is almost a secret to success with the directional figure eight – drop this loop beside the line rather than going out wide and turning the line somehow.
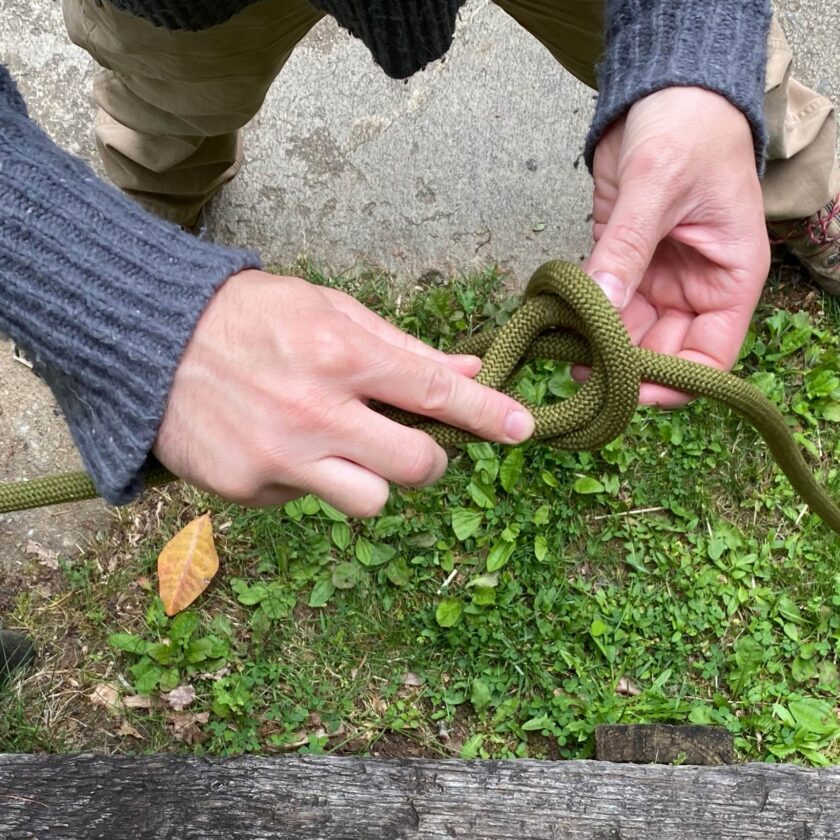
Directional Figure Eight: Step Four
Next, turn this loop under the working end of the line. Do so by releasing your grasp on the loop, go over the working end of the line, grasp the loop again, and bring it back around. As shown below.
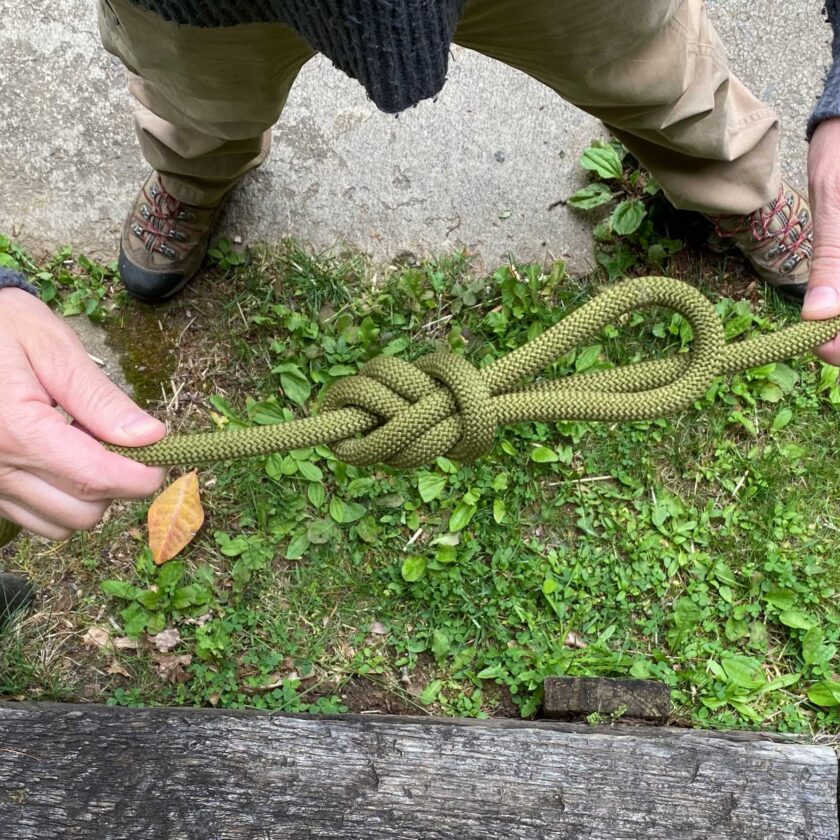
Directional Figure Eight: Step Five
At this point you have created a loop at the standing end of the line. Pull the loop you’ve been working with through this loop as shown below.
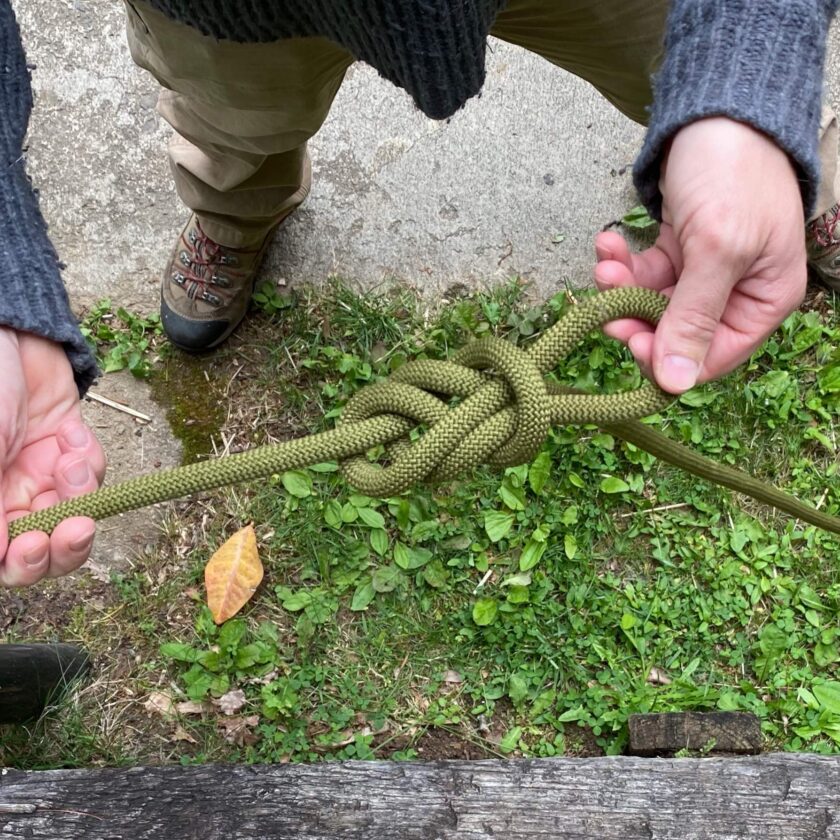
Directional Figure Eight: Step Six
Clean it up. The knot should end up looking like this.
To tie one going in the other direction, simply move yourself to the other side of the line and do the exact same thing. That’s it!
Stay tuned – I still have plenty of “know a knot” material. I’ll be back soon with another installment.