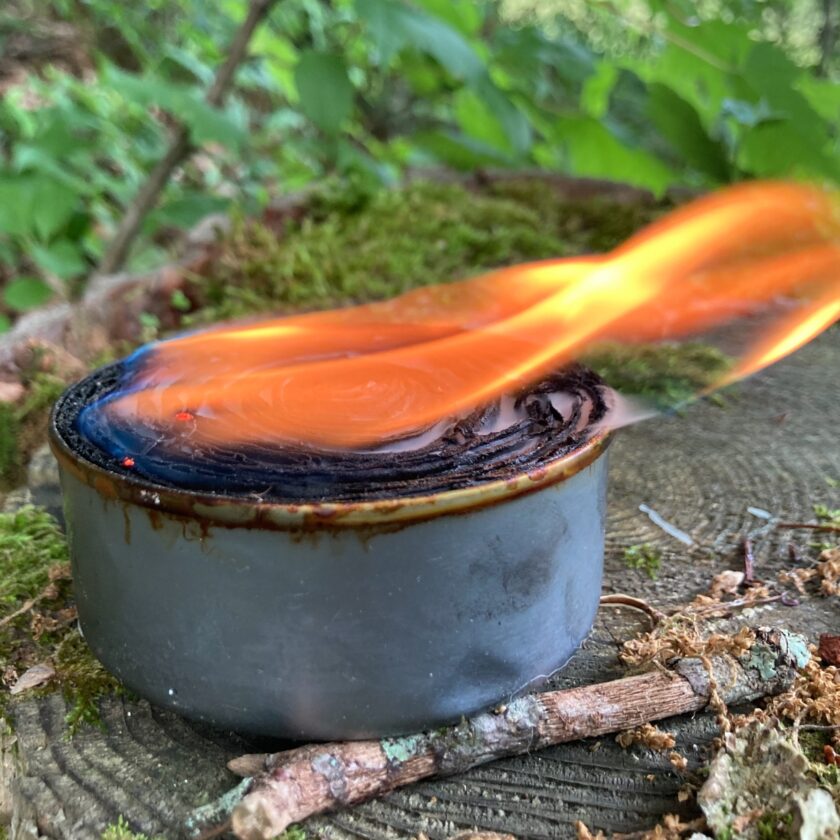
The tuna can stove is a simple, inexpensive little stove that can be made from (mostly) common items around your home. I recently made a few of these. The tuna can stove isn’t going to replace my Jetboil but… Well, let’s get into it and I’ll explain why this isn’t my preferred survival cooking option.
This article contains affiliate links.
The Tuna Can Stove
I learned about this stove from a friend who attended a survival class. He reported a burn time of several hours from a stove/candle made from an old tuna can. The idea seemed simple enough, and I couldn’t wait to try it out. The basic concept is to take a tuna can, pack it with corrugated cardboard, then soak it in wax. The cardboard acts as a wick for the wax, creating a durable, long-burning candle that can be used for light and heating food.
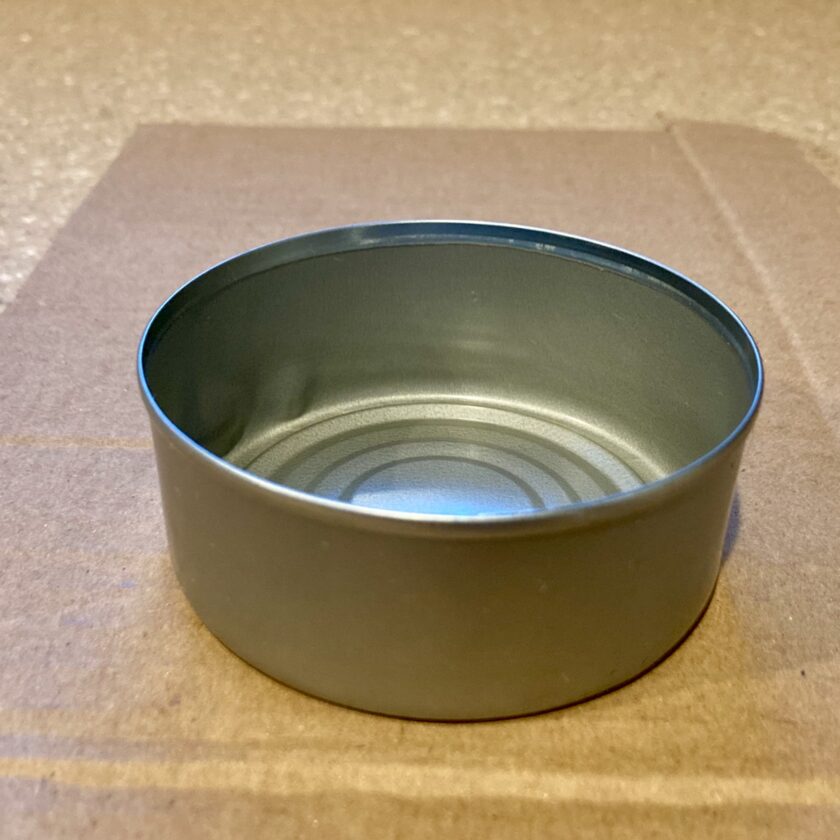
My first attempt wasn’t exactly an unqualified success. Let’s take a look at the step-by-step, then I’ll show you the upgrades and improvements I made. I started with an empty tuna can.
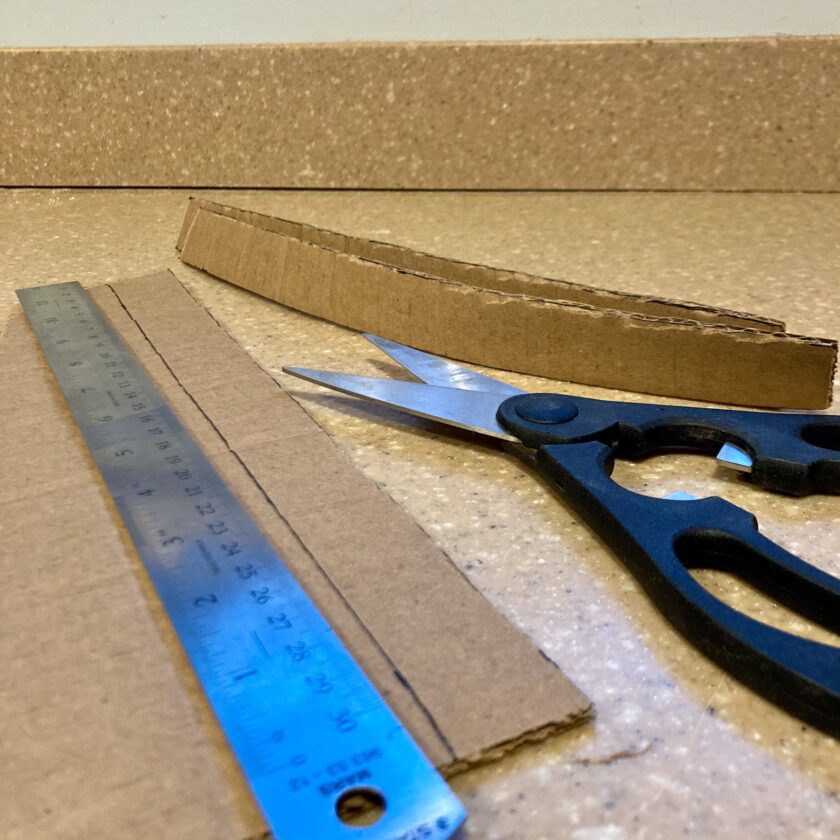
Next I started cutting cardboard strips that were just shorter than the inside of the can. It took way, way more of these than I thought. I ended up with over 6′ of cardboard strips packed into the can.
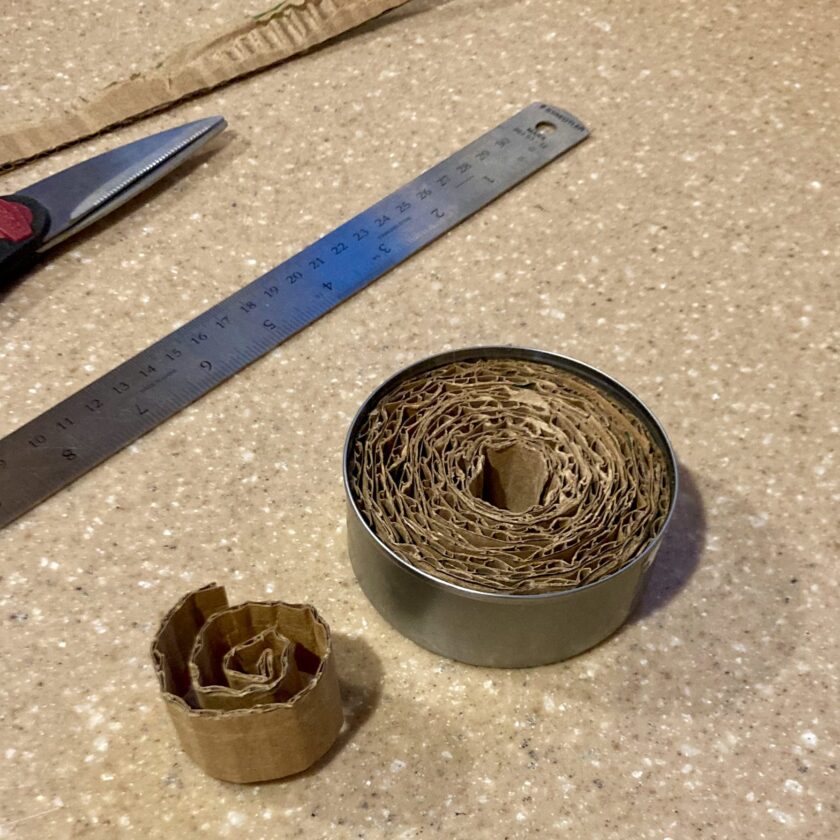
I packed them in in a spiral pattern, trying to link the ends of the strips together, then expand them out as much as possible to avoid large air pockets.
Once the can was fully packed I got out the paraffin wax. I started with a little piece, maybe 1/4 of a block. I ended up melting at least two more batches of wax. The tuna can stove takes WAY MORE WAX than you think. If I did my math correctly it takes about 4 ounces of melted wax to fill the tin.
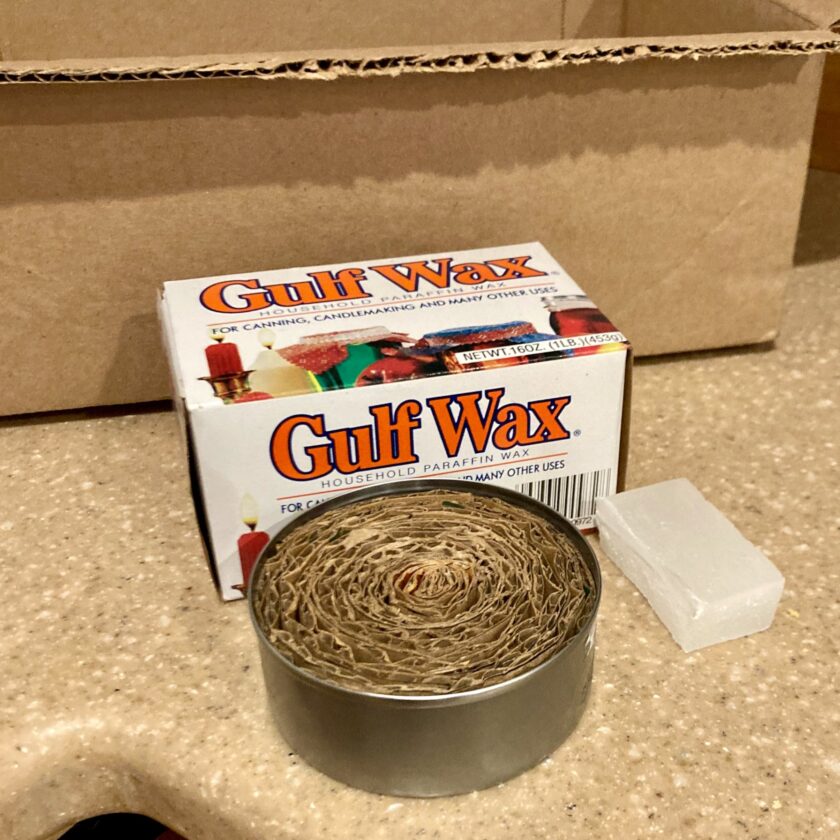
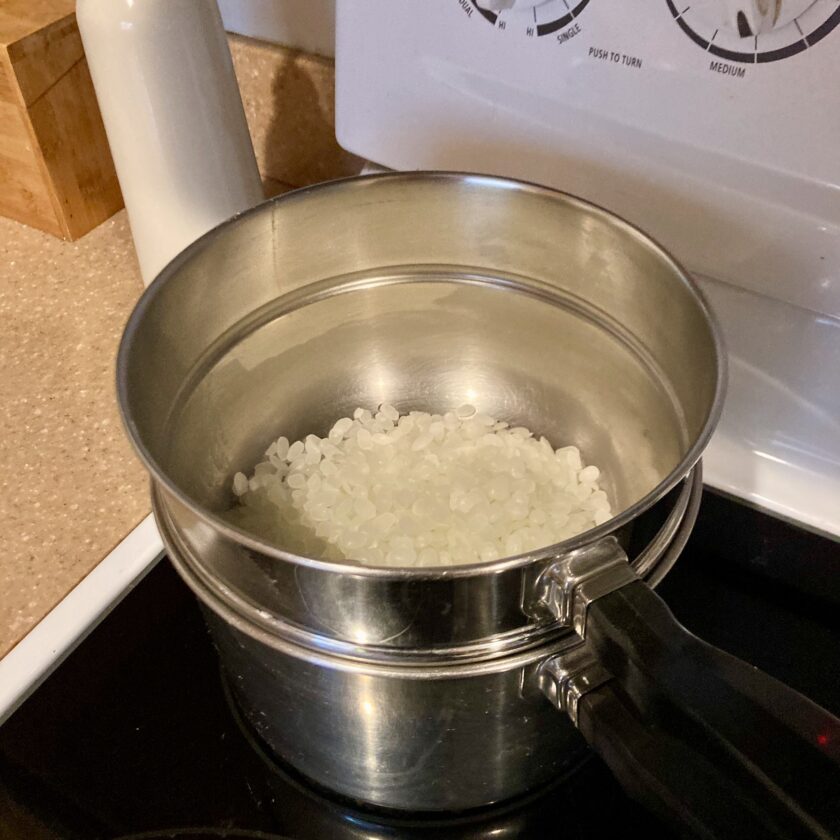
Using a double boiler I melted the wax. In a safe area in your kitchen pour the wax slowly over the cardboard (I used the box from which I cut my strips). Again, it will take much more wax than you probably imagine – probably a little more than four ounces. Pour slowly and give it time to soak into the cardboard.
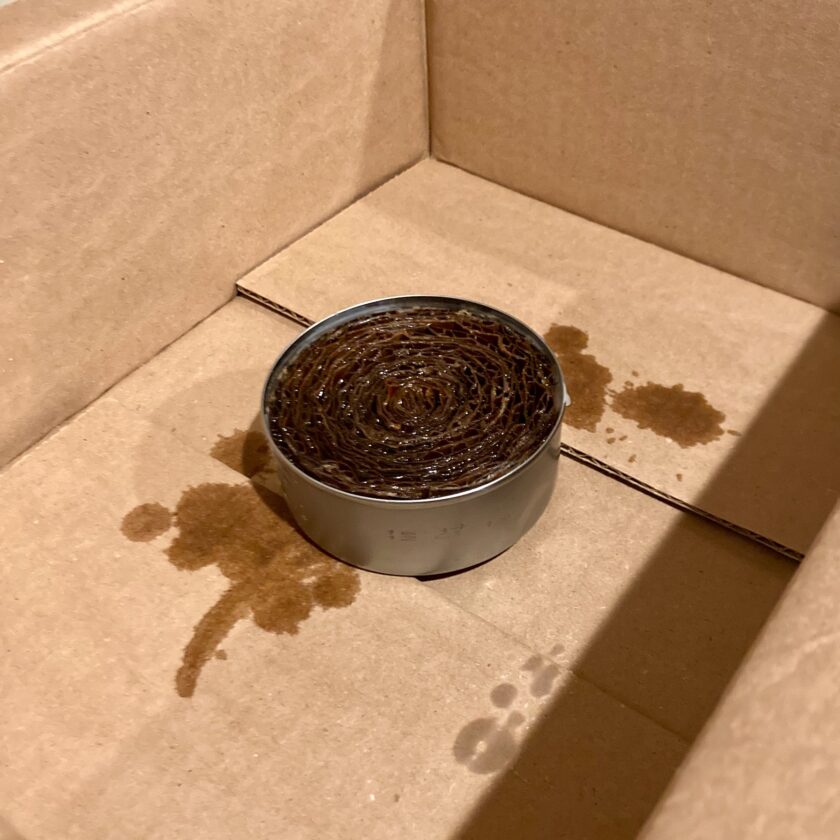
First Attempt Fail(s)
My failure on the first attempt was twofold. First, I didn’t get this thing FULL of wax. You really want to take the time to fill it fully with wax. Think of wax is the fuel – the cardboard just wicks the wax up and the wax is what burns. Pack as much fuel into the stove as you possibly can.
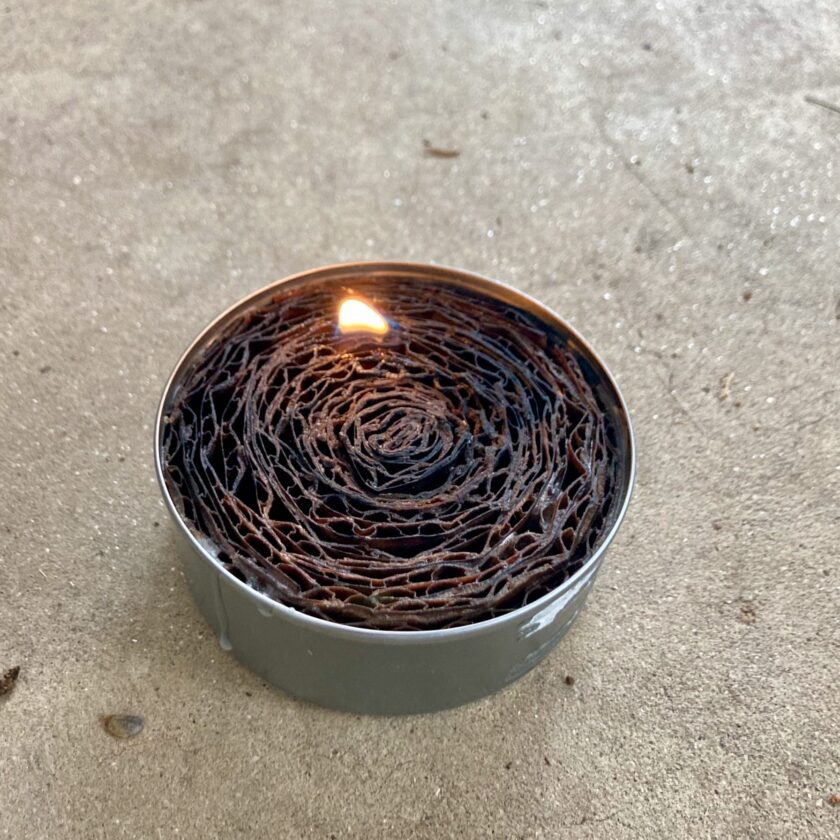
My second mistake was not leaving something sticking up to light the stove with. You will want some sort of wick to get the thing started. I finally managed to find one little piece of cardboard that was stuck up higher than the rest (shown above). This served as my wick.
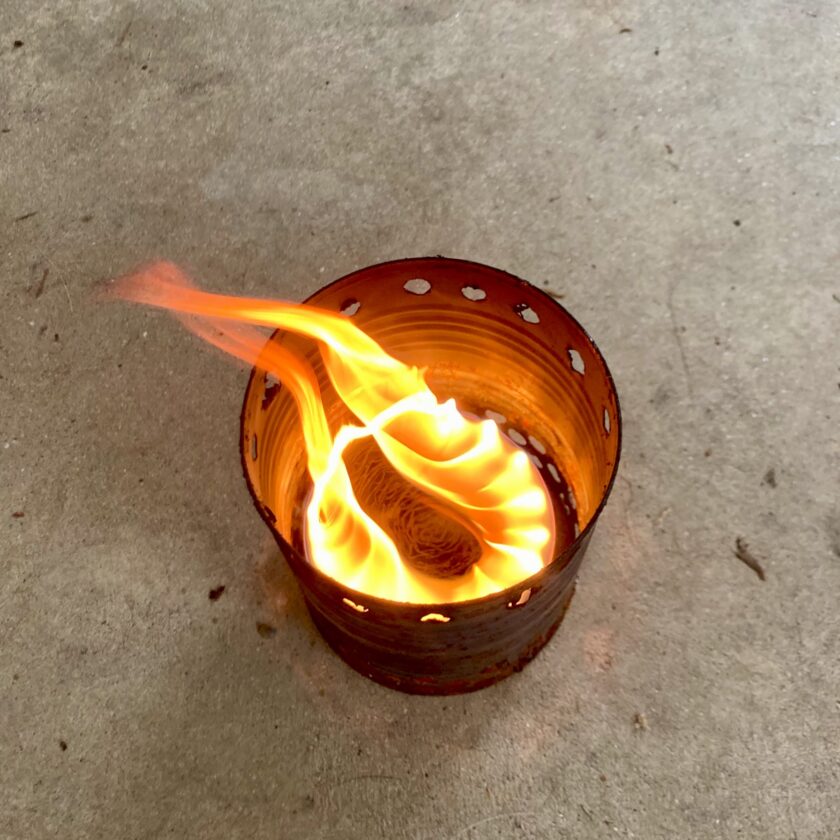
I took a few minutes to get the tuna can stove going. Once the stove was burning it burned really well. And here is where I learned another lesson: this stove doesn’t really generate the heat for boiling water. I tried using an old tomato can with ventilation holes as a pot support. Despite 20 minutes on the burner my water was merely warm, and nowhere close to boiling.
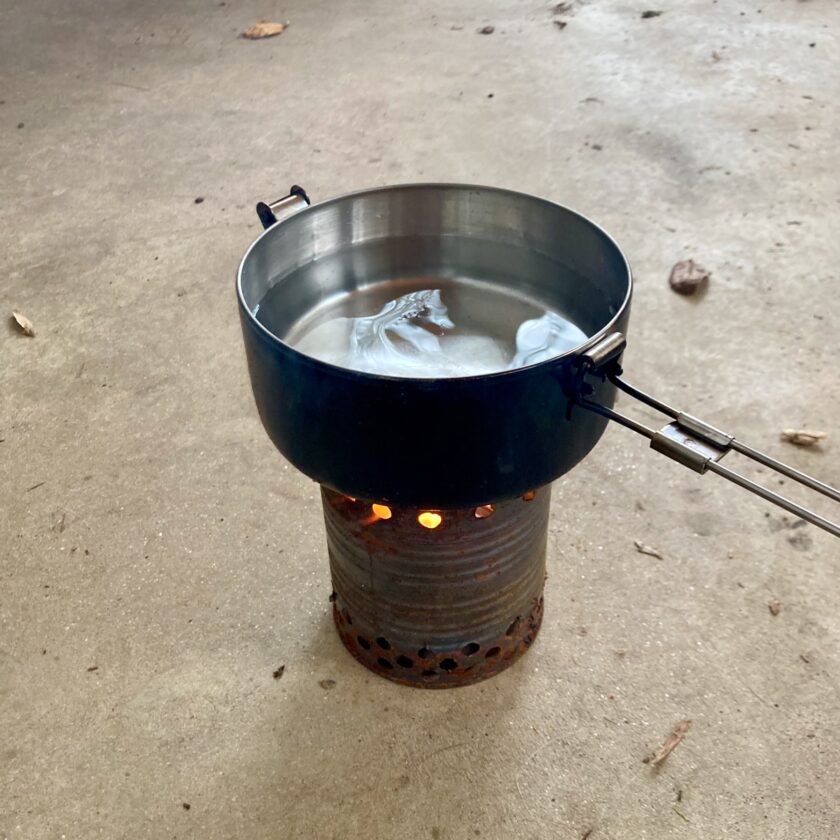
And that’s OK – there is still a need for a little survival stove that can provide a little heat in a shelter or warm liquids. It is not a stove for boiling water for drinking. Understanding that distinction is important. You may get water boiling but it will consume a considerable portion of your fuel. And speaking of fuel consumption: I got about 60 minutes of total burn time out of this version. Not content with the results of the first test, I rebuilt the stove and tried again.
Tuna Can Stove, Take 2
On this try I did a couple things differently. First, I ordered some waxed hemp wicks. I added four of these to the stove for ease of lighting and getting the entire top surface burning. I added them to one of the strips of cardboard.
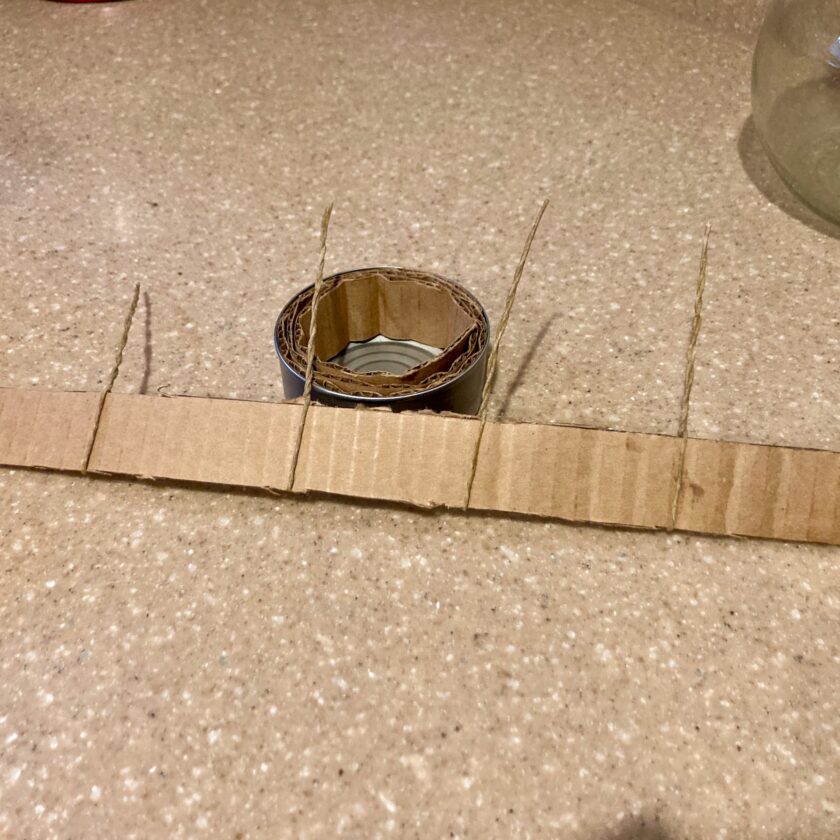
When the cardboard was bent and placed in the can the wicks ended up nearly perfectly placed. I filled the rest of the can with cardboard as in previous versions.
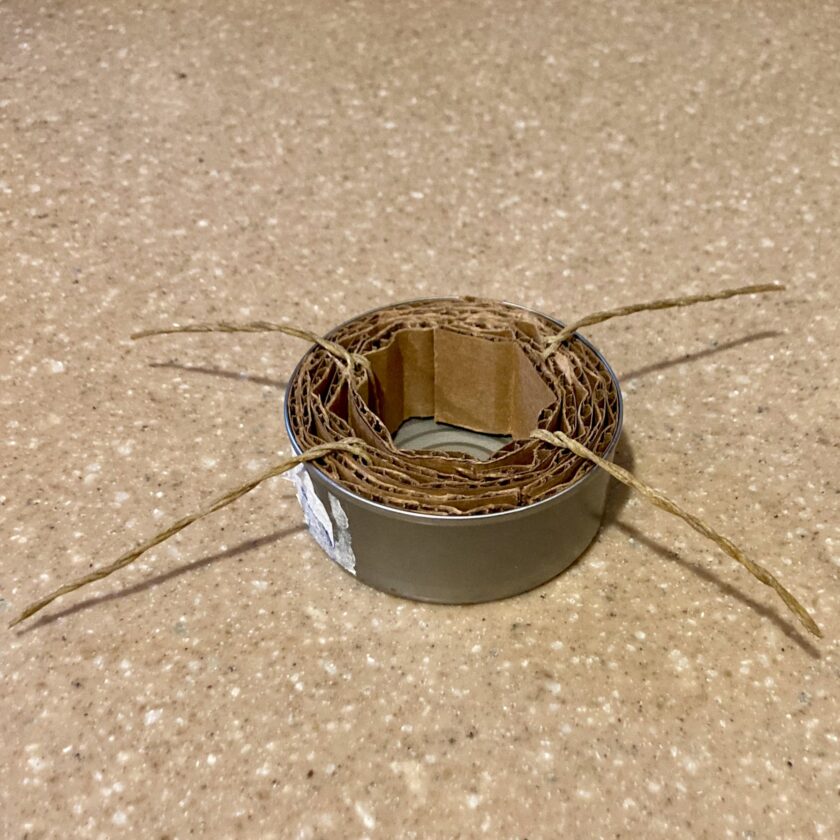
Having had a conversation with a friend about waxes used in candle making I ordered some pure beeswax. It wasn’t much more expensive than paraffin but is food safe and non-toxic, so what could it hurt to try? Again I used a double-boiler to melt it. This time I started with about 5 ounces of wax.
I twisted the wicks together to keep them upright and applied the wax to the cardboard.
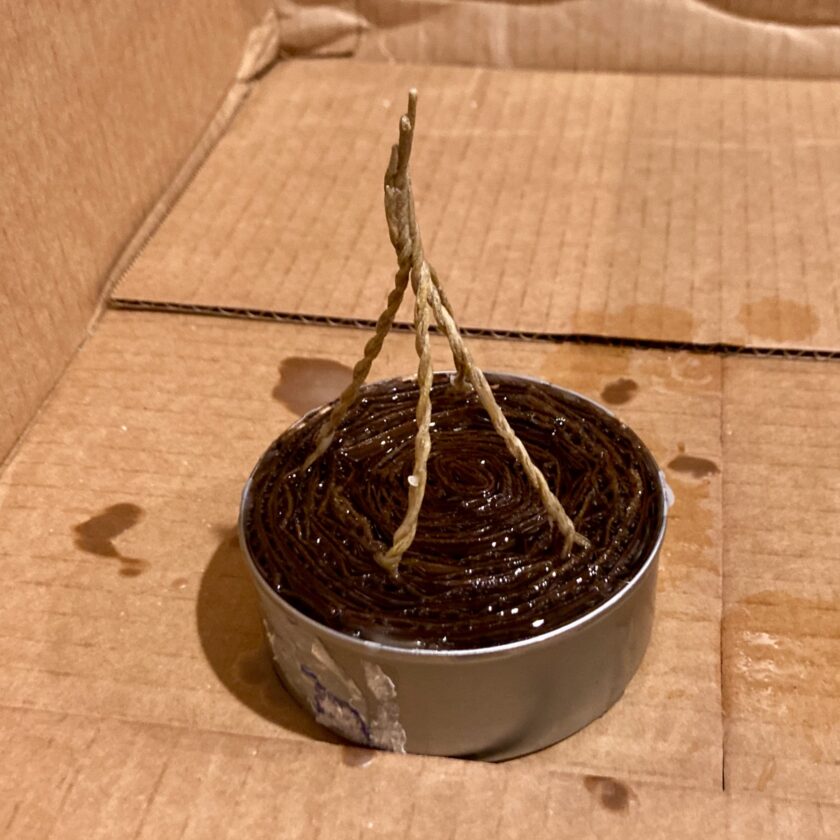
After pouring the wax I let it settle a bit. I tapped the container lightly, trying to get the wax to settle into all the little crevices.
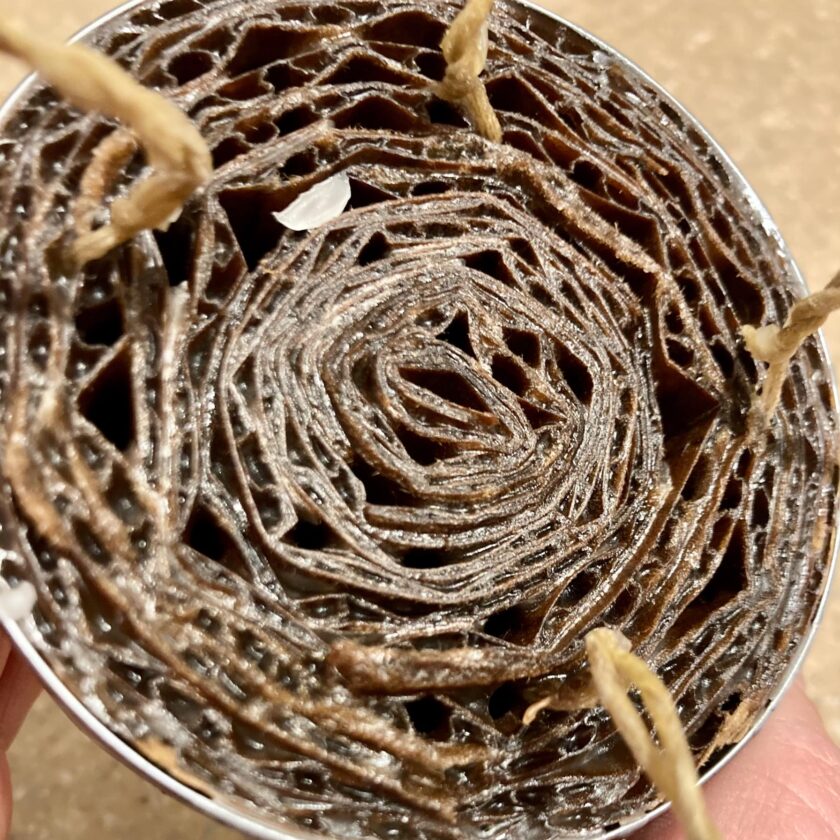
Next, I did a second pour of wax. Once it cooled I trimmed the wicks.
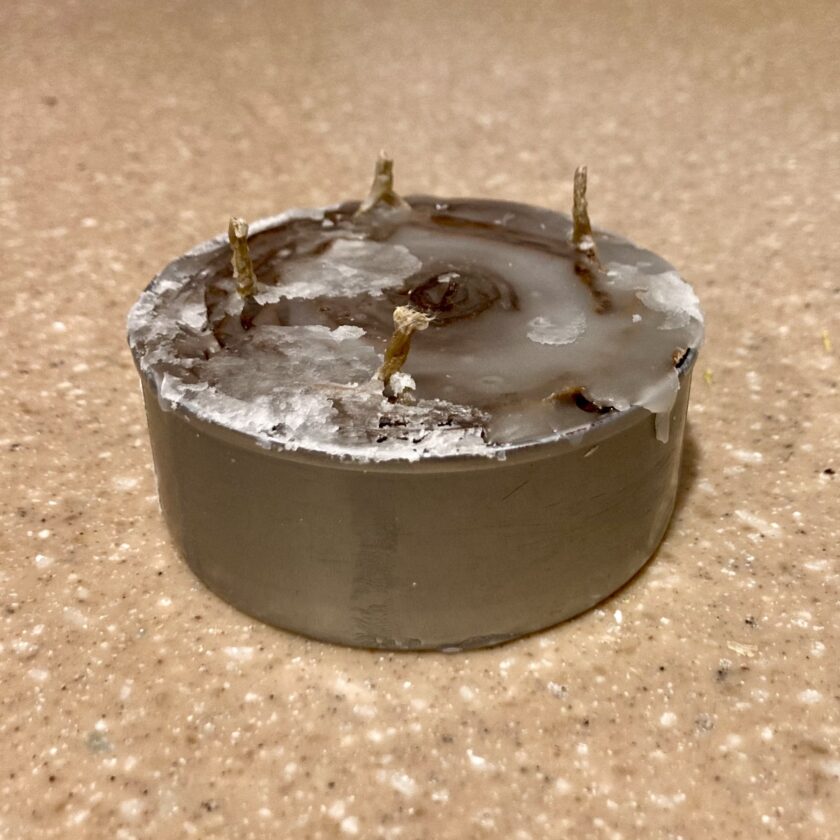
This one was a much better version. The wicks made lighting quick and easy.
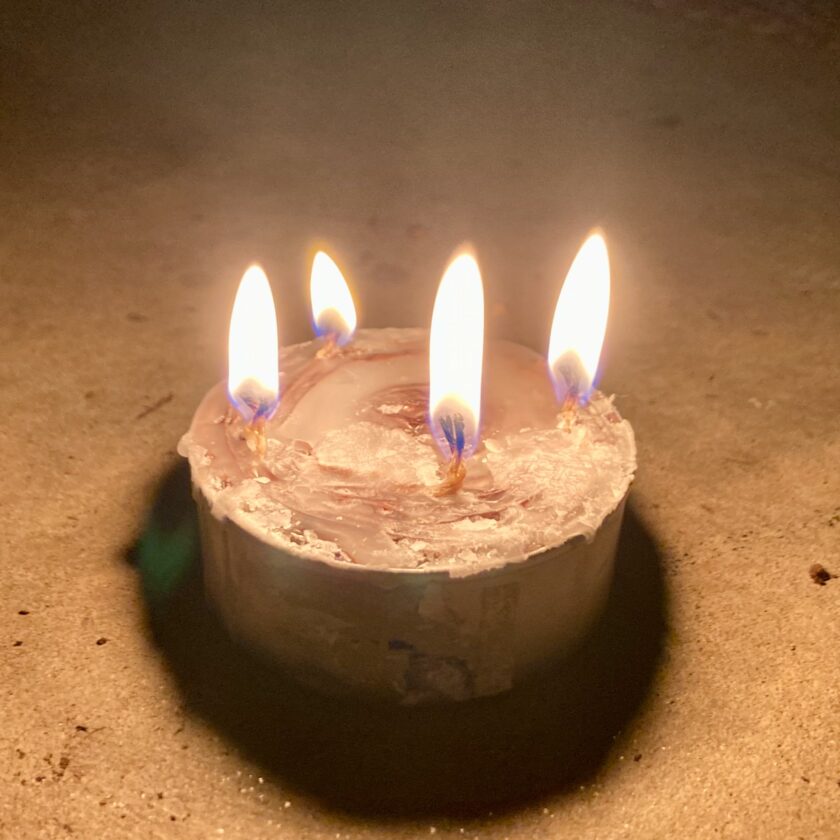
It didn’t take long for the top of the cardboard to light and begin wicking up the wax. I did, however, go a little overboard with the wax; the excess just ran off and onto my porch. Fortunately it was easy to peel off and put back onto the cardboard later, where it melted back in.
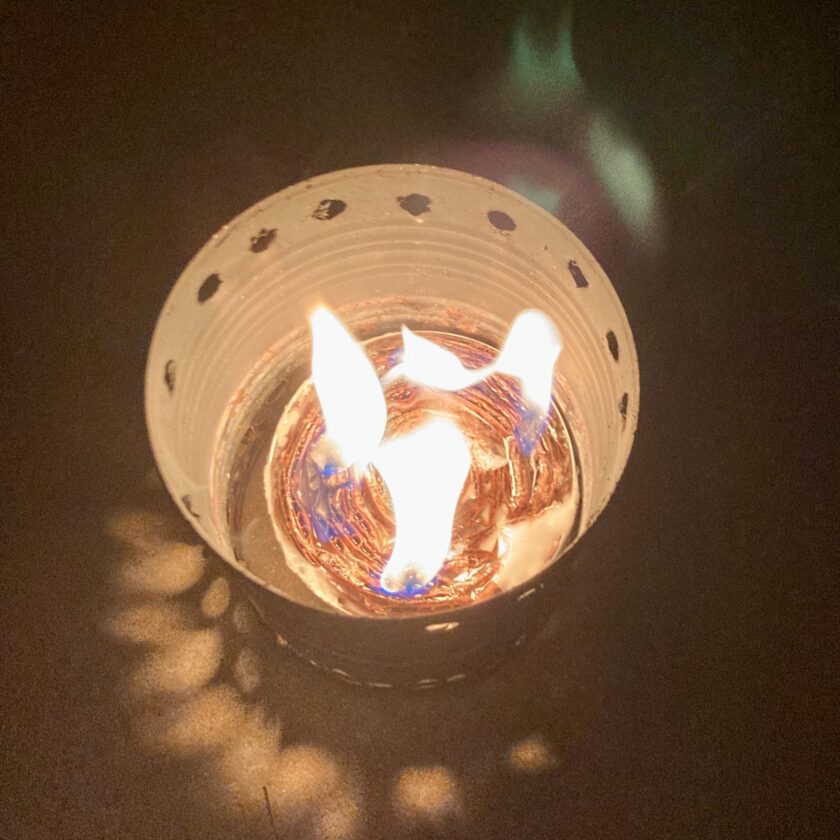
With a windscreen (again, made from an old tomato can) this stove put out a good amount of heat. When covered with a pot it put out some light, but was fairly discrete.
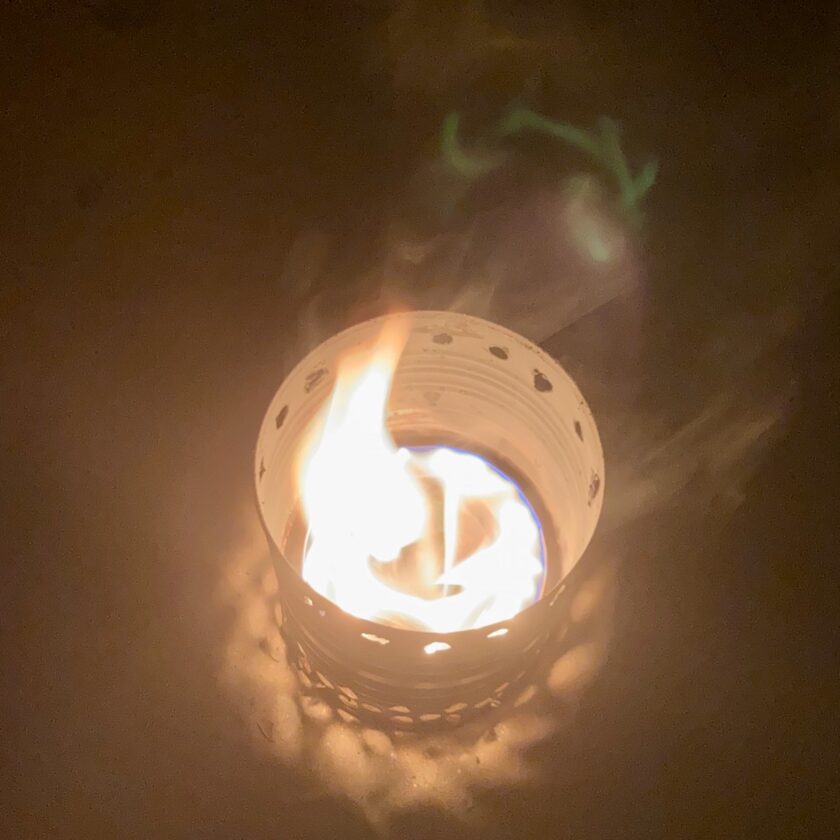
With a burn time of almost two hours, this stove was better, but I still wanted to improve on it a bit more.
Tuna Can Stove: Take 3
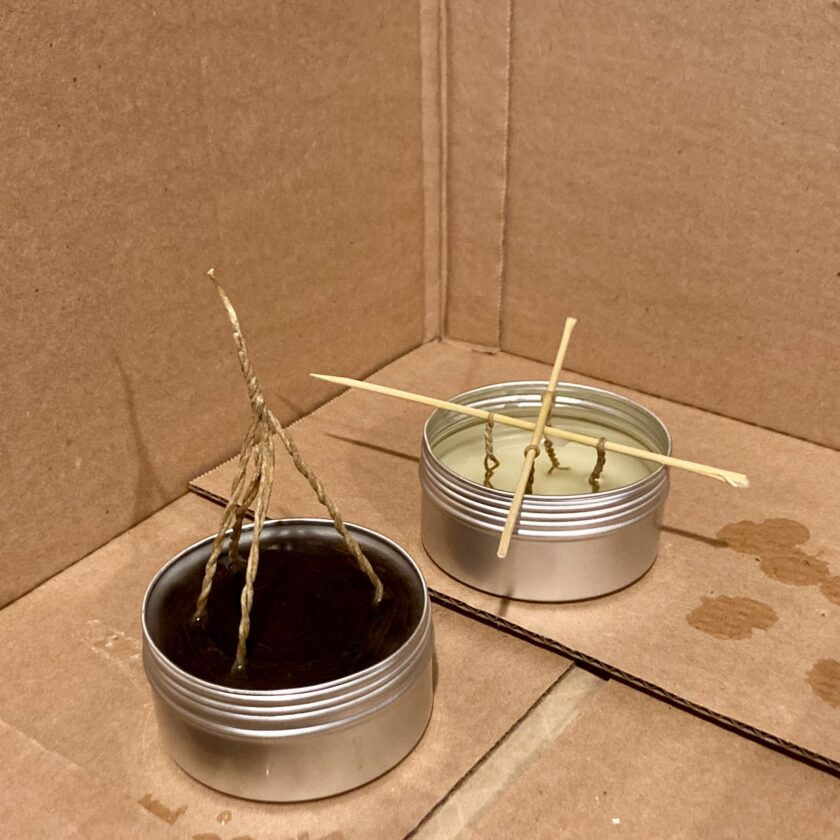
Take three was when I landed upon some inspiration. The only thing I did differently with this stove was to use a lidded container. I purchased some lidded, 6-ounce containers. A lid gives you a convenient way to extinguish the fire when finished, as well as a way to keep the wax in should the weather get hot. I built this stove the same as the last one, though with the higher tin I used wider strips of cardboard.
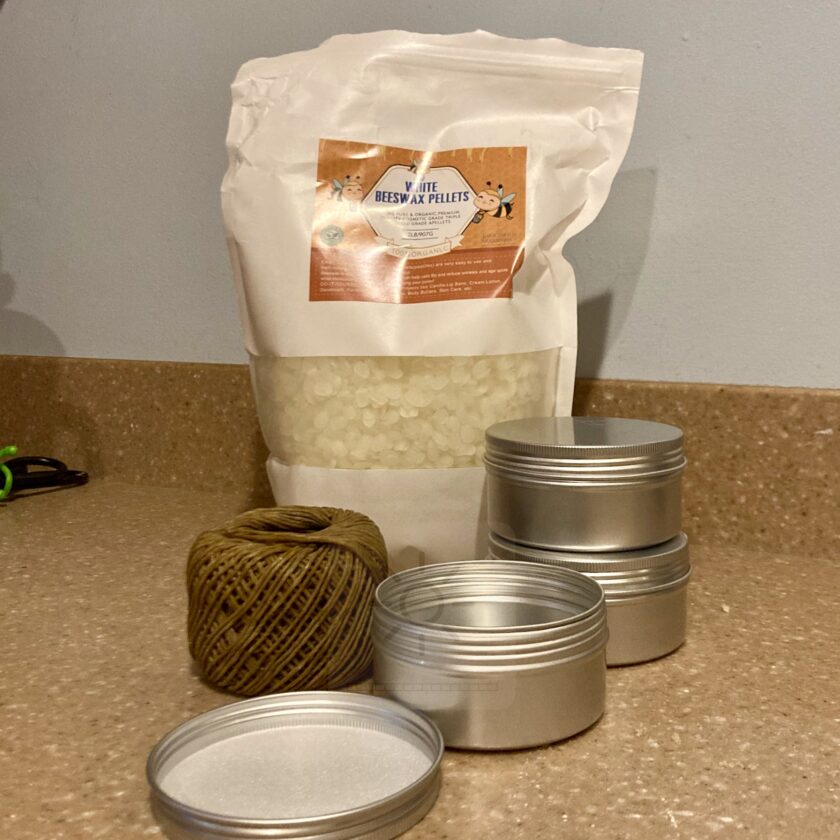
While melting wax I realized I had melted too much. Rather than cut a bunch more cardboard I decided to make a candle. Using a skewer snapped in half, I hung four wicks into the tin, then poured the wax in.
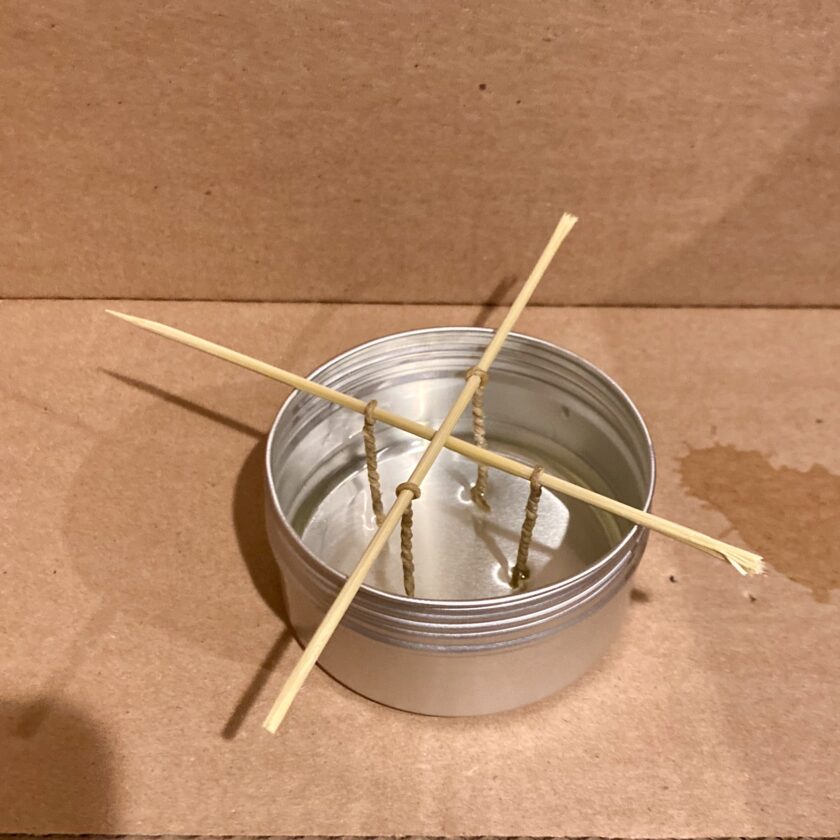
It wasn’t quite enough so I had to melt just a bit more wax and reapply. After allowing both to cool I took them out on the porch and fired them up.
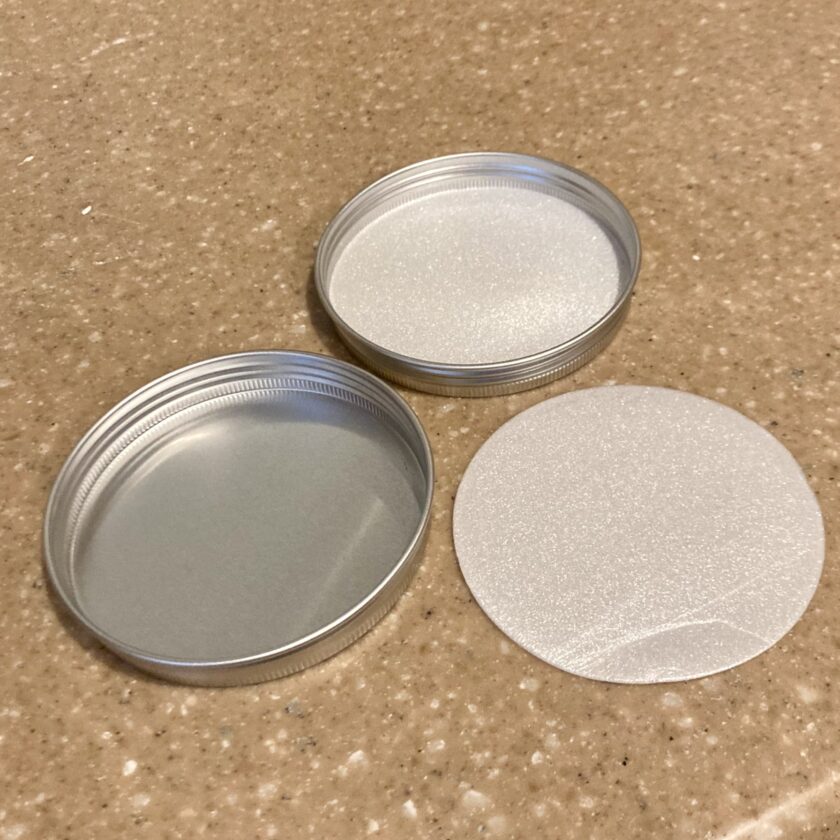
One important admin note is due here: if you’re going to use the tins I linked to, you’ll want to remove the thin layer of foam from the lid before placing it over a burning candle.
Survival Candles
This is when I had the aforementioned epiphany: why not just make a candle? I’ve seen “survival candles” advertised since I was a kid. They are still widely available in a variety of shapes and sizes. Making a candle cuts out the tedious steps of cutting and installing cardboard strips. Having three of four wicks allows you to control the burn, unlike the “full on” burn of the cardboard burner of the tuna can stove.
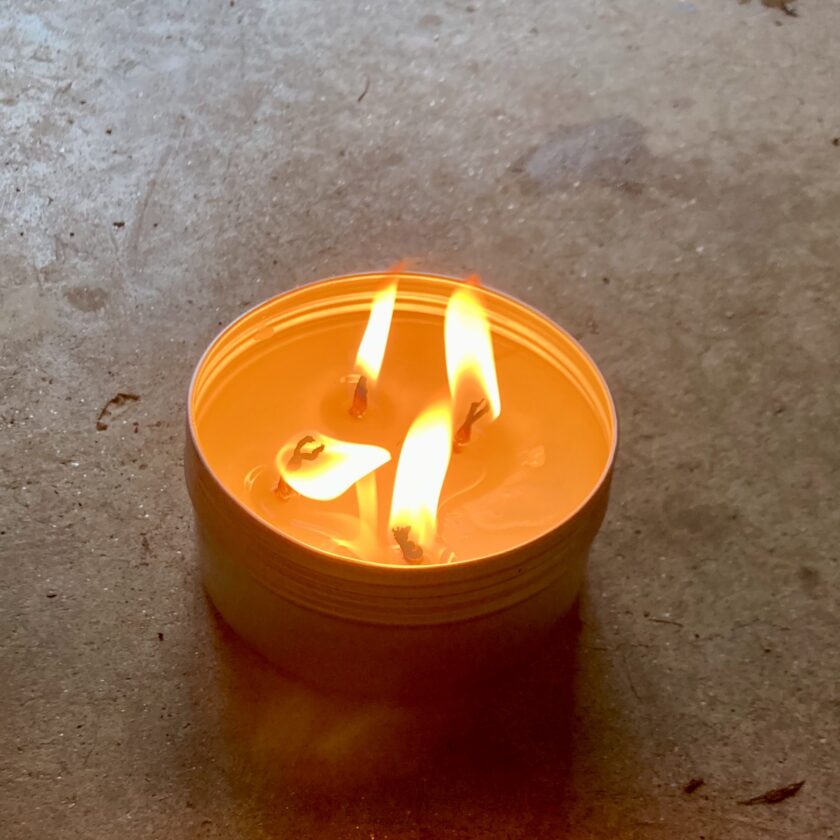
And your fuel (the wax) tends to last much, much longer. I did several 1-hour burns with a single wick, and a 30-minute burn with all four and have reduced my fuel by maybe 15-20%? This is probably because of the smaller “burner” and as a result the candle doesn’t burn as hot as the stove, but I didn’t really find the stove suitable for boiling water anyhow. I’m sure the candle could heat small amounts of food or water for warm beverages.
A couple other, anecdotal findings: the candle is much cleaner. With all three stoves I left big clumps of wax on the porch that overflowed. This even occurred with the last one where there was a solid 1/4″ between the top of the wax and the top of the tin. I have no idea how it happened, but it hasn’t happened with the candle, which I’m even comfortable burning indoors. Also, the candle, even when burning full blast, doesn’t heat the can up to the point that I can’t pick it up. That’s a definite advantage.
The Tuna Can Stove, Final Thoughts
I tried the tuna can stove several tries and gave it a fair shake. Ultimately I was disappointed. But I did stumble upon something I didn’t expect to like as much as I do: the survival candle. I will definitely be playing with these, and possibly adding them to my kits (especially my winter survival kits) in the future.
