If there’s one technique in the tactical community that divides shooters into camps it’s the post-engagement search and assess. Yes, I’m talking about the, “look left, look right, look rear” after you’ve taken your shots, but before you tac reload/holster/move/whatever. Some very knowledgeable shooters I know and trainers I’ve trained under recommend this practice. Some equally knowledgeable guys that I know, train with, or read call it “tactical theater.” Let’s talk about it.
Note: This article originally published almost exactly a year ago. I think this is one of my best pieces of writing and it’s just as valuable today as it was last year.
Post Engagement Series
I dry practiced a little over 320 days last year. I have dry practiced every single day so far this year (110 consecutive days). Most of those days were focused on the pure, technical aspects of operating my handgun: getting it out of the holster, firing it accurately, keeping it loaded and running, doing so with only one of my two hands, etc.
The reality of a fight, though, is not just technical, not simply drawing my gun, firing, and putting it immediately back into the holster and carrying on about my day. My sessions going forward will focus heavily on adding some more of those “post-engagement” elements. I am going to start cutting repetitions back, and working in some things that should happen after the gun fire is over. Expect to see more of these posts in the future. Today, obviously, I’m going to talk about the post-engagement “search and assess.”
Post-Engagement Search & Assess
First, let’s define what the “search and assess” is. It’s generally characterized as taking a moment to look around, very shortly after a the shooting stops. The shooter will look to his or her left, right, and sometimes rear (not necessarily in that order). The intent of this is to scan for other potential threats, gain situational awareness about the location of friendlies and innocents, and generally understand the larger scene. Occasionally I also see this touted as a way to break up tunnel vision; based on some of my own experience I certainly don’t think it hurts.
If I’m being honest none of those things seem to offer potentially positive outcomes. If I have just encountered a situation in which I have had to draw my gun and fire, it doesn’t make sense to holster my gun without taking a quick look around.
As I mentioned earlier, I sometimes see this technique criticized or written off as tactical theater. Sometimes thoughtfully, sometimes not so thoughtfully. Thoughtless criticism I see criticizes the technique out-of-hand. It sometimes accuses the practitioner of trying to look “operator” (personally, I would contend that the act of firing a handgun is probably more “operator” than glancing around. . . but that’s just me). As I mentioned, I also see some thoughtful criticism of this technique.
The thoughtful criticism of the search and assess – and the criticism I completely agree with – usually revolves around the practice of shooters very rapidly waving their heads around as if they’re in a shampoo commercial and calling it good. They aren’t actually seeing much or assessing anything, they’re just going through the motions and “checking the box” for searching and assessing. That probably isn’t terribly useful to them. It may even be counterproductive as it pulls their head and eyes away from a lethal threat while providing little actual benefit.
Thoughtful Searching & Assessing
Personally, I am a proponent of searching and assessing for the reasons mentioned above. Being involved in a deadly force event is extremely stressful. It could be easy to get very target fixated and lose track of what’s going on around you. Training yourself to look around is not the worst thing. However, I’m also in agreement with the crowd who is against “looking but not seeing;” again, flinging your head to and fro with no intake of information accomplishes little.
The goal, then, is to look and to do so thoughtfully. The problem with searching and assessing in dry practice is basically the opposite of the problem in CQB training. In CQB training you know that every time you run into the house you’re going to get into a shootout. When you get to the real world and hit twenty-eight houses in a row that are all dry holes, it creates a bit of complacency. This complacency makes it hard to constantly be as “ready” as you were back in training scenarios when you saw the role players getting off the bus behind the shoot house.
When searching and assessing dry practice you know there isn’t going to be another bad guy in your basement, so there is a tendency to get lazy with searching and assessing. This is where that very fast, “check-the-box” type look comes from. This is a battle I have been fighting for a while. I think searching and assessing has some actual value. However, I think it should also be done deliberately.
How does one integrate searching and assessing without reducing it to a meaningless range ritual? Here are some things I have worked on in practice to make keep the “search and assess” part of my practice deliberate.
Practice Technique 1: Look See Thoughtfully
This is the crux of the matter. If you do this, without fail, you will be accomplishing your mission. The problem, though: it’s hard to do this 100% without fail. There are a couple of things I work into my sessions to improve my ability to see instead of just look. First, I slow way, way down. Way down. I know when the sympathetic nervous system takes over, I’ll speed up. If I’m already used to going fast I’m not setting myself up for success when autopilot takes over and kicks my body into high gear. In practice I search somewhat deliberately and slowly.
Second, I try to notice something in each direction that I look. I’ve seen instructors do this: they’ll hold fingers up behind the line, and shooters are supposed to call out the number of fingers. Since I don’t have an instructor on duty for all my dry practice sessions (nor would I want to do that all the time) I try to notice something. A specific leaf (if I’m outside). The title of a book on the shelf (if I’m inside). I try to actually see what’s going on around me rather than just “looking” without actually consuming any information.
One way I have found to “notice” something is to focus on it. Focusing my vision on an object at five to ten yards takes only a fraction of a second, but it is a deliberate fraction of a second. I am actually “seeing” something rather than just looking in its direction.
Practice Technique 2: Center Reset & Refocus
The most common reason given for searching and assessing is looking around for another bad guy. To be clear that’s not wrong, but let’s not forget the word “assess” either. We should also probably be assessing the first bad guy (the one we’ve just shot) and we should probably be doing so periodically rather than taking a huge time-out to look around the entire scene. One thing I build into my practice sessions to ingrain this is what I call the “center reset.” I don’t scan the whole room/scene; I scan one direction, then reset back at center, on the target. Then I scan another direction, lather, rinse, repeat.
What does this accomplish? First, it mechanically prevents me from just slinging my head back and forth. I’m looking one direction, coming back to center and stopping at the target. Then I’m looking another direction, coming back to center, and stopping at the target. Stopping to assess the target between direction manually throttles my “look” speed down enough that it becomes a “see” speed. This also ingrains in me the importance (and the practice) of frequently checking back in with the target to make sure he has not decided to become a threat again.
Practice Technique 3: Use the Space to Your Advantage
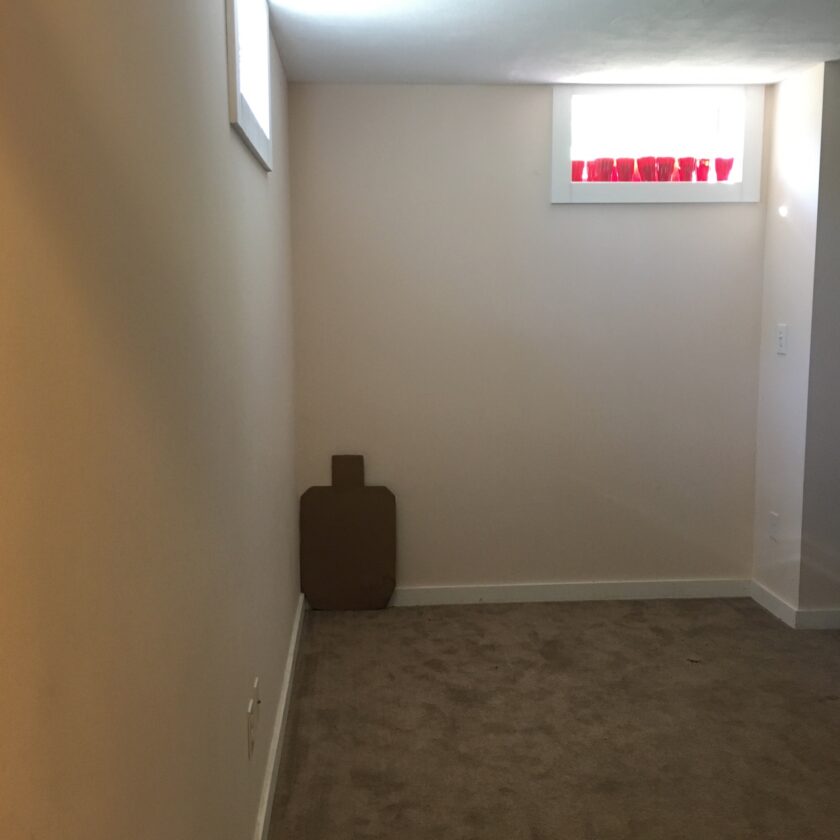
Another technique I use to promote thoughtfulness on my part is to use my dry fire space to force me out of patterns of jerking my head around without seeing. Using the space in this manner may also have some diagnostic merit, though I haven’t tested it in that capacity. I have two dry practice spaces: one outdoor behind my house, and one indoor in my basement. Let’s talk about the basement first. There are four ways I commonly position myself in the basement: back to the wall, back to a corner, in open room, or beside the stairs.
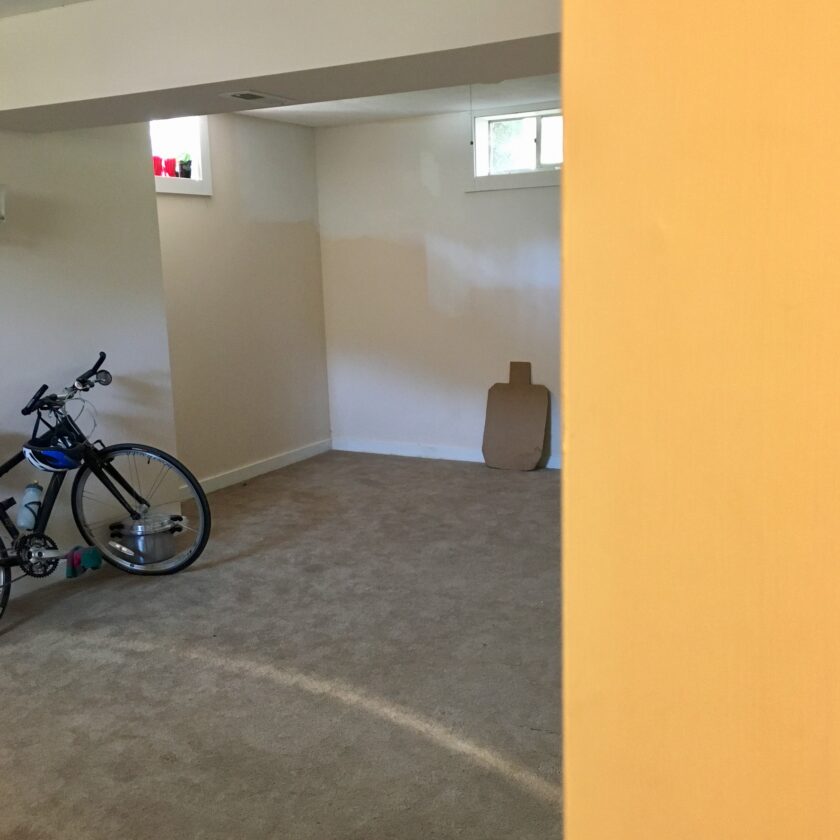
- Back to the wall: when I position myself with my back to a wall, is there any need whatsoever to check my rear? The answer is no – nothing is coming through that concrete wall with dirt on the other side of it. Looking backward when I know my back is to the wall is a waste of time; if I find myself doing it, guess what? I need to start thinking about the situation a little bit more.
- Back to a corner: If I am deep in a corner in my basement, is there any need to look behind me? No. What about to the right, or to the left? It depends. If I am facing out of the 90-degree corner at 45-degrees, I quick glance of 45-degrees in each direction is probably warranted, but probably doesn’t take a major movement of my whole body – I can probably glance each direction with minimal movement of my head. What about if I am looking down one of the axis of that 90-degree angle? In that case, yes – my whole right or left would be open, and I probably need to check that side, but not the other. Hopefully this gets me in the habit of looking at potential threat areas and checking them, rather than looking in all directions always.
- In open room: I do practice in the middle of the room where there is no wall to my back or one side of me. In this instance, yes, I check left (then back to center), right (then back to center), and rear.
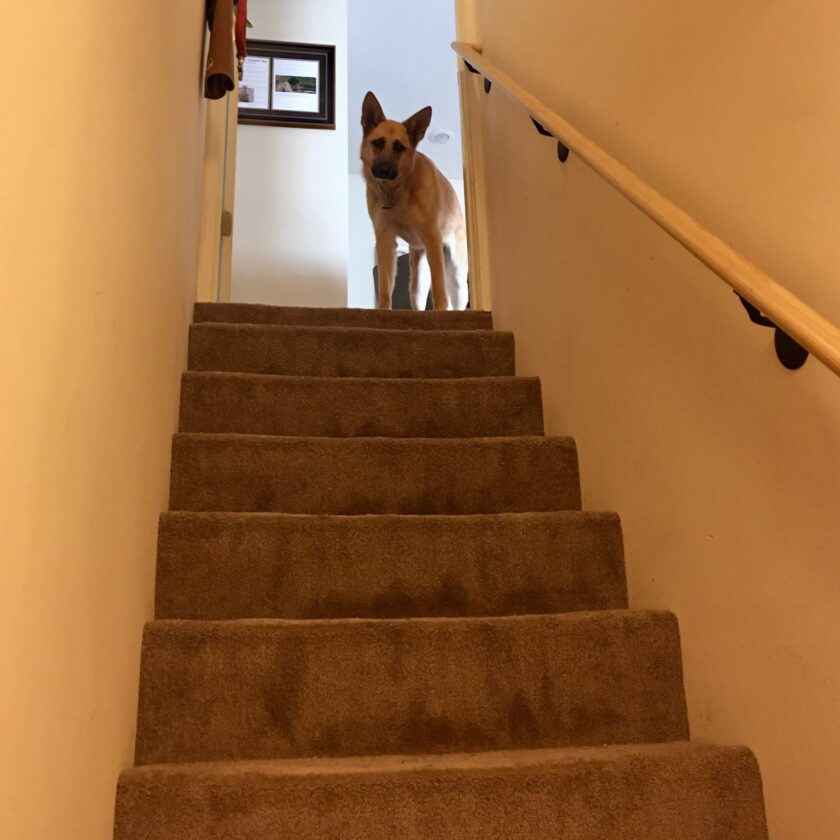
- Beside stairs: I also have the benefit of stairs coming into my dry practice space. When I stand beside the stairs I have open room in front of me, a wall to my back, and stairs a couple feet away from me. Does your searching and assess involve a vertical component? I would contend that it should when indicated. Instead of looking right, at the wall, lean over and take a quick peak up the stairs.
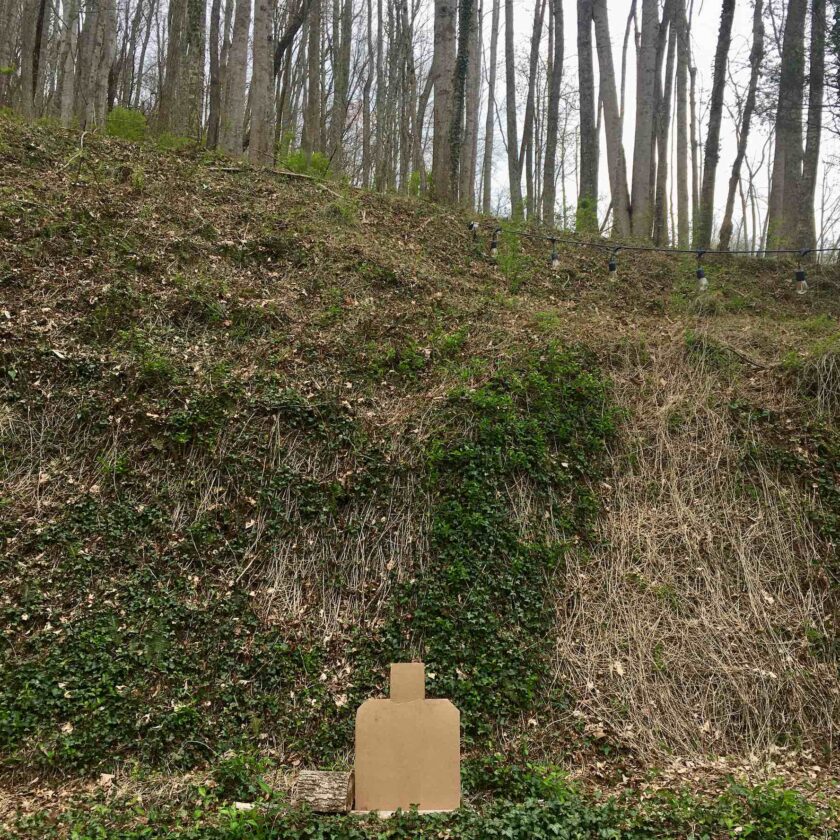
When I dry practice outside I am in proximity to my house. I can have the house behind me me or (more likely) beside me. This gives me a corner to work around from two directions. There are three basic places I can be when dry practicing outside, so let’s take a look at them.
- Back to house: With my back to the house I check left (then back to center), right (then back to center), but not back. Also, depending on exactly where I am, I might be only a step or two away from the corner of the house (on my left). If I am close enough I may also move to include that axis of the house in my search. Again, searching and assessing isn’t just standing there glancing around; you might have to look around a corner or up a staircase to know what’s going on around you.
- Right flank to the house: In this position the house is to my right. Do I need to search to the right? No. Do I need to take a step forward and look around the corner of the house? Maybe, depending on how close I am, if I have to give up cover to do that, etc. The point is to actually be thinking about it.
- In open yard. This is much the same as open room: left (then back to center), right (then back to center), and rear.
- Vertical: Though this has little do do with where I’m standing outside, it’s worth addressing. My house is on the side of a mountain. There is significant land above my sightline up the hill. The same may be true in an urban environment, or nearly any other place for that matter. Should you always be looking up in the course of searching and assessing? No – it would be dumb for me to look up in my basement. But outside, in my environment, where it makes sense? It makes a lot of sense. I treat that as another “sector” along with left, right, and rear.
Practice Technique 4: Target Proximity Variation
There is one other thing that should be factored into your search and assessment: the target and your proximity to it. If the target is very close to you when you fire, the now-incapacitated bad guy may still be very close to you. It might make sense to create some space before turning your head away.
Practice Technique 5: Something to Look At
The final technique I can offer here to keep this routine fresh is to occasionally give myself something to look at. Occasionally, (maybe twice, every two or three sessions) I will put a target to the left or right. Here is what I do: engage the first target, good follow through, pull the gun back to retention. Look one direction, back to target, then the other, and…
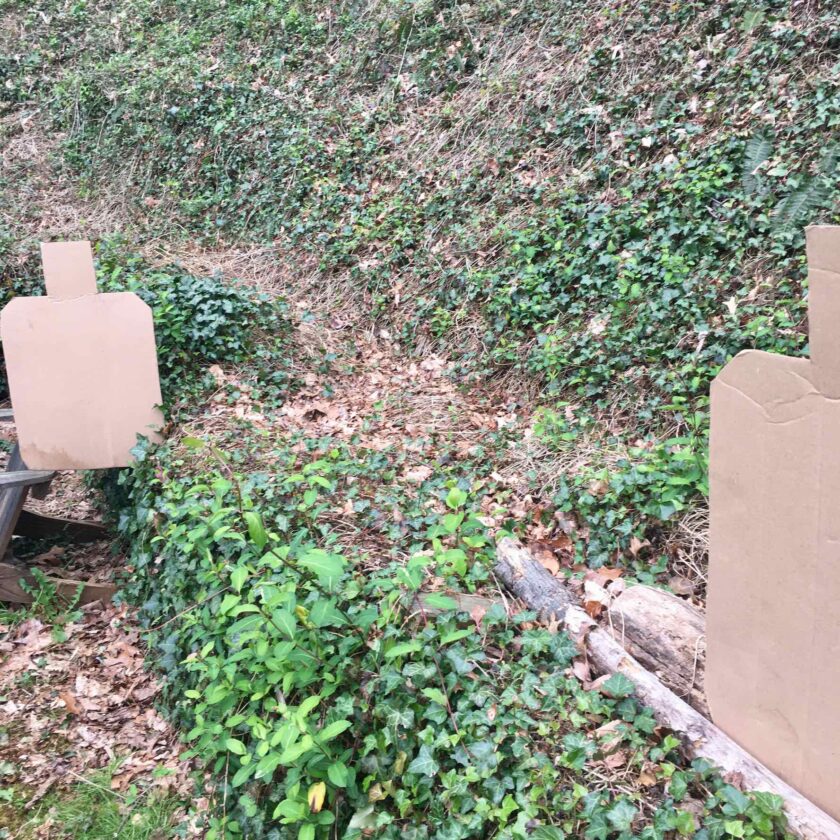
Then present back out on that threat. I’m not going to lie: I am so used to seeing nothing, the first couple of times I did this it fucked me up a little – even knowing beforehand that second target was there! It wasn’t that I don’t know how to engage a target. It was breaking out of the habit of never engaging one after I’ve already engaged the initial one or two or three targets I’ve put out to engage.
IMPORTANT: only place another target in another direction if you can safely engage in two directions!
Closing Thoughts
Is a lot of this a little hokey? Sure it is. Mostly it’s geared toward dry practice, which makes it even more hokey. Unfortunately, I have never done any training where I actually feared dying, there were free thinking, free willed adversaries, armed with live, lethal weapons, experience, and training of their own. Unless you’re doing that sort of training, anything will fall somewhat short of “realistic.”
That doesn’t mean we shouldn’t put everything we can into what we are able to do, training-wise. So bottom line: I contend that a little hokey and contrived doesn’t necessarily equate to valueless. I didn’t learn immediate-action drills on some high speed, 360-degree, live-fire range; I learned IA drills in PT gear on the softball field behind the barracks. Work with what you’ve got. Get creative. The one thing that I can promise you doesn’t work: doing nothing at all because what you can do isn’t “good enough.”
If you have ideas for practicing the search and assess, adding variation to training (dry or not), I would love to hear them!
