I’m guilty of getting a little too in-the-weeds sometimes. I like to explore topics to a point of near-expertise and where possible gain some actual experience in those topics. First aid is one such topic. I’ve written several articles on first aid kits and thought I would take a moment today to add a sanity-check to the mix. Today I’m going to veer away from sexy, expensive tools and talk explore the basic first aid kit.
This article contains affiliate links.
Back to Basics
Just a real quick disclaimer: I have a very nice IFAK. I have an even nicer home first aid kit. If you have the money to buy good first aid gear I’m not discouraging you. In fact, it should probably be a bit higher a priority for most of you. However, you may have need to equip friends, family, or build kits for get-home bags, caches, etc. This is just another option to think about. The ultimate point is, don’t lack a first aid kit because you couldn’t afford or didn’t have room for the absolute best.
This idea occurred to me while putting together a basic kit for our friend, Megan. Early in the year my girlfriend and I were hiking and ran into a woman hiking alone. We started chatting with her, she hiked the rest of the way to the summit with us, and got lunch with us afterward. Since then we’ve hiked with Megan at least once a month. She’s a great chick and we love hanging out with her…but she’s not really a hiker. She’s definitely expanding her range with us, but I’ve noticed she’s a bit ill-prepared for any kind of problem.I’ve taken it upon myself to start helping her become more prepared. I consider this part of being a “decent human being” (to borrow the words of a paramedic instructor).
The Basic First Aid Kit
The first thing I decided to do for her was put together a very basic first aid kit. When most of you think of first aid kits, your mind probably goes to tourniquets (above all else!), decompression needles, hemostatic agents… But here’s the thing: those items are relatively very expensive. A good IFAK, whether purchased as a kit or put together yourself can easily set you back $100 or twice that much.
Along with my IFAK, I also have the training – and am steadily gaining the experience – to be able to use every item in there to great effect. No offense to Megan, but most IFAK-oriented interventions are probably wasted on her, at least for now. In the future with some training I have no doubt that she’d be able to use anything in my kit but for now? She’d probably be better off saving her money. That doesn’t mean she has to be wholly unprepared to deal with a wound in the wilderness, though.
Finally, a really robust kit takes up space, and can be intimidating. I want something with a few basic supplies that can be useful, without scaring her off. I also want something that she’ll actually be willing to carry because it doesn’t weigh a ton or take up a ton of space.
So I started thinking and re-calibrating my idea of what a “basic” first aid kit looks like. What are you likely to actually need at the very basic level? What are you able to effectively employ at a very basic level? Odds are you you have a “Megan” in your life. She may be a friend, a girlfriend, a wife, a husband, a son or daughter, a parent… You probably know someone who could use some basic first aid gear. They aren’t yet convinced to spend the money, and they don’t have a ton of training, so rather than buy them a top-of-the-line kit, maybe make them a basic first aid kit.
Basics: Dressings and Bandages
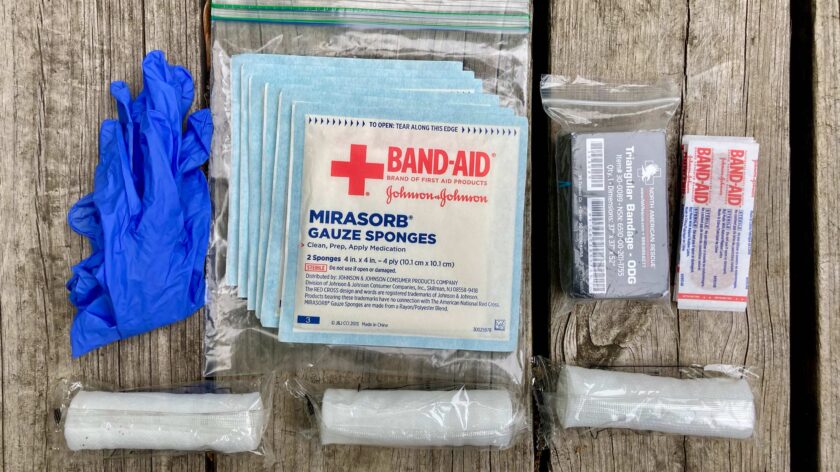
I started with looking through my (rather extensive) set of first aid supplies. I decided that my giveaway, basic first aid kit would contain some basic bleeding-control supplies, a triangular bandage, a few adhesive bandages, and a pair of nitrile gloves. Let’s look at why I chose these items.
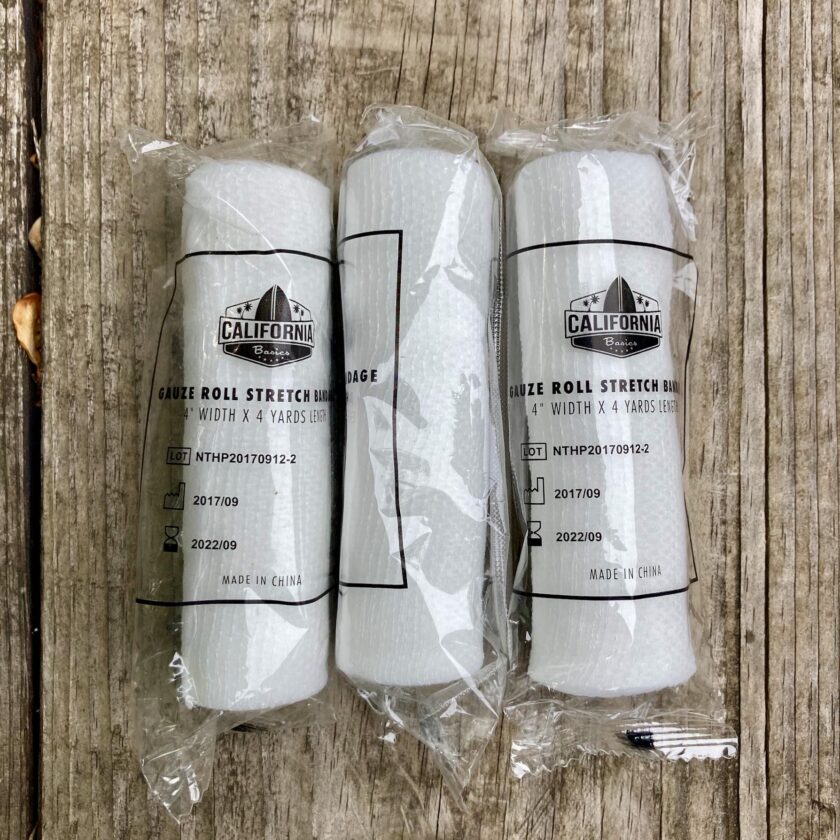
It might not seem like it but you can do an awful lot of work with a few 4×4 bandages and a roll or two of gauze. You can cover fairly large abrasions and avulsions. Deep lacerations can be closed with a 4×4 wrapped with a roll or two of gauze. You can pack a penetrating wound with a large, open wound track (try to leave tails of gauze outside the wound – this is not x-ray-opaque gauze). Though definitely not as cool as the latest, greatest QuickClot dressing, it will do if you will do.
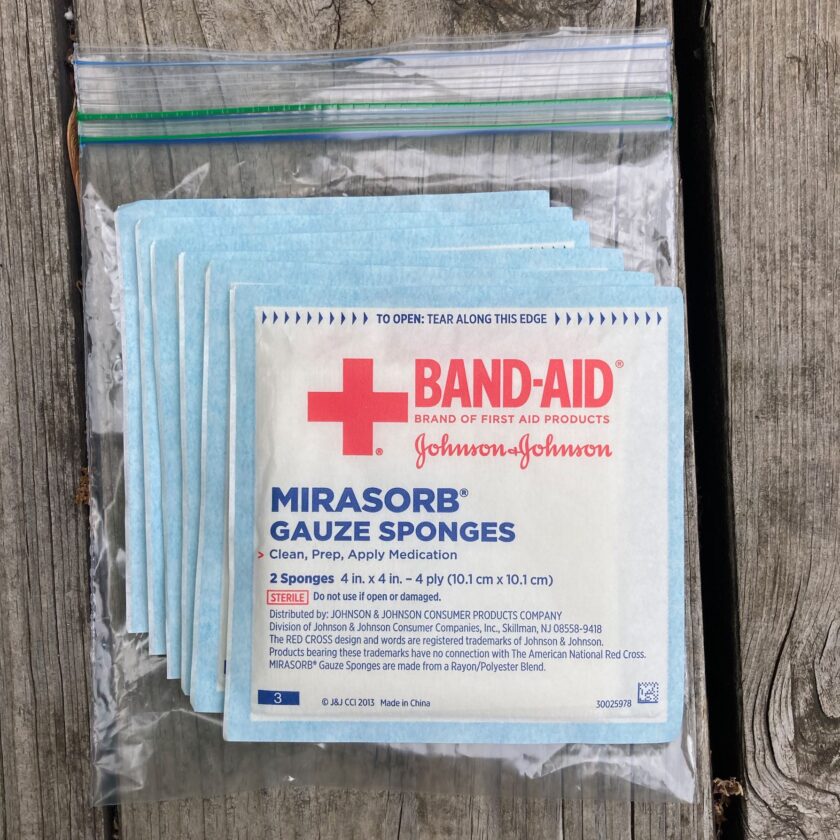
Personally, I like individually-wrapped bandages. You can get bulk-packs of both roller gauze and 4×4 dressings for quite a bit less money. For outdoor use I like to keep each bandage clean; after all, it might one day be in direct contact with a wound. You’ll note that the 4″ roller gauze below is off-brand. To me that’s OK – this is out of my bulk stock of stuff. All I care about is that it is decent quality and each roll is individually wrapped.
Basics: Triangular & Adhesive Bandages
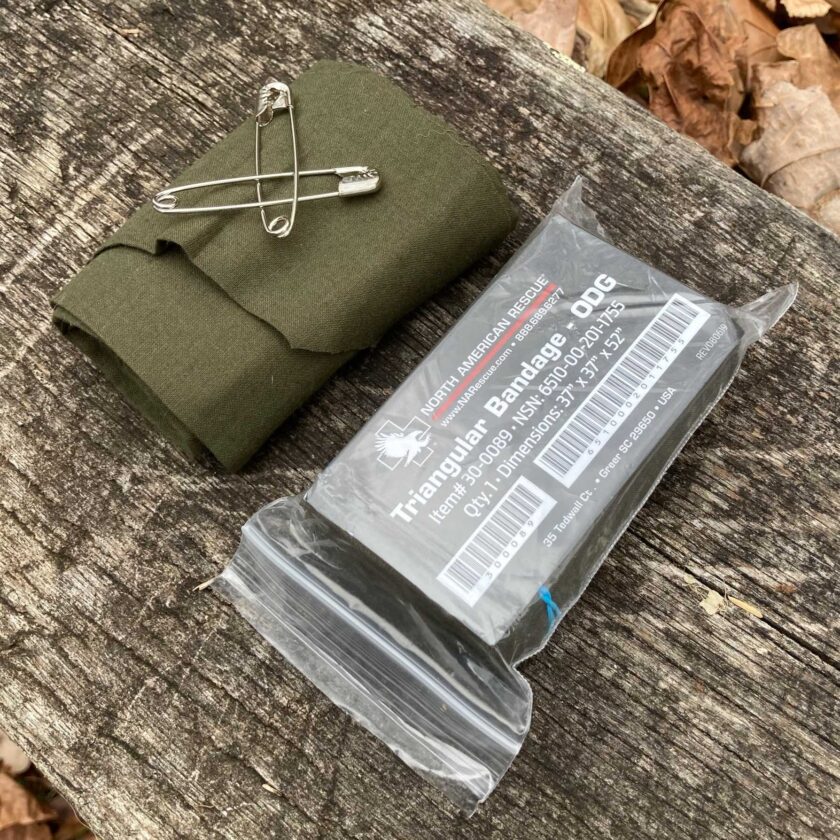
Next, I included a triangular bandage. I believe the triangular bandage is the multi-tool of the medical world; it can be a dressing, bandage, or sling. It can secure a splint, dress a head wound, or perform any number of other tasks. In fact, I think so much of the triangular bandage that I dedicated an entire article to it. The triangular bandage here is from NAR. It’s a fantastic triangular bandage, but I’m not sure I would spend the money for it for a very basic kit like this. Rather, I might go with some less expensive, bulk-pack bandages from Amazon, unless your crew really knows how to squeeze the maximum utility out of a triangular bandage.
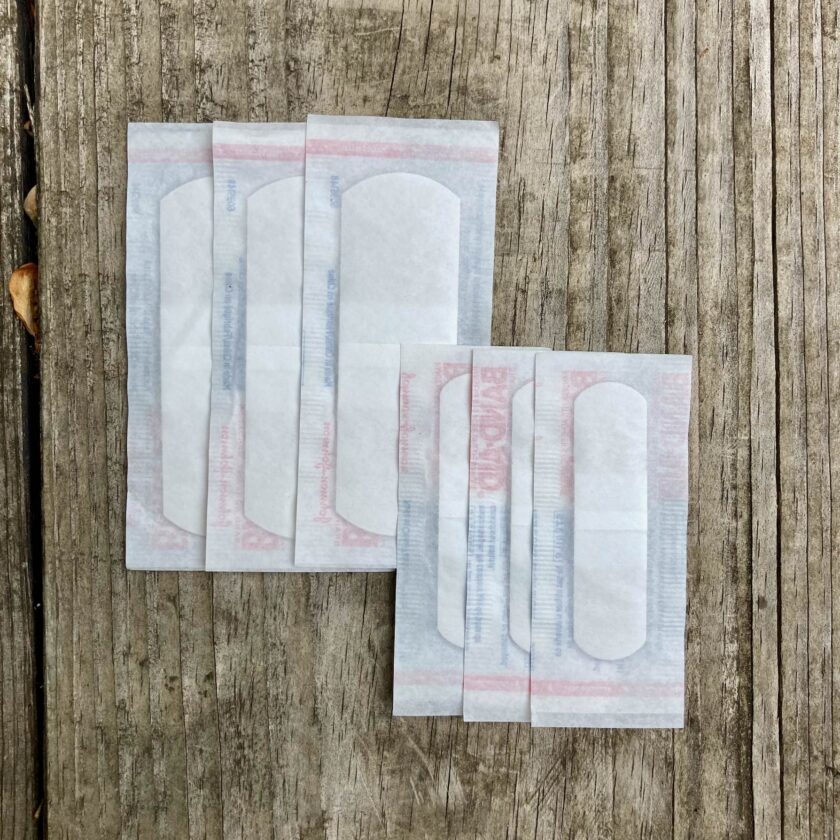
Next, I threw in a couple of optional items: adhesive bandages and gloves. I know some people are against having Bandaids in a blow-out kit, but personally I don’t mind. If I’m treating a high femoral bleed or tension pneumo they aren’t going to slow me down that much, and they’ll come in handy much more often that just about any other medical tool or supply.
Basics: Gloves & Container
I also like having at least a pair of gloves. I know the operator-mindset of “we don’t have time for gloves,” but again I disagree. First, in this case, I want Megan to be confident enough to provide first aid, to me or to another hiker on the trail. If I can remove a tiny bit of hesitation, then good.
Secondly, for my part, I have no interest in getting your body fluids on my hands and under my skin. You probably also don’t want my nasty trail-hands inside your wound, so it actually works for both of us. A lot of tactical guys like black gloves. I’d stay away from then in favor of a color (white, orange, blue) that actually shows blood when you do a blood sweep.
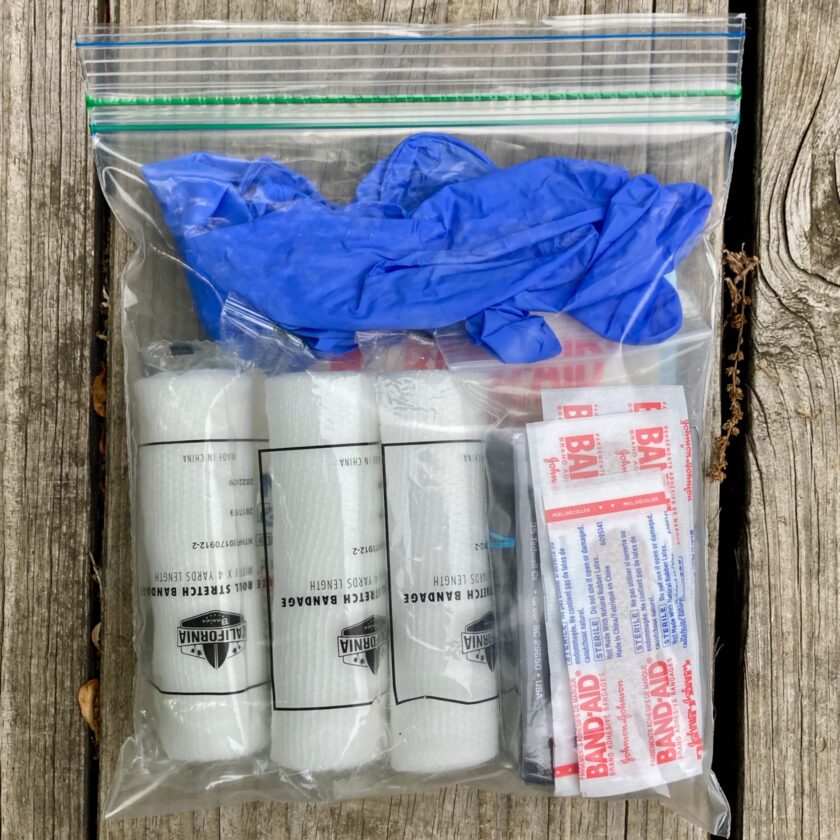
For a container I used a simple quart-sized freezer bag. It’s not fancy but it adds almost no size or weight, is fairly robust (and replaceable if it fails), and protects the contents from dirt and water. And, if need be, it could make a large occlusive dressing.
How Does the Basic First Aid Kit Stack Up?
So how does this basic first aid kit stack up to a solid IFAK?
Capability: Well, the capability isn’t up to the capability of a thorough first aid kit – there’s no denying that. Then again, this kit is aligned to a certain band of training. It’s doubtful that a fully stocked ambulance would be much more useful in the hands this kit is intended for. So there’s that; let’s look at how it compares otherwise.
Size and Weight: this is a hands-down winner. Anyone should be able to carry this kit. It will fit in the most overloaded backpacks, a cargo pocket, or even in a large purse. And as for weight? This kit weighs 4.0 ounces, as-is. My IFAK weights almost eight times that, at 1 lb, 15 oz.
Cost: The basic first aid kit is a hands-down winner in this category, too. Let’s add up the cost (forgive me – I’m going to get pretty detailed here:
- 4×4 bandages, individually wrapped, 25-count: $7.99
- 4″x4 yard roll gauze, individually wrapped, 12-count: $6.99
- Triangular bandage, 40x40x56, 12-count: $7.51
- Bandaids, 100-count various sizes: $6.88
- Medium nitrile exam gloves, 100-count: $15.99
- Quart storage bags, 12-count: $8.72
The total is $54.08 for all that stuff. Now, that’s getting into low-end IFAK territory. However…that’s enough materials for four of these kits assuming you use the same quantities I did. That’s just $12.50 for a lifesaving kit (I could prorate the cost and make each kit cheaper but that’s not how you’d actually buy the stuff so…) plus plenty of stuff to spare. After building all the kits you’d still have eight triangular bandages (good to have on hand), a bunch of Bandaids (you’ll use ’em), a ton of nitrile gloves (again, not bad to have on hand if you’re thinking about preparedness), and 116 storage bags (use them to waterproof the items in your ruck). Or you could buy larger boxes of 4x4s and gauze and make up to a dozen kits (your cost per unit would drop quite a bit).
Closing Thoughts
There’s one other thing I haven’t mentioned here and that’s training. I don’t think any regular reader should doubt that I’m all for training. One thing we will be doing with Megan is teaching her as we can, and encouraging her to get some training on her own. You should do the same. I strongly recommend getting some training and consider the EMT-Basic curriculum to be a great starting point for anyone serious about being prepared for medical emergencies.
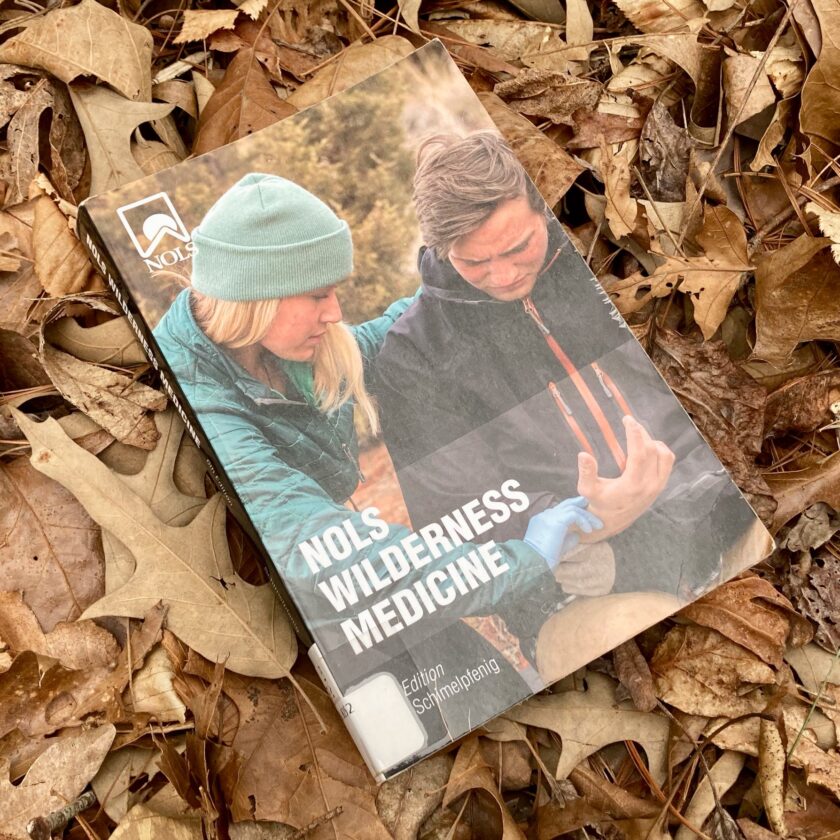
Since training isn’t infinitely available, the next-best thing is probably a book. I’ve read a lot of books this year, and a lot of books on wilderness first aid. So far my hands-down favorite is NOLS Wilderness Medicine. In my opinion it’s clear, concise, thorough without being overwhelming. It’s the best wilderness first aid book I’ve yet to run across. It’s safe to say I’ll be loaning my copy to Megan.
And that’s it – nothing sexy, nothing that looks good on Instagram, nothing that’s gonna fill that side panel on your chest rig. Just good, solid, high-probability gear. Again, there’s nothing wrong with a good IFAK. I’d rather everyone in my family have on of these than one person have a great kit, though. Just something to think about.
The basic first-aid kit doesn’t get a whole lot of respect these days, but it should; there’s still a place for it.
