

If you’ve followed the self-defense community for ten minutes, you’ve been told you need to carry a tourniquet. And that’s cool – tourniquets absolutely save lives. Unfortunately, it’s also a bit reductive to say, “if you have a tourniquet you’re medically prepared.” A tourniquet is to a human what a battery charger is to a car: the perfect tool for one specific task, but not helpful for most problems you could have. Thanks to the infinite variation of the human body and insults to it, your medical knowledge should go well beyond the tourniquet.
Disclaimer
First and foremost, nothing herein should be taken as medical advice. Reading these posts cannot substitute for high quality, in person, emergency medical training. This is intended to help educate and teach principles and practices, particularly given the current pandemic. No warranties of completeness or lack of errors are expressed or implied. The author believes the concepts and techniques described here are valid and effective, but make no guarantees.
The Baseline
Alright, with that out of the way, picture this: you’re a generally prepared person who’s rarely caught without your sidearm of choice, at least one knife, and you’ve even been making a major effort lately to carry medical gear of some kind – maybe it’s in your backpack or your sling bag.
Sound familiar? If you’re really on it, you’ve sought out some training, too. Something like Stop the Bleed or some of the offerings from folks at places like Lone Star Medics or Dark Angel Medical. You may even feel like you’re ahead of the curve, and frankly in many ways you are. Staying well “left of bang”, as it were.
Now, let me throw you a curve ball. Given the circumstances as of this writing (COVID-19, for those reading this later), it may require some suspension of disbelief, but come along with me for an interesting ride.
The Scene
Envision the scene with me – you’re making your way through a crowded airport with a group of coworkers, on your way to the plane. You get to the gate, ready to board, when out of nowhere, you notice a coworker in her mid 50s ahead of you in line slowly lean over, then crumple and slide her face along the carpet. Ah, crap.
You watch the crowd as nobody makes an effort move towards Jane. Guess who’s up? The coworker people know always has the multitool or the pocket knife close to hand, and seems prepared for just about anything – the rest of your group turns to look at you. Well, it’s not trauma. Not at all, excepting maybe the carpet burn on her nose. What are you going to do with the tourniquet in your back pocket now?
Welcome to the realm of emergency medicine – where nobody knows what’s going on, but somehow everyone wants to stick their nose in and “help”. This will be a recurrent series here on SSD, where we’ll walk through various kinds of medical and trauma scenarios while talking about basic emergency medicine concepts, with a potential for some deep dives here and there as well.
Now, back to the airport.
First Steps
First things first; it was just Jane who collapsed, so we know we’ve got one patient. Increased numbers of patients will absolutely change your calculus – it also helps rule out things like enemy action. If one person collapses, that’s an emergency and you can go help. If a bunch of people collapse, unless you’re a practicing professional I’d encourage you to find somewhere else to be.
This is also a good time to activate the professionals – make sure someone has called 911 or otherwise activated the emergency response team. In this case, point at one specific person and tell them “You, please call 911 and tell them someone fainted”. If you don’t pick someone specific, and just ask the crowd, something called the bystander effect takes over and nobody calls, because everybody thinks someone else is going to handle it.
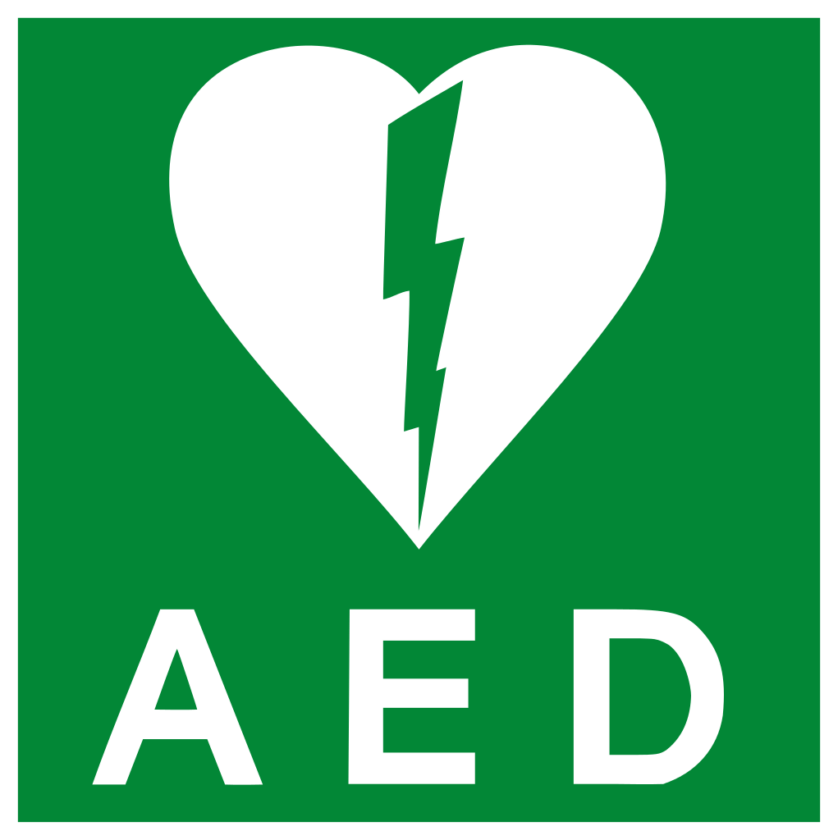
While you’re at it, pick someone else and have them go get the nearest AED – we might need it!
Patient Assessment
Now we begin our assessment – I am a big fan of the military/TCCC/TECC model of patient assessment, MARCH:
M – massive hemorrhage (lots of bleeding)
A – airway (can air get in and out?)
R – respiration (is the patient breathing properly?)
C – circulation/shock management (how do they look/blood pressure)
H – head injuries (traumatic brain injury, etc)
This model is mainly aimed at otherwise healthy trauma patients, but it’s a useful framework and although it has its limitations, I find it’s helpful because it’s a little more in depth than the ABC “first aid” model, especially since some folks advocate for a “CAB” order… it just gets confusing. For the curious:
A – airway
B – breathing
C – circulation
First, some scene assessment techniques:
We’ve got one patient, and it looks from here (sometimes called the “doorway assessment”) like she went unconscious (this would be her “chief complaint” in medical parlance). Furthermore, you can see her chest rise and fall – so we know she’s breathing. That’s good. If you think of it, make a note of the time – it can be useful later.
Now, approaching her, you’ll first want to observe the crowd and the area for your own safety – your oxygen mask goes on first, remember. If there’s a threat to you, don’t go anywhere near it. Not only will you not be able to help her, you’ll create more (paper)work for the pros when they do show up. And if there’s one thing we hate, it’s unnecessary paperwork.
So far so good. If you have gloves, it’s a good idea to put them on about now – people are gross, they carry diseases, and when people pass out (or wake up from passing out), they frequently vomit. Yuck. If you don’t, it may be time to include those in your gear bag soon. As a bonus, you can write things like the time on them. Now, let’s get into the MARCH assessment.
M
First things first, you don’t see any bleeding, so that’s M handled.
A
We’ve already seen she’s breathing, but to satisfy A, we have to make sure it’s normal sounding breathing. If we hear snoring, gasping breaths, or an irregular pattern of breathing, we need to make sure the airway is open.
Now, remember I said she slid on her face? We’ll need to roll her on to her back – this helps with assessment, and with airway patency (AKA keeping the airway open).
We do this a number of ways in the field, but the simplest method is to use a manual maneuver – the first of which is the head tilt/chin lift:
An option is the jaw thrust – this both opens the airway without disturbing the cervical spine (important if, say, they fell down a flight of stairs), and provides a bit of painful stimulus to the patient; don’t be surprised if they wake up when you try this.
Now, I’m not going to get in to airway adjuncts here (nasopharyngeal airways – the rubber hose up your nose – and the like), beyond mentioning they exist – that’s a topic for another post.
As you approached, you heard Jane snoring. So you, or if you’re feeling commanding, someone commandeered from the audience you’ve inevitably attracted will hold Jane’s head in position after you’ve performed the head tilt/chin lift maneuver. When this is done, the snoring goes away.
R
You notice now that the airway is open, the breaths sound, as far as you can tell, normal. The main thing is that the rate and depth are normal – most people take one breath every 4-6 seconds, for context. If the pattern is irregular or the patient sounds like they’re gasping, you’d better move quickly to the next step, because they may be in, or nearing, cardiac arrest (where the heart can no longer pump blood effectively)
C
Circulation – now that we’ve established she’s breathing, you should check Jane’s pulse.
If you don’t know how, it’s surprisingly simple. Most people have carotid (neck) or radial (wrist) pulses that are easy to find. If you don’t do this regularly, check your own pulse and commandeer friends and family to check pulses on.
Everyone is slightly different, but two main things apply – always use fingers, not a thumb (your thumb has a pulse of its own), and don’t press on both carotid arteries at the same time (turns out, the brain needs blood).
H
Head injury is not terribly likely; we described Jane slumping over rather than falling like a felled tree.
Now is when we as professionals would begin our “differential diagnosis” process, where we look for what’s most likely to be going on as well as what could be going on that would be most deadly to our patient – this is an advanced skill, but we’ll have another post about how to begin this process.
That’s the algorithm in a nutshell, and this will be enough to keep Jane alive until emergency providers arrive. But what if something changes before they get there?
Next Steps
Remember the AED we brought over? If Jane were to stop breathing, that kit most likely has a pocket mask inside it with a one-way valve we can use to breathe for Jane while maintaining her open airway; this may be a 2 person job – this is called “rescue breathing”. The one-way valve in the mask prevents us as a responder from getting sick or ill (or getting Jane’s vomit in our own mouth – gross).
If she stops breathing (called respiratory arrest), rescue breaths may keep Jane from progressing in to cardiac arrest.
Rant Warning
This is about Narcan (naloxone, generically). I’ll write a whole post on my frustrations with Narcan if there’s interest, but this is the meat of it here.
What kills people who overdose on opioids is respiratory arrest – not breathing leads to a lack of oxygen (duh, I hope) in the blood and in the brain (hypoxia) which in turn kills the victim.
Now, Narcan reverses the effects of opioids (in most cases), but it does not immediately restore respiratory drive. Guess what does? That’s right, rescue breaths. Everyone loves to talk up Narcan, but if you can rescue breathe for someone who’s overdosed, you can keep them alive without any fancy drugs.
Back to Jane, if rescue breathing doesn’t keep things stable and she deteriorates further (loses her pulse), this is where CPR (chest compressions and ventilations) needs to be started and the AED applied. Each AED is a bit different, but all the one’s I’ve ever seen have pictures and voice prompts that you can follow.
Now look at that – you’ve got some additional tools in your toolbox!
Please note, some of this runs contrary to the “hands-only CPR” that’s taught, as well as some of the official American Heart Association guidelines for lay responders – my suggestions are arguably more “advanced” than theirs, because they’re casting a wide net; I am aiming this piece for a more particular audience.
I think this is enough for today, but now you’ve got a basic framework for patient assessment and a general idea of how to keep an unconscious casualty from deteriorating any further.
Until next time.
Tim is a firefighter, paramedic with critical care education, and rescue technician, sporting a formal educational background in business and economics. He is the primary author at KTStrategic.com, and an emergency medicine educator for laypeople as well as medical professionals.


1 thought on “Beyond #TQ: The Unresponsive Patient, Part 1”
Comments are closed.