Welcome to the first article in my “Know a Knot” series! There’s little that tells me more about a man that his ability to tie a knot, or not. Knowing how to tie a knot or two means you’ve taken the time to learn how to tie a knot, when it is useful, and when it isn’t. If you’re stuck at home, learn to tie a few knots over the next few weeks. This knowledge will serve you well (to steal Jack Spirko’s line) if times get tough, or even if they don’t. Today we’ll start with a very important knot: the Figure-8 loop.
If You Haven’t Been Taught, You Don’t Know
This knot seems so common that it’s hard to imagine anyone not knowing how to tie it. Unfortunately, you don’t know anything that you haven’t been taught. I’m a good example of someone that didn’t know this knot at one time. I’ll never forget it: I was a boot-ass corporal who had just arrived at 3rd Recon Battalion. A bunch of dudes from the Battalion were being used as SPIE-rig dummies (Special Patrol Insertion/Extraction; dangling from the bottom of a helicopter).
Our primary connection to the SPIE line was a harness, but the rope served as a redundant safety line. We all had to tie our safety line, which consisted of a around-the-body bowline just under the arms, and a Figure-8 loop at the end of the line. Not having been taught a Figure-8 loop (yet), I went to present our rigger with my safety knot for inspection…and showed him an overhand loop. Feels stupid to admit now, but perfectly illustrates: if haven’t been taught it, you don’t know it. Let’s get into the Figure-8 loop.
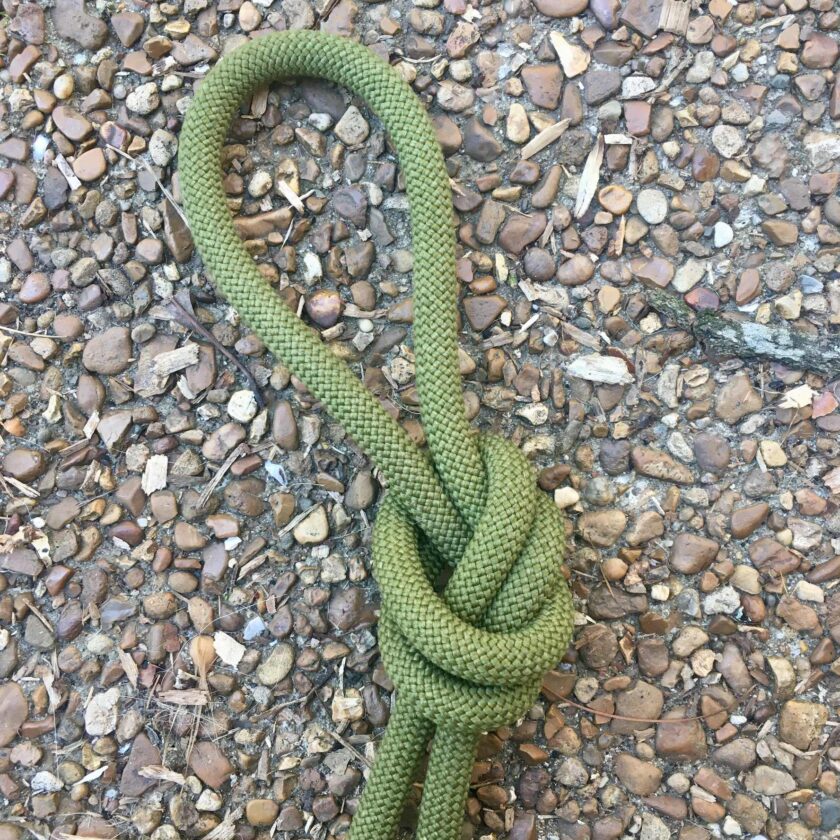
Figure-8 Loop: Purpose
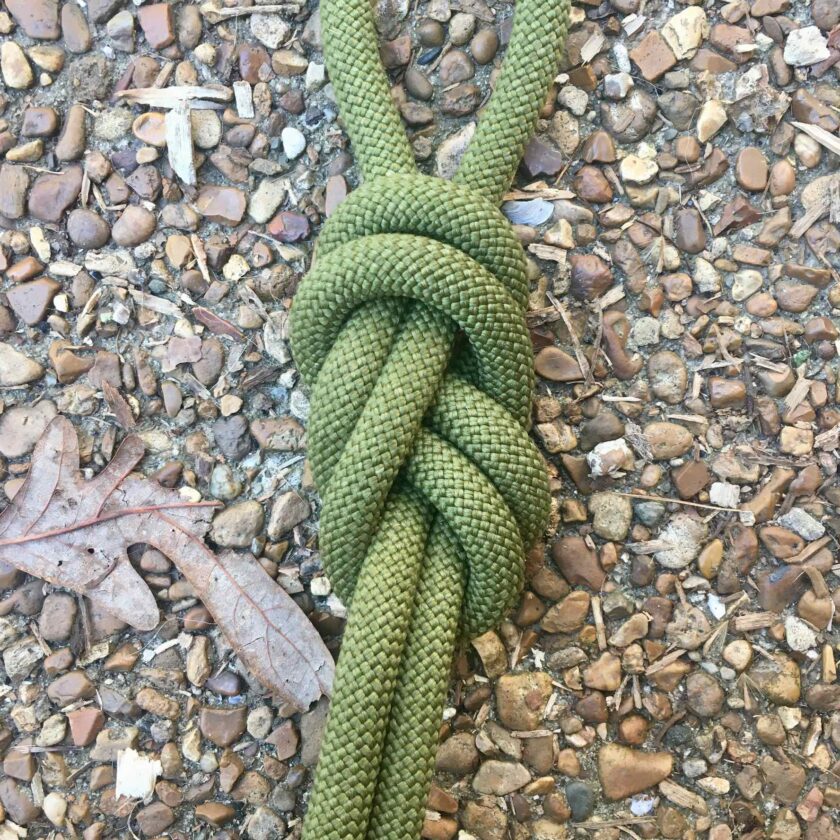
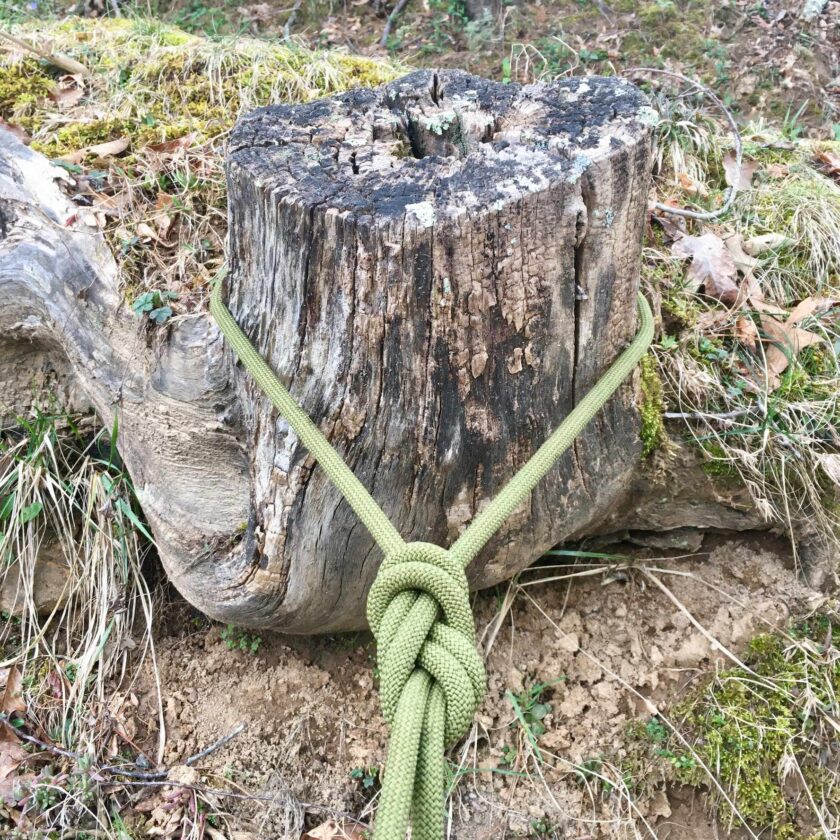
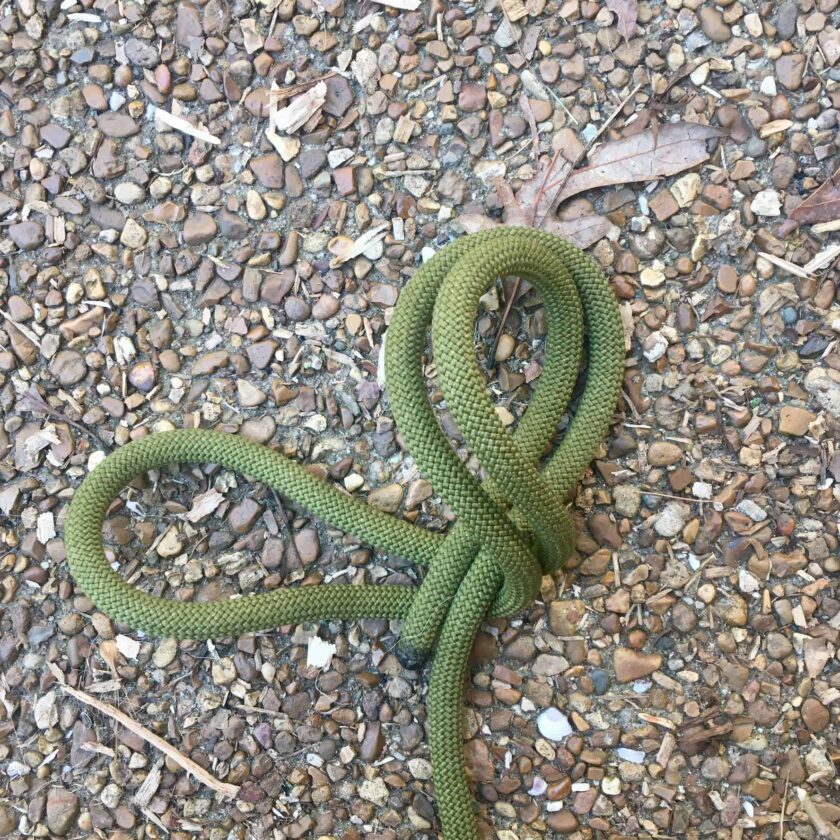
The Figure-8 loop (more technically a Figure-of-8) is an “anchoring” knot. It places a sturdy loop at the end of a line. This loop can be small, like the one in the photo above. This would be the ideal size to clip a carabiner onto, or slip over some stationary object. This loop can also be large, like the one shown below, that was tied to slip over that stump.
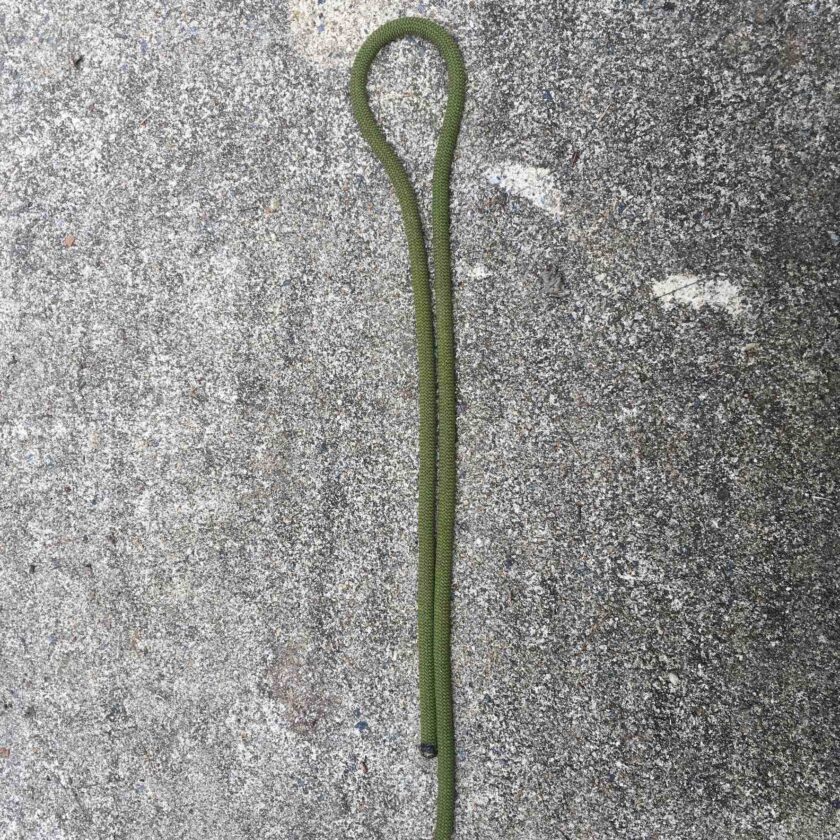
Tying a Figure-8 Loop: Step 1
First, form a bight. A bight is simply folding the rope back on itself as shown below.
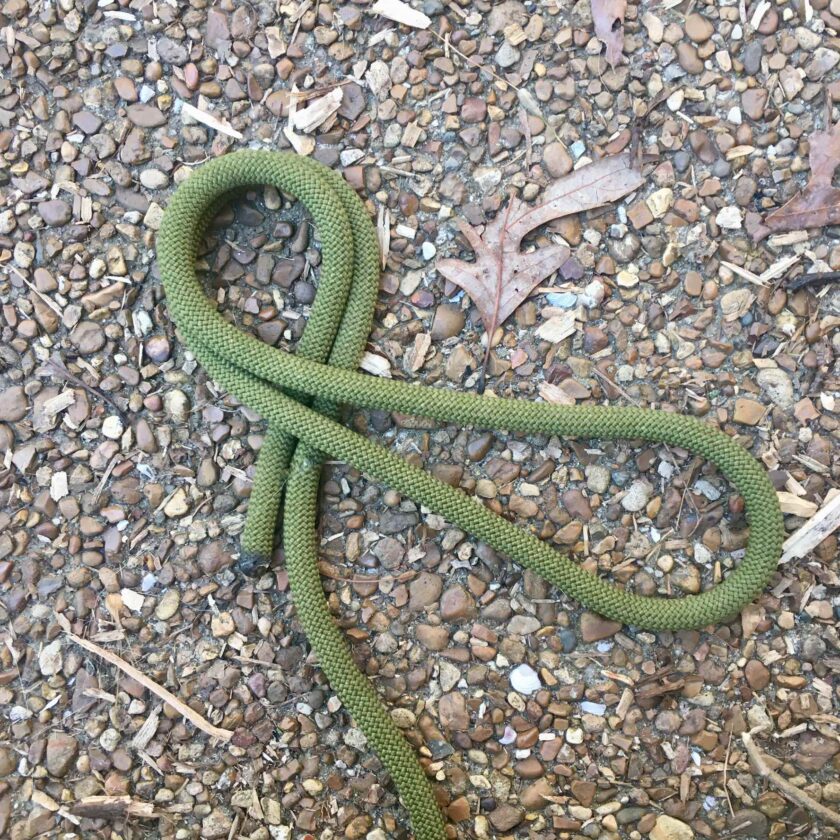
Tying a Figure-8 Loop: Step 2
Tying a Figure-8 Loop: Step 3
Tying a Figure-8 Loop: Step 4
Tying a Figure-8 Loop: Step 5
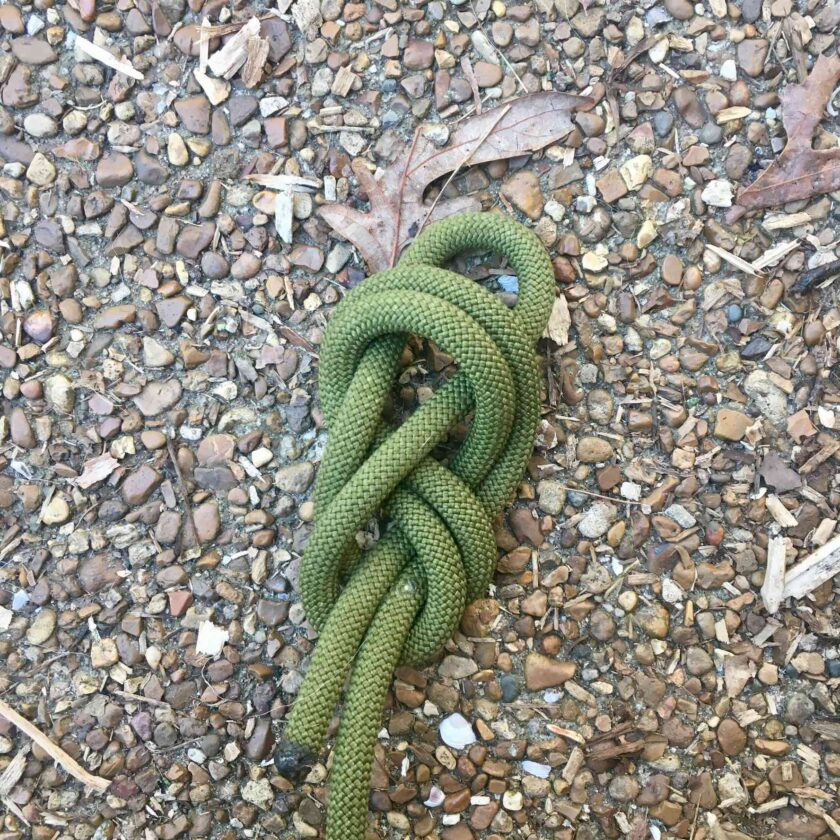
Now, clean it up. Yes, neatness counts – a messy knot is an unhappy knot. The knot below is sloppy and unhappy.
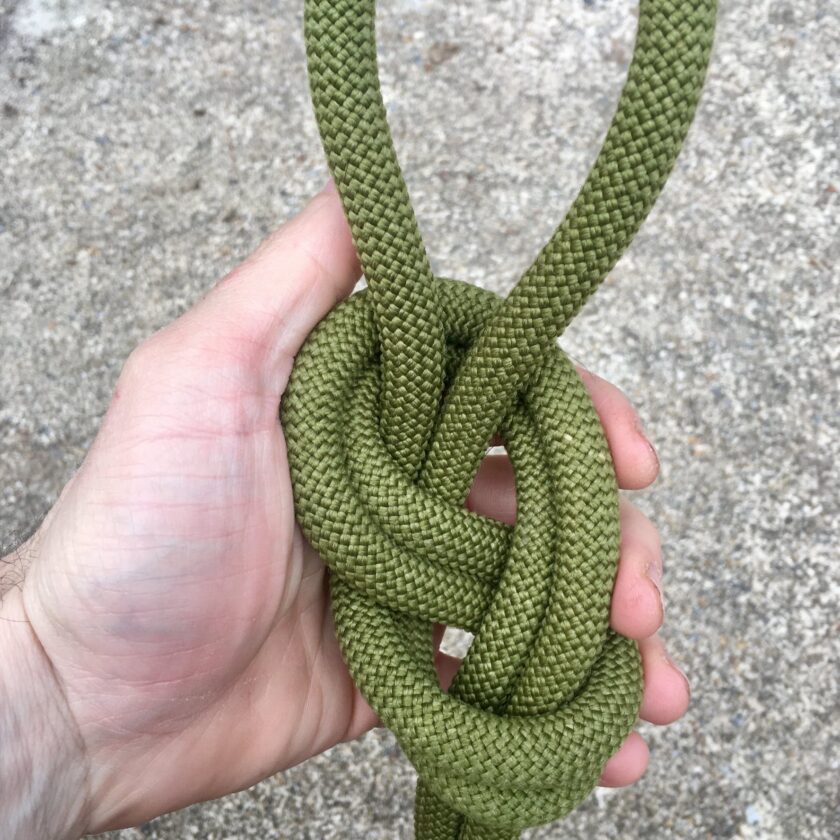
All the lines should be running right beside each other. After a little cleanup the knot below is good-to-go. See the difference?
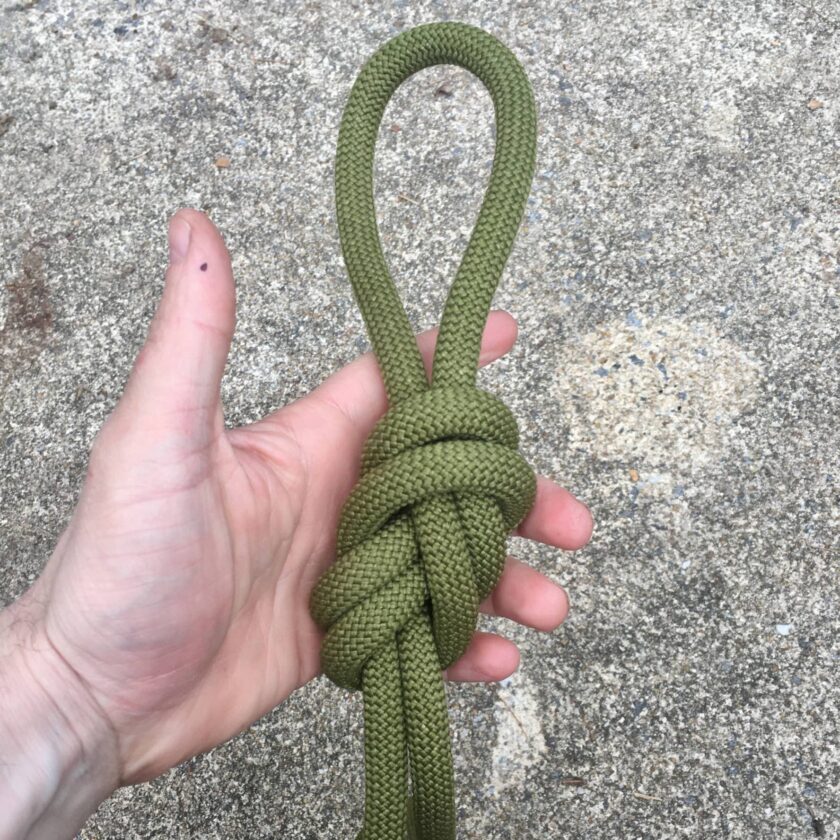
Also consider the size of your loop, and the length of the “pig tail.” The loop should be big enough to accommodate whatever you are attaching to it, and not much bigger. Excess line in the loop eats up the length of your rope in a hurry. If you’re simply clipping a carabiner onto the loop, you don’t need a very big loop. If you are throwing the loop over a stump, obviously it needs to be bigger.
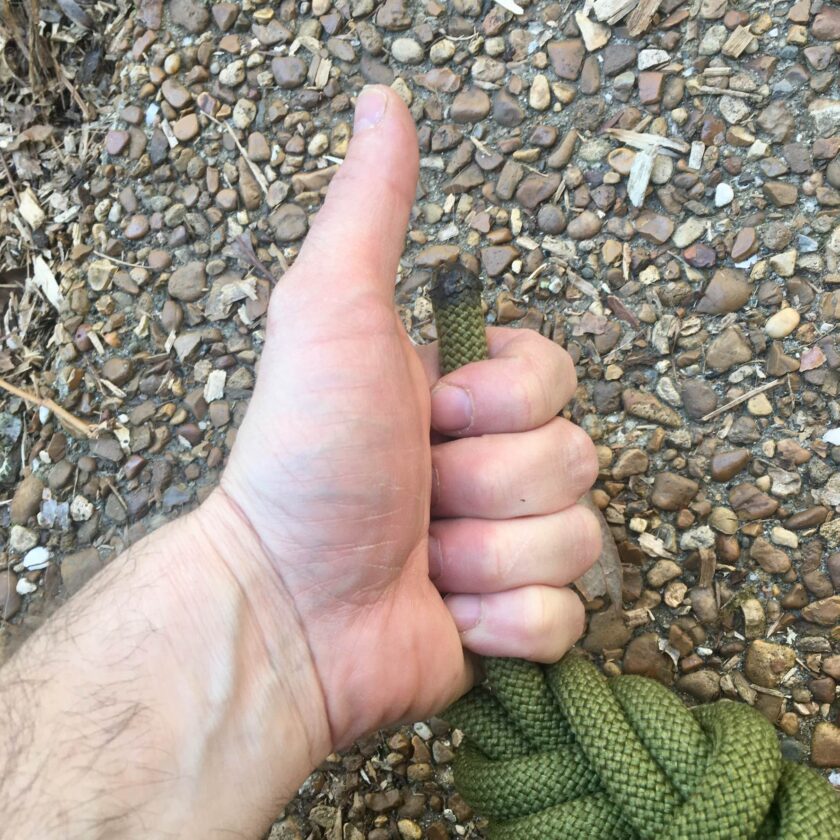
Our rule in the military regarding pig tails was somewhat arbitrary, but I think it’s a pretty good rule: your pig tail should be between a fist, and a fist and a thumb. This means that when you grasp the pig tail in your fist, the end should protrude out of your fist, but not past the tip of your outstretched thumb.
That’s it, that’s the Figure-8 loop, and awesome anchoring knot. Stay tuned and I’ll be back next week with the next knot in this series.