A few weeks ago I wrote about sustainable, long-term heating and cooling considerations. In the interest of practicing what I preach, I recently had a wood stove installed in our home. I built the hearth and hearth pad for the stove. For the hearth, I used a product called AirStone. Using this stuff requires very little skill. The hearth pad was a bit more involved, however. Below is a more or less step-by-step photo series of my creation.
Building a Hearth Pad
The first step was determining the appropriate size. According to the manufacturer’s installation instructions, the hearth pad needed to be at least 32″ wide and 33 1/2″ deep. For simplicity’s sake I went with 48″x48″.
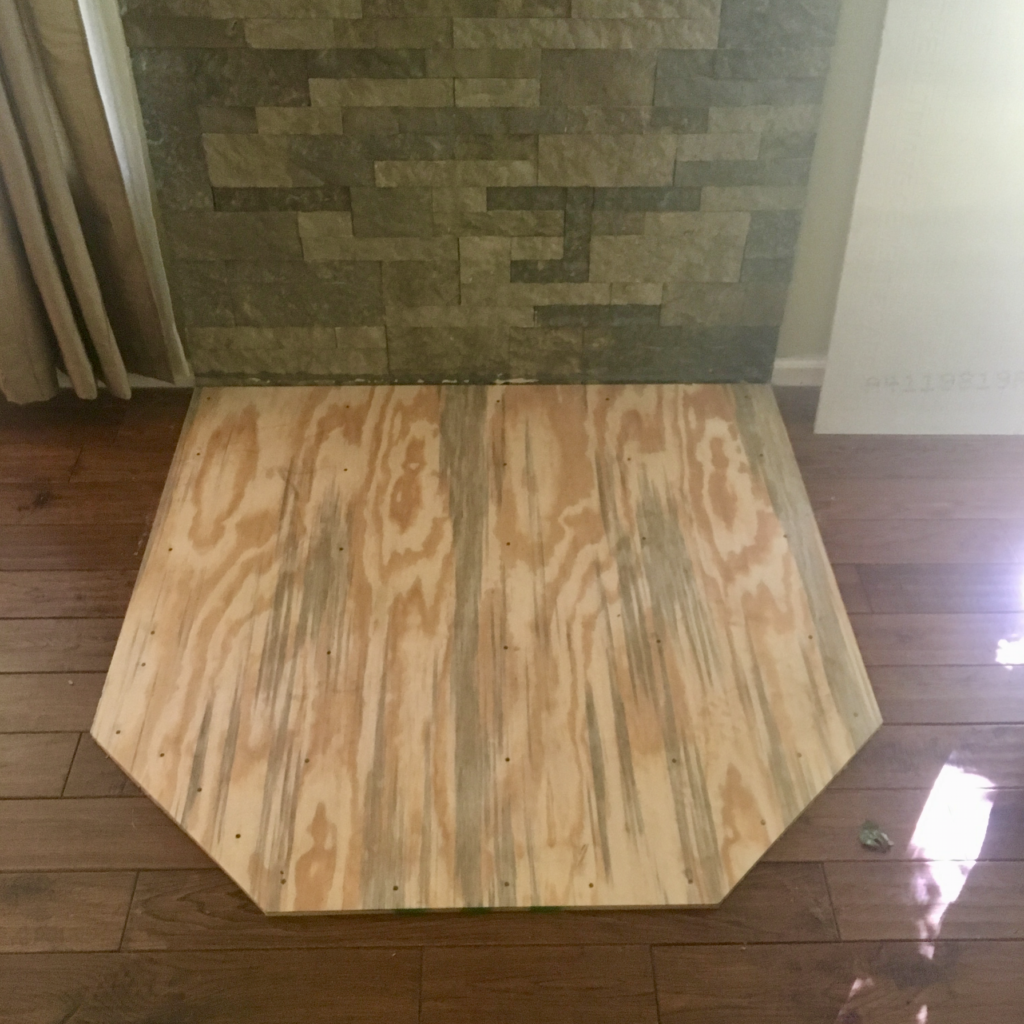
I began with a simple 15/32″ plywood underlayment. I nailed this down with 8d nails.
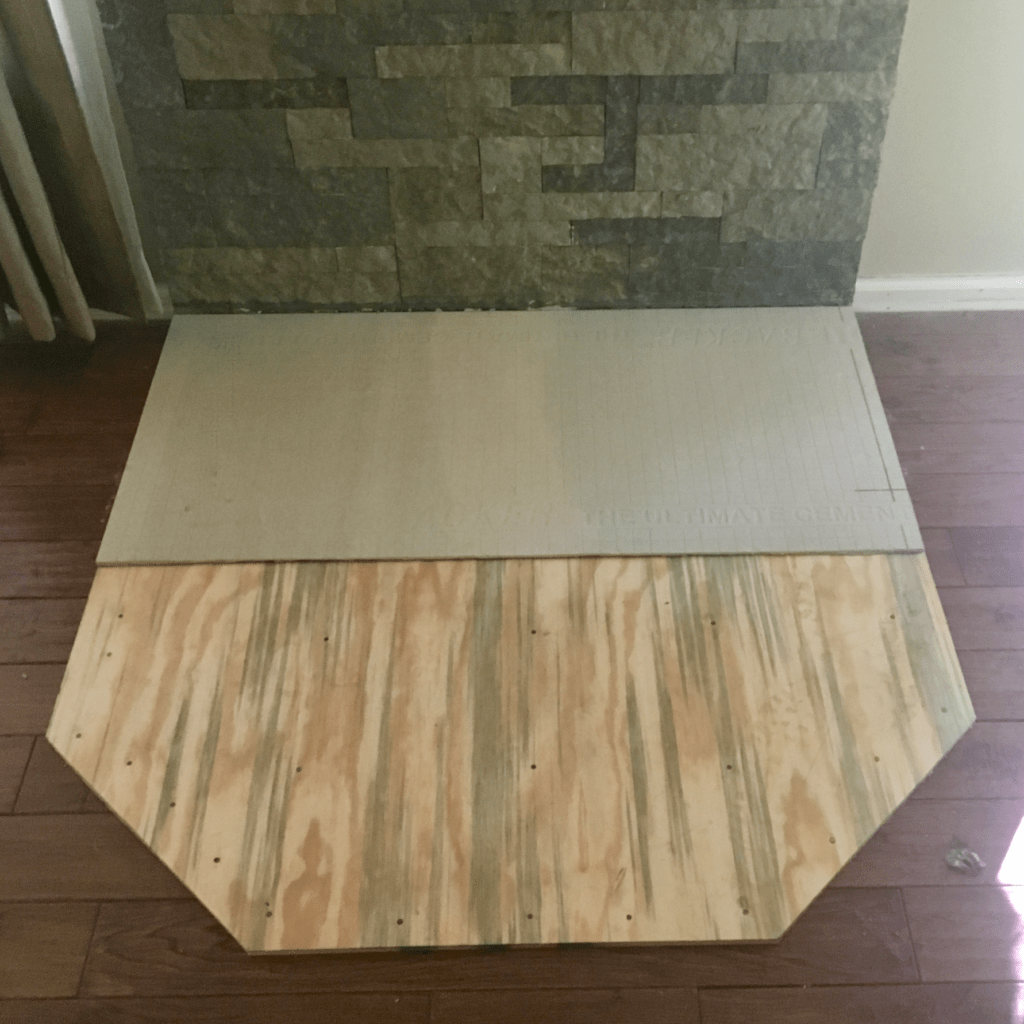
Next, I applied a layer of HardieBacker cement board. The only size I could find was 3’x5′. Unfortunately this required purchasing two pieces of HardieBacker, and cutting both. I used a simple utility knife to score the Hardiebacker.
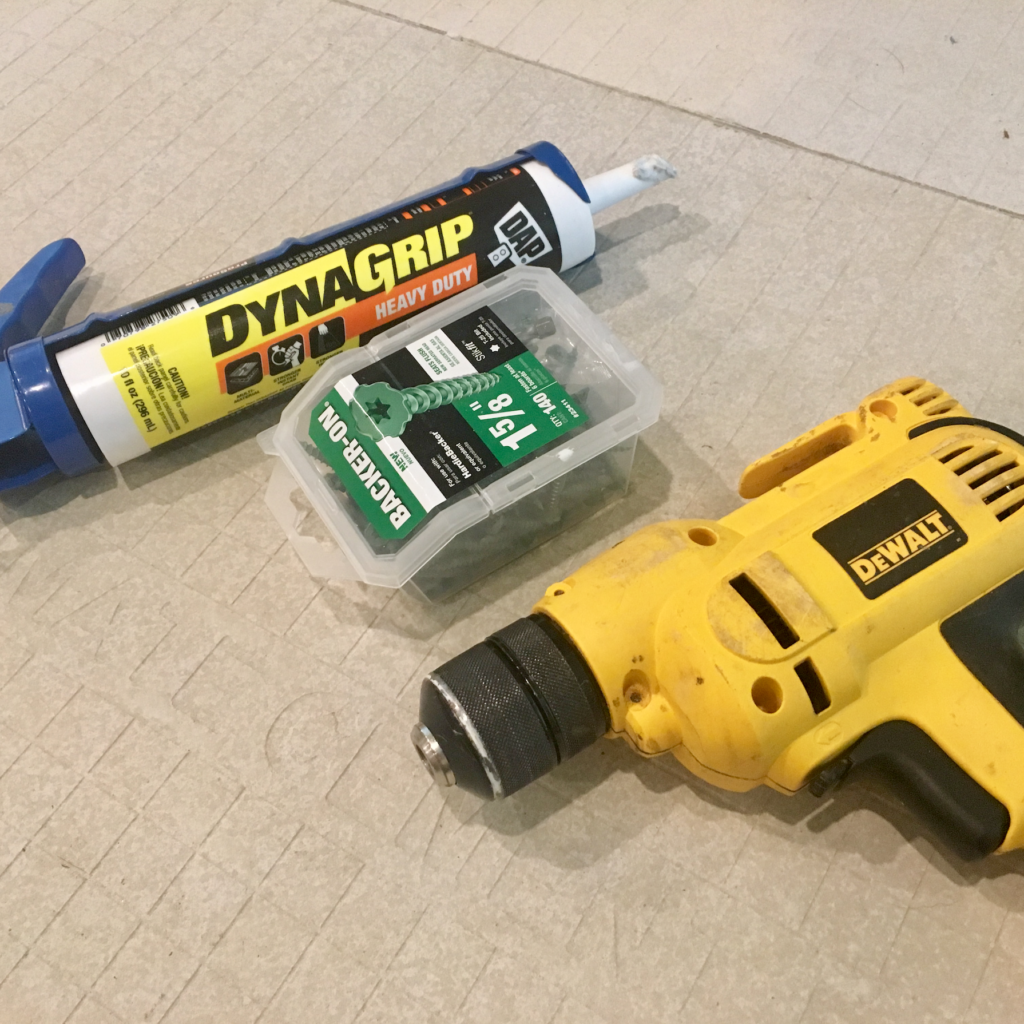
I secured the HardieBacker with glue and screws made specifically for cement backer boards.
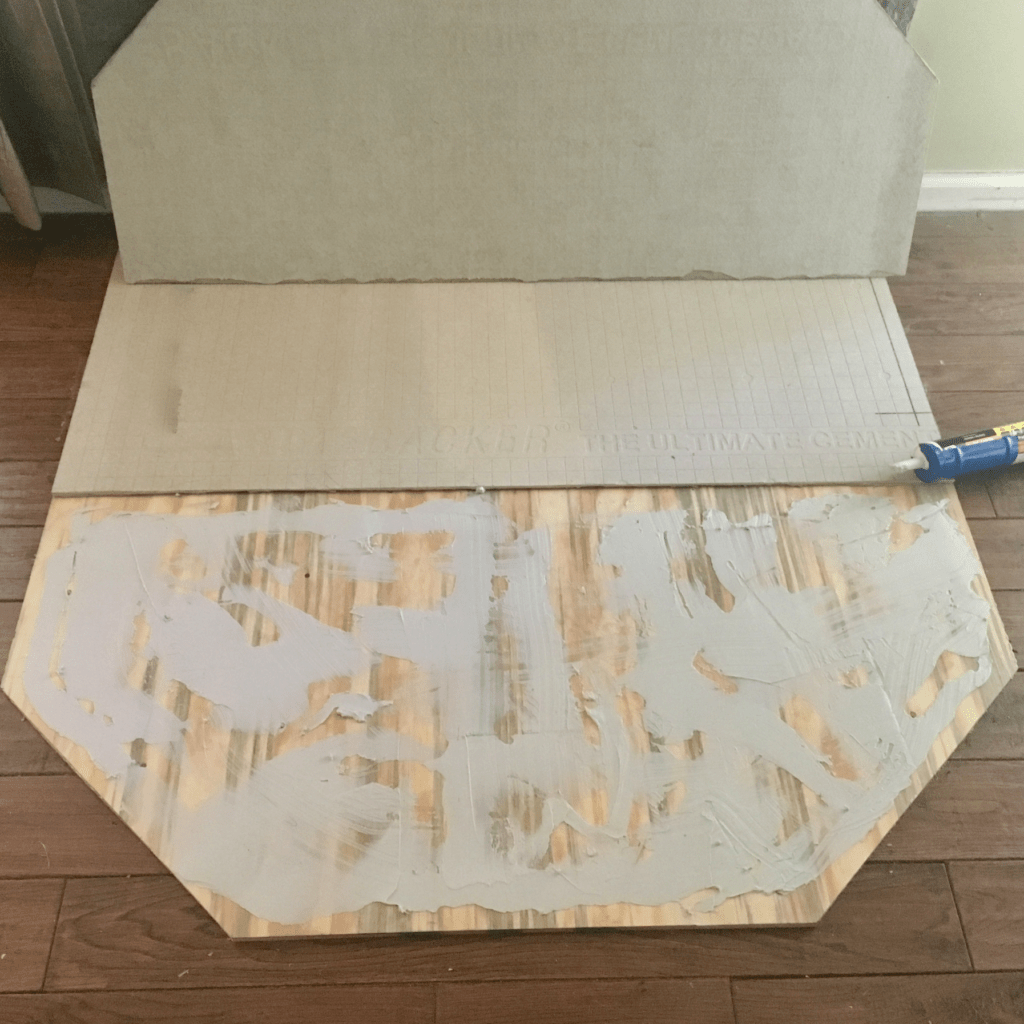
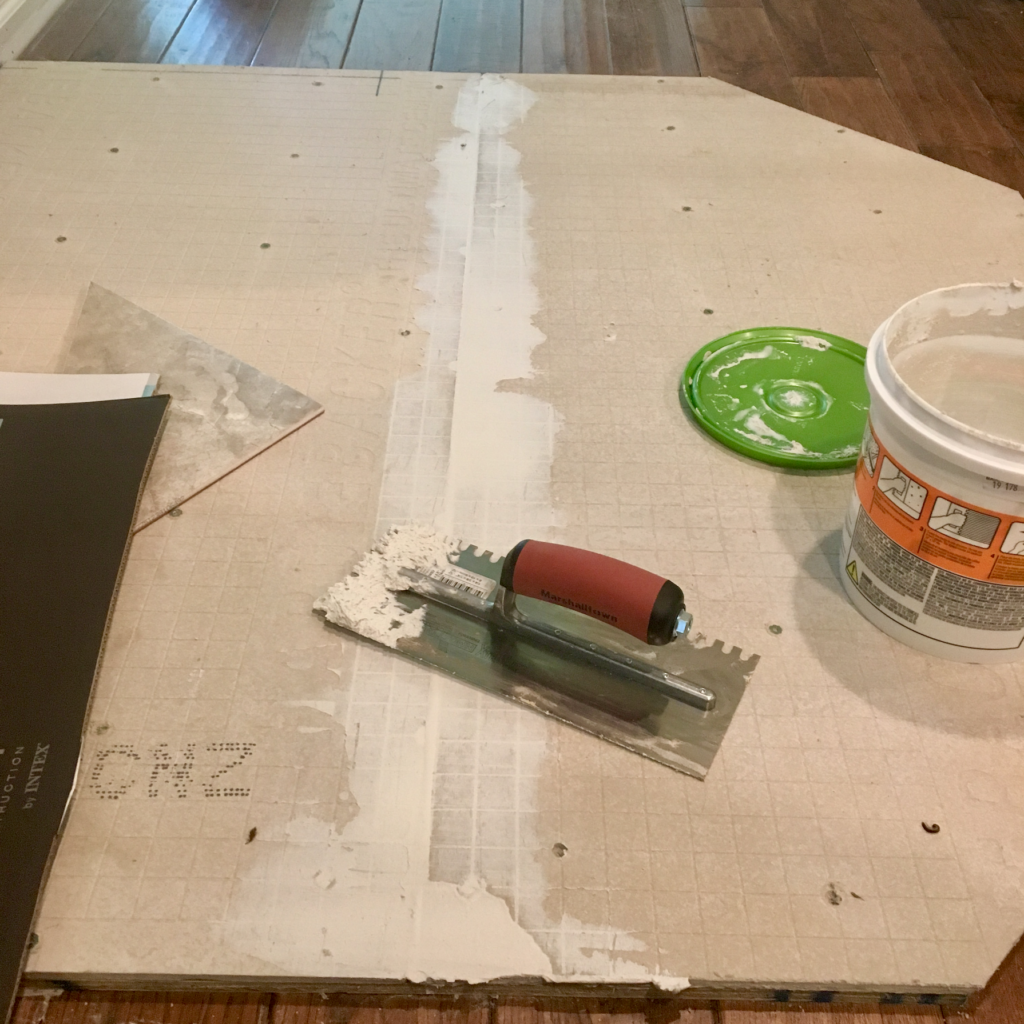
My measurements were a little off when I cut my HardieBoard. There was a 1/4″ seam between the two pieces. I used some of the tile mortar to fill this gap.
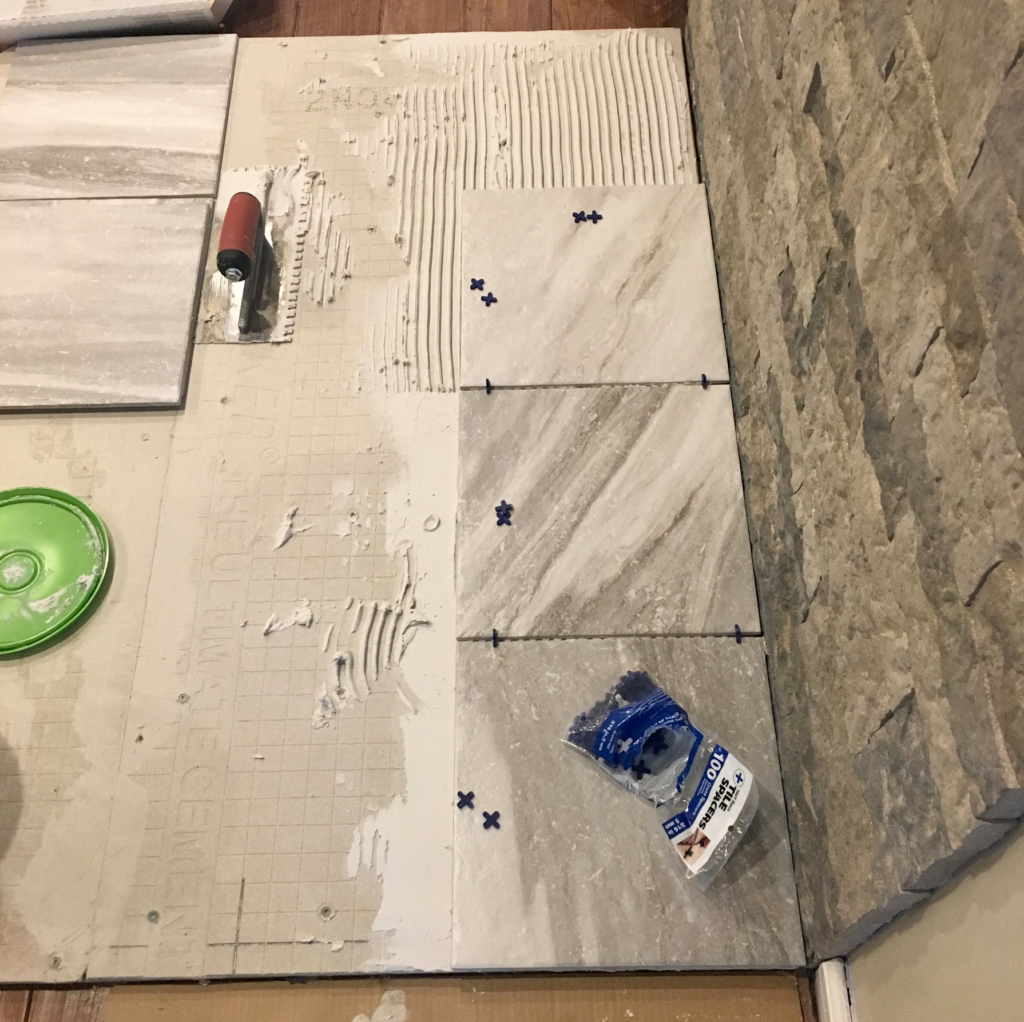
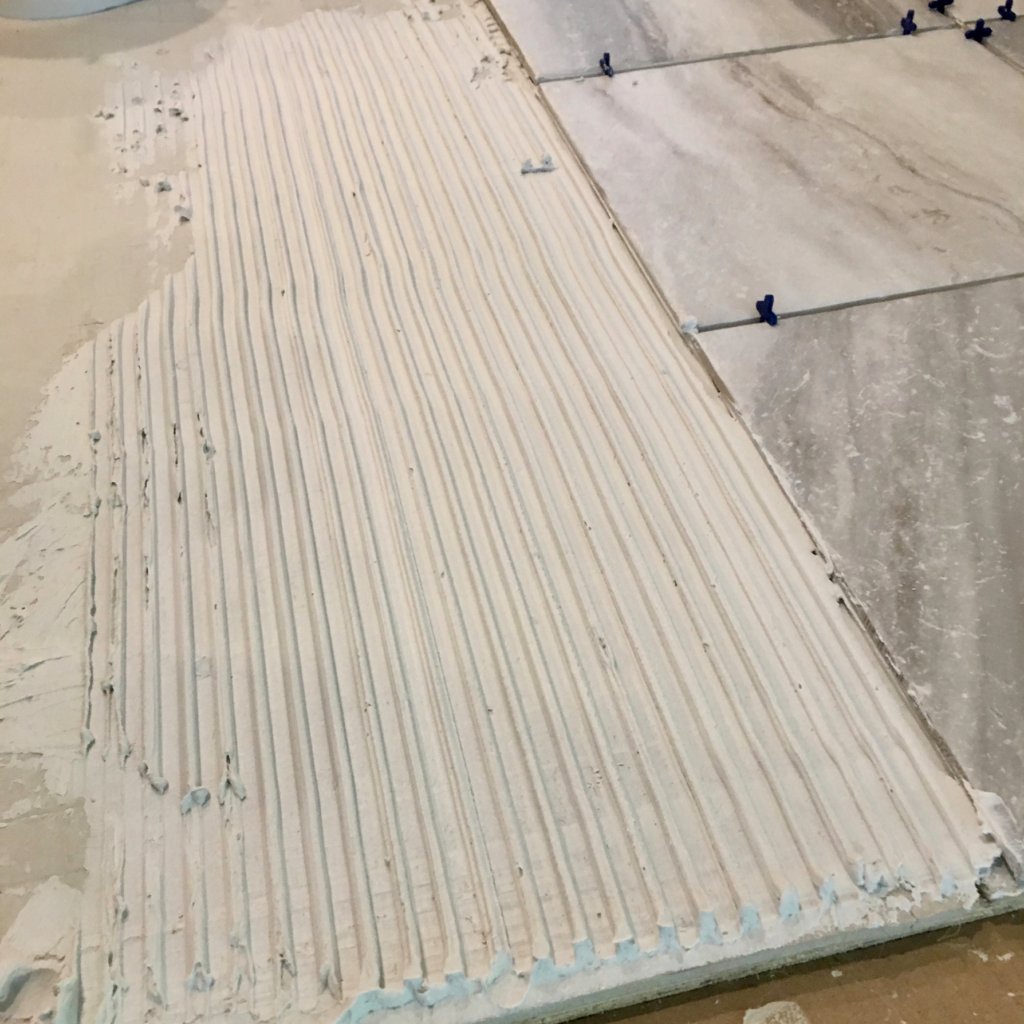
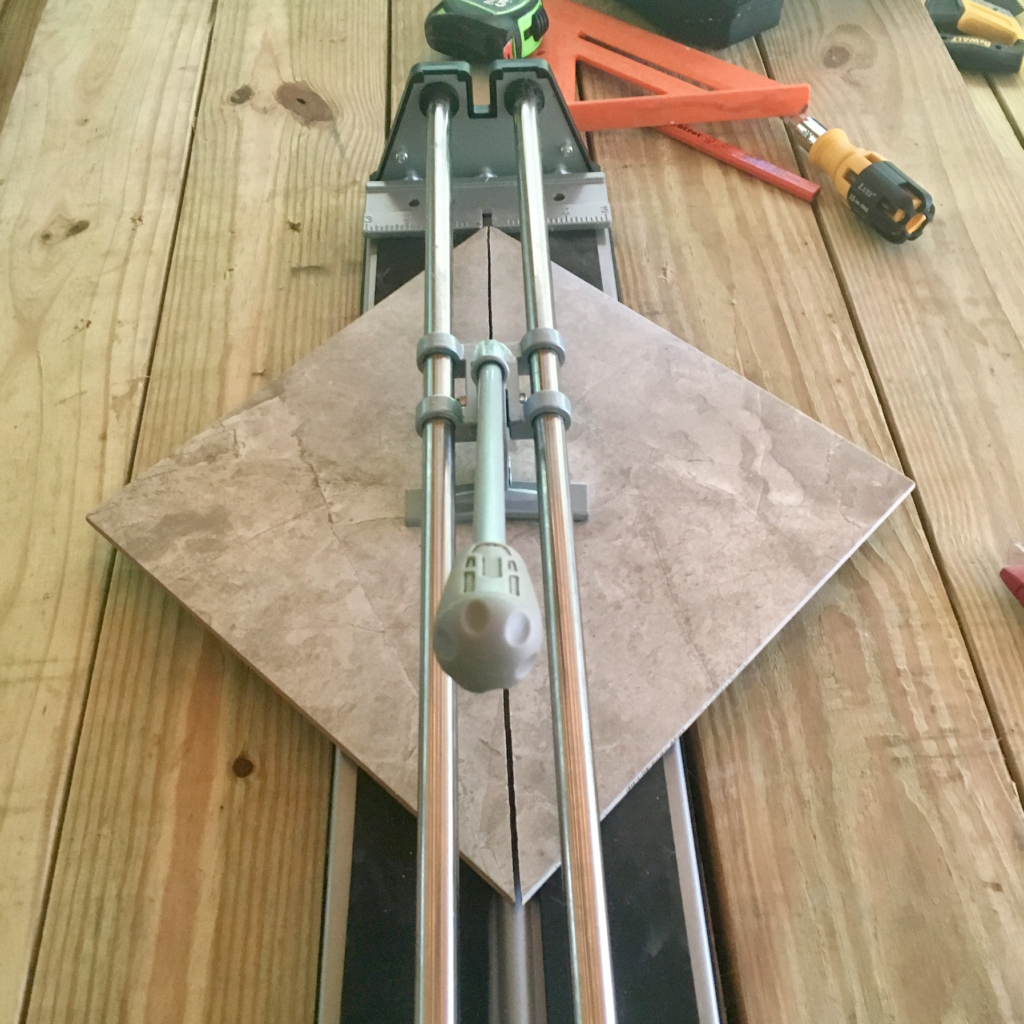
This was my first time laying tile.
![]()
![]()
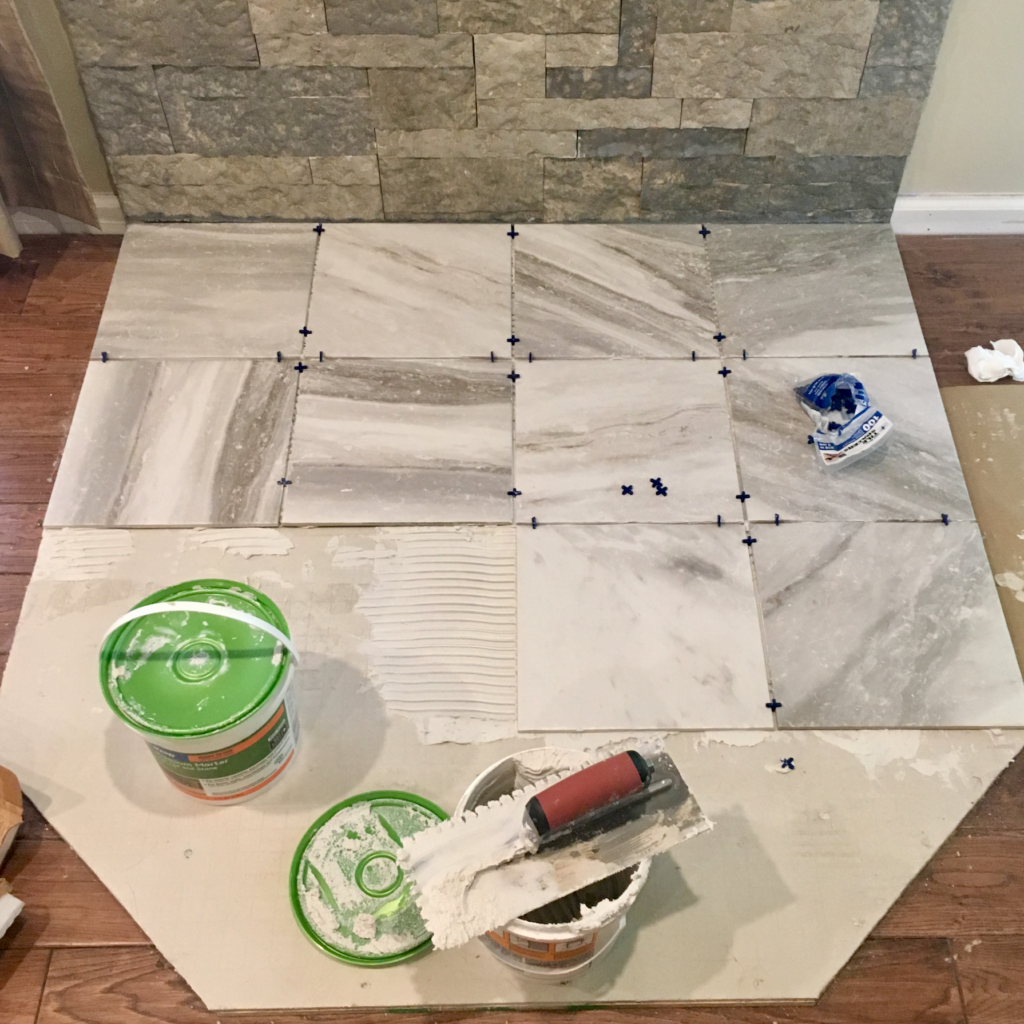
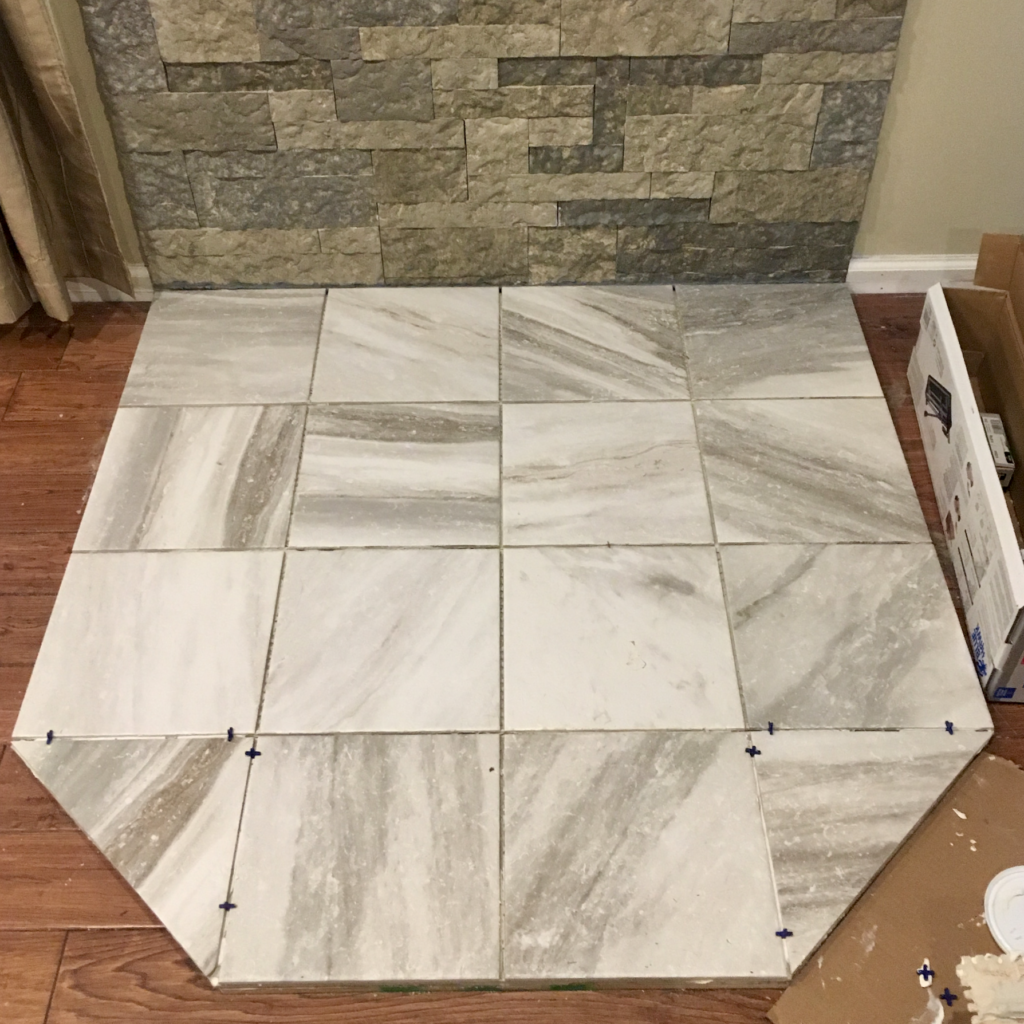
Once the tile was laid, I had to wait 48 hours for the mortar to cure before applying grout. Unfortunately, I didn’t get any pictures of the grouting process. My girlfriend did most of this because I found it frustrating.
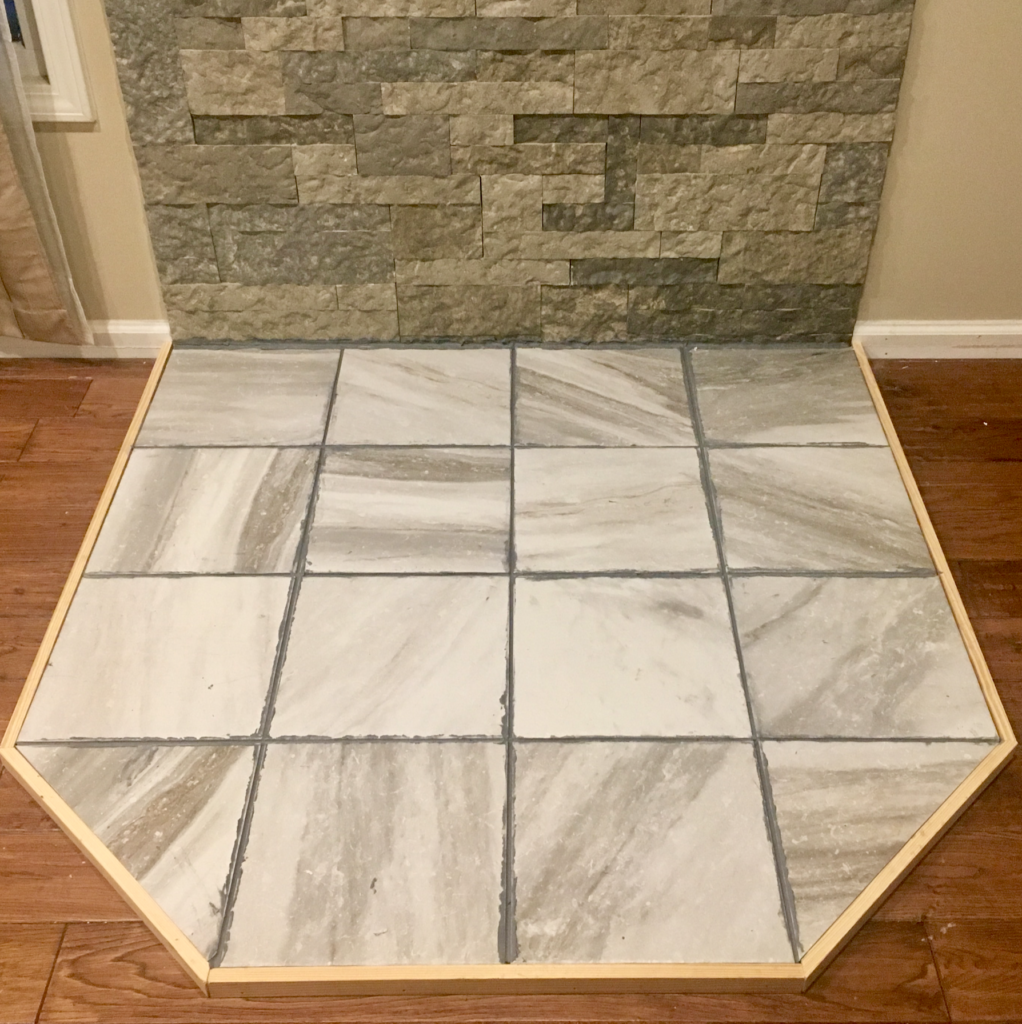
The final step was to trim the pad. I purchased some pine finish lumber and ripped them down to the height of the hearth pad (3/4″).
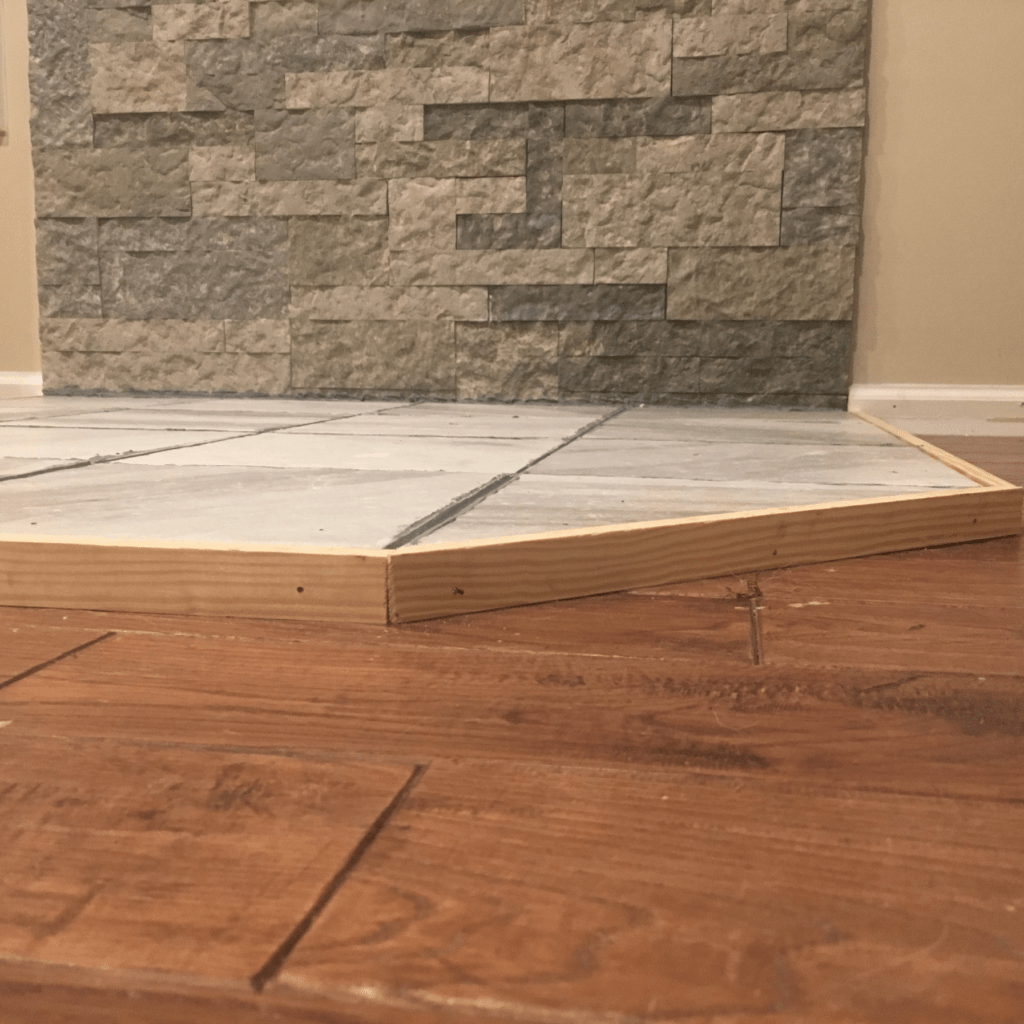
Finally we were ready to have the stove installed.
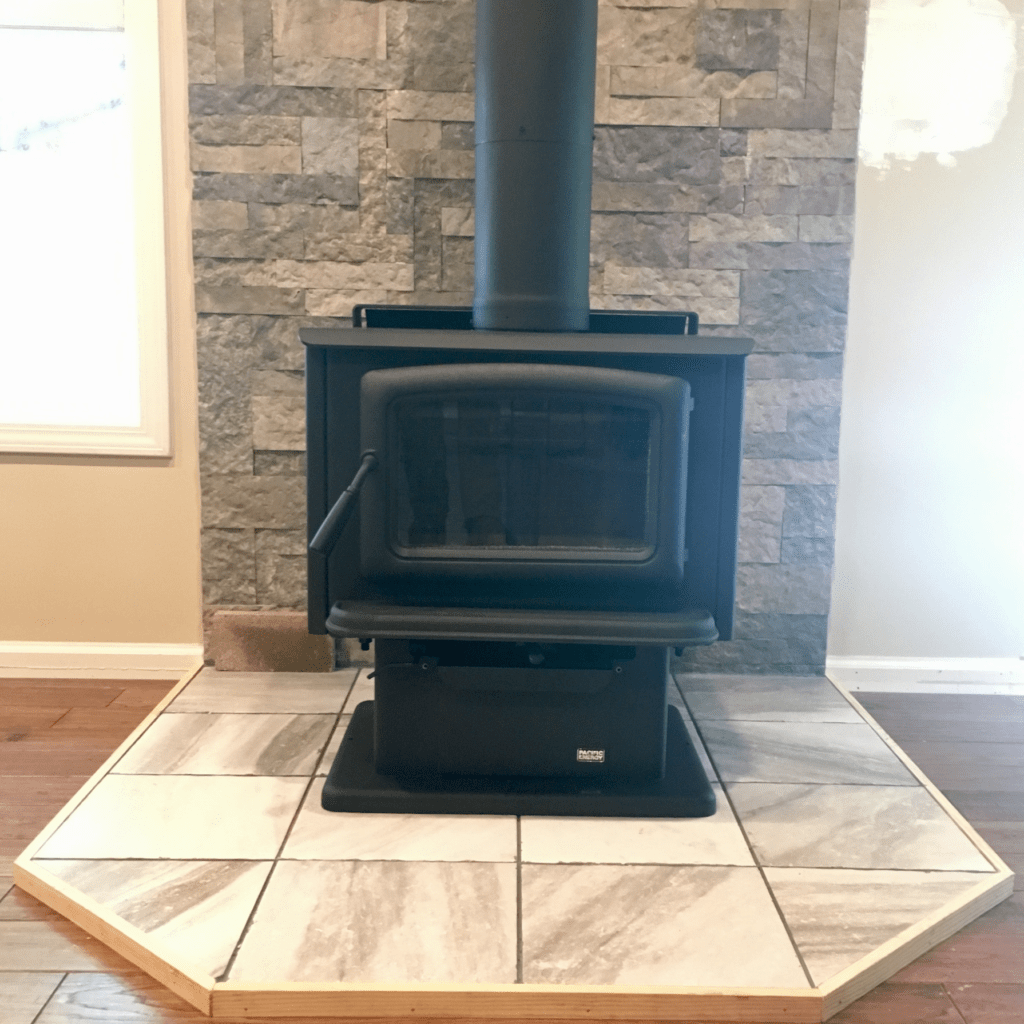
We now have a stove installed and three cords of wood (half seasoned, half green). Come what may we will be able to heat our home for the next two winters.
Winter is coming. Are you prepared for cold weather?