I write quite a bit about 1911s, and really enjoy shooting and carrying them. In the interest of offering some defensive 1911 recommendations, I recently borrowed a commander-sized 1911 from Kimber. The gun, the Kimber Aegis Elite Pro is the subject of this review.
Full Disclosure: This gun was loaned to me by Kimber, and it will be sent back to Kimber. All ammo, range fees, and everything else from this review was out of my pocket. This is a completely honest review of this firearm.
This is a quick little review. I don’t intend to turn Swift|Silent|Deadly into a gun review site, vying for the latest and greatest. However, I do want to occasionally spotlight some 1911s that make good carry candidates.
Kimber Aegis Elite Pro
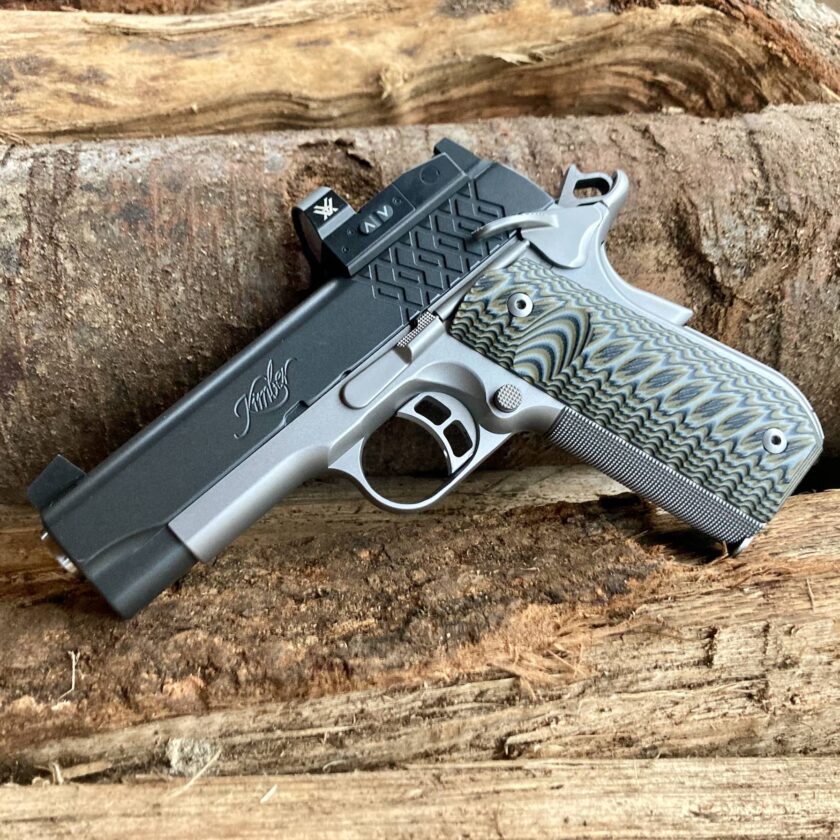
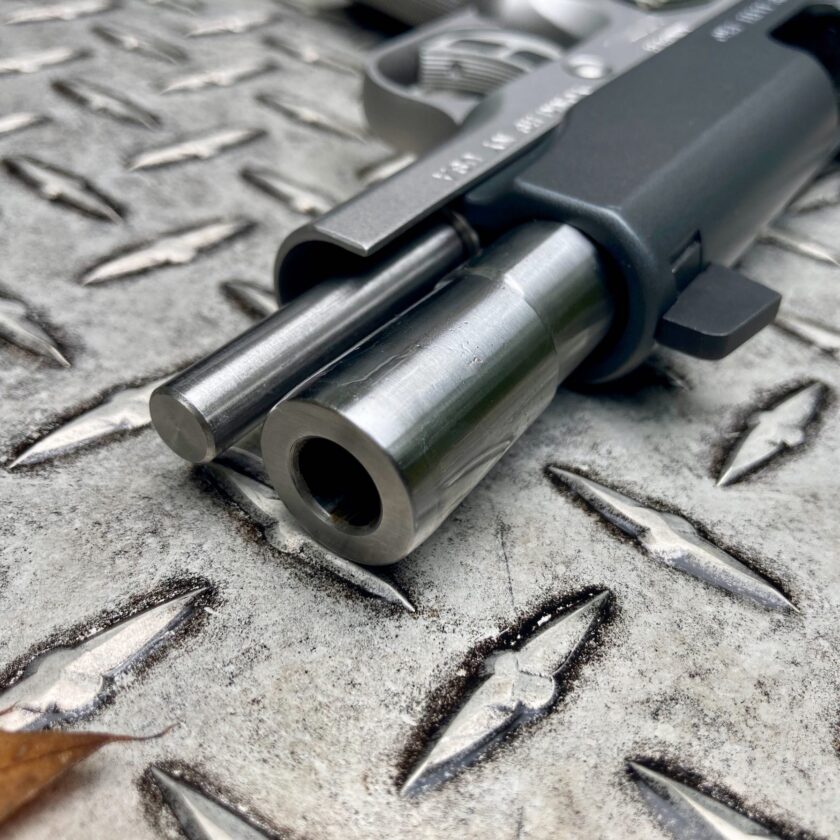
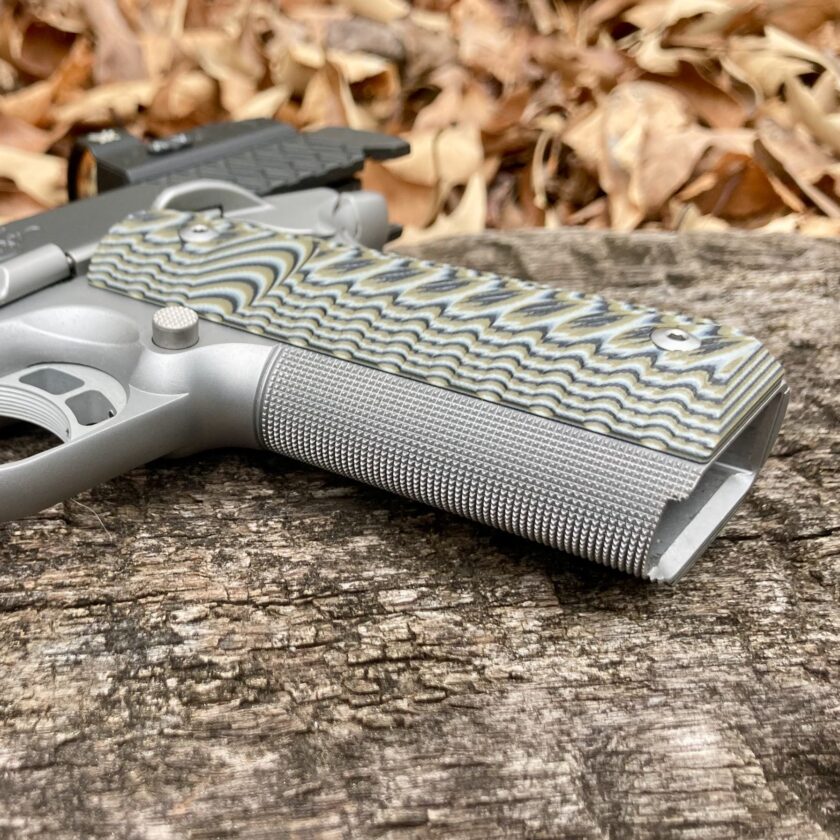
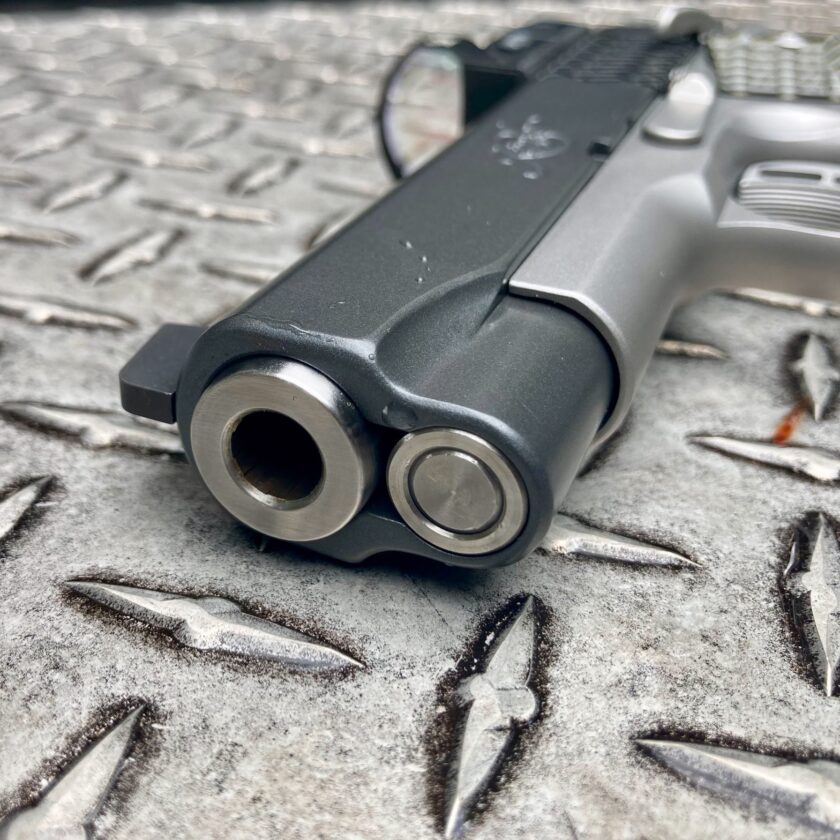
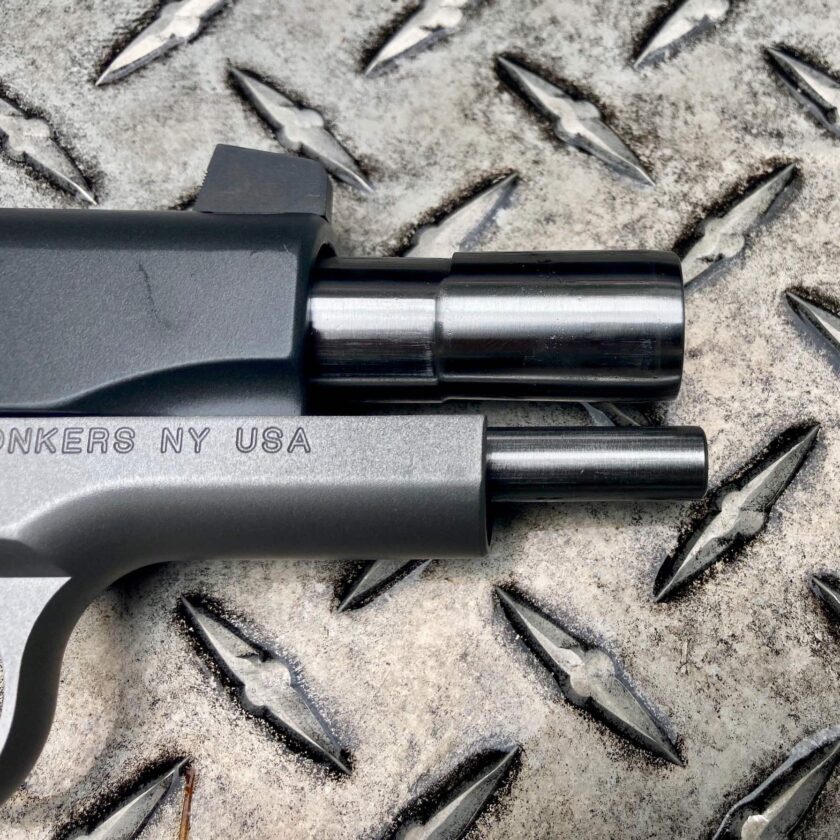
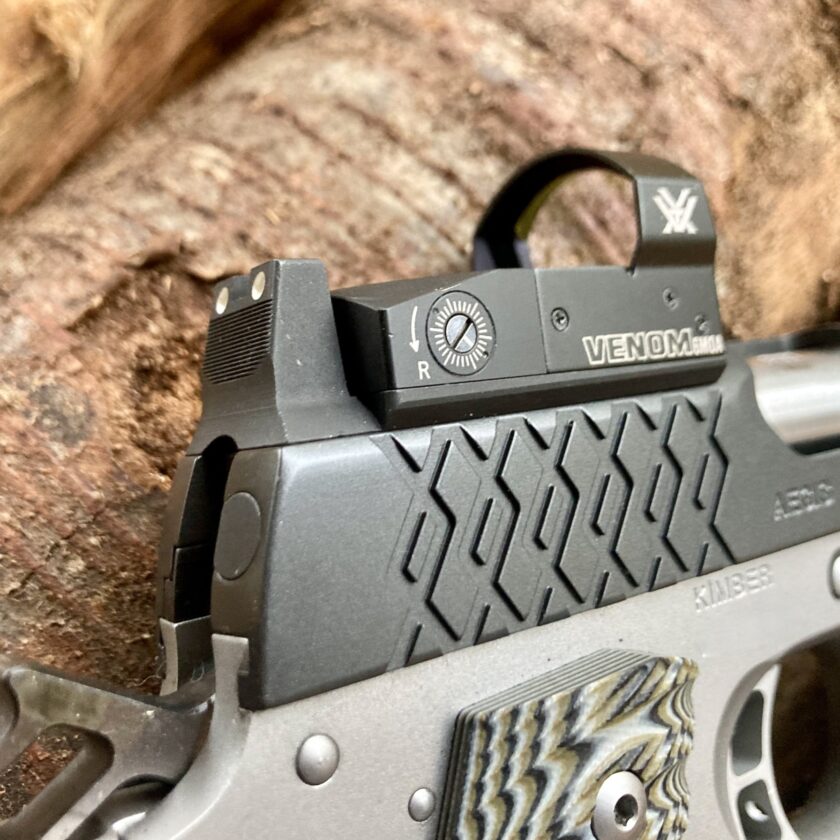
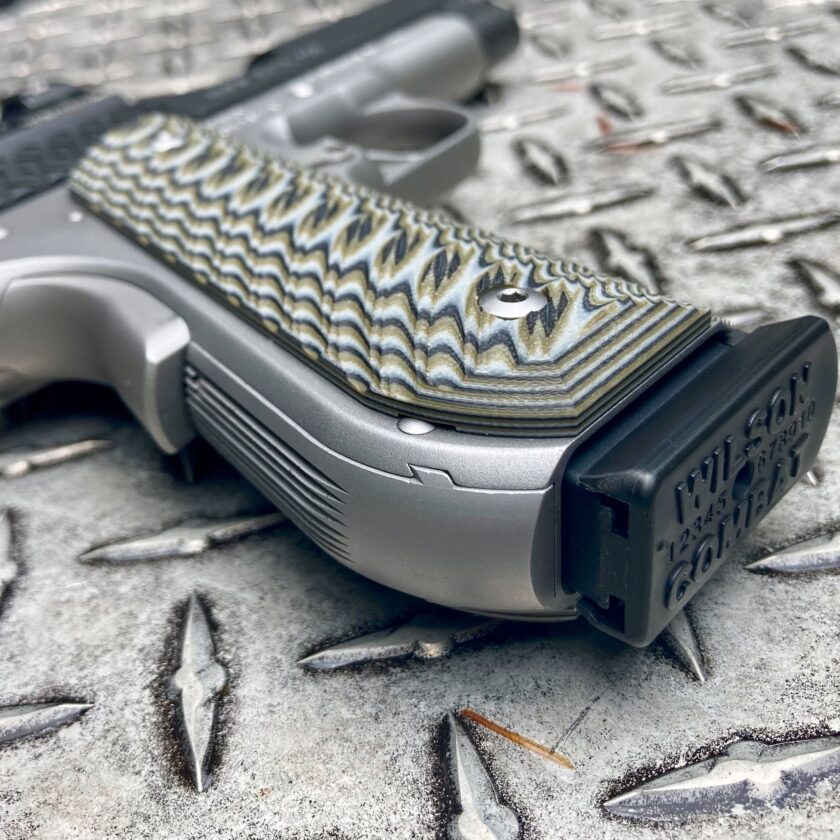
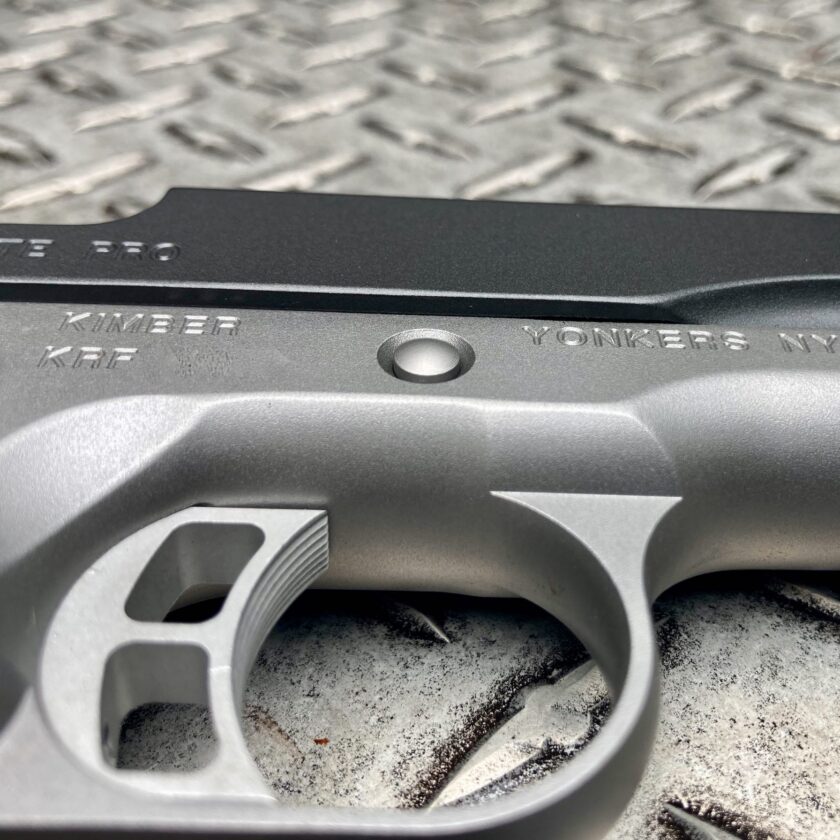
The Kimber Aegis Elite Pro is an all-stainless steel, Commander-sized 1911. It runs a bull barrel that, at 4 inches, is just slightly shorter than an original, 4.25″ Commander tube. It comes in a very pleasing two-tone: black KimPro finish up top and matte stainless on the bottom. The barrel is shiny stainless, and the rear cocking serrations are in Kimber’s Aegis Elite X (AEX) pattern. The package is finished off with grey/green G10 grips, making this one sexy pistol.
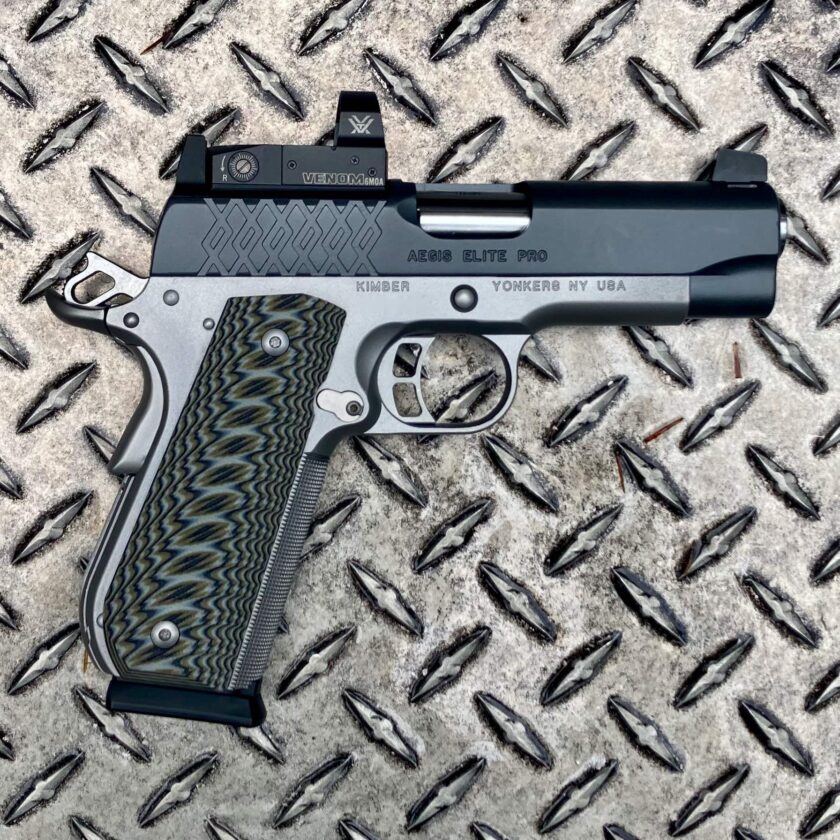
It comes with most of the bells and whistles, too. Excellent, extended safeties (both grip and thumb), beavertail, skeletonized trigger and hammer, and outstanding grip checkering make this pistol a pleasure to shoot. The only thing really missing is an ambi safety, and I’ll talk more about that further down the page.
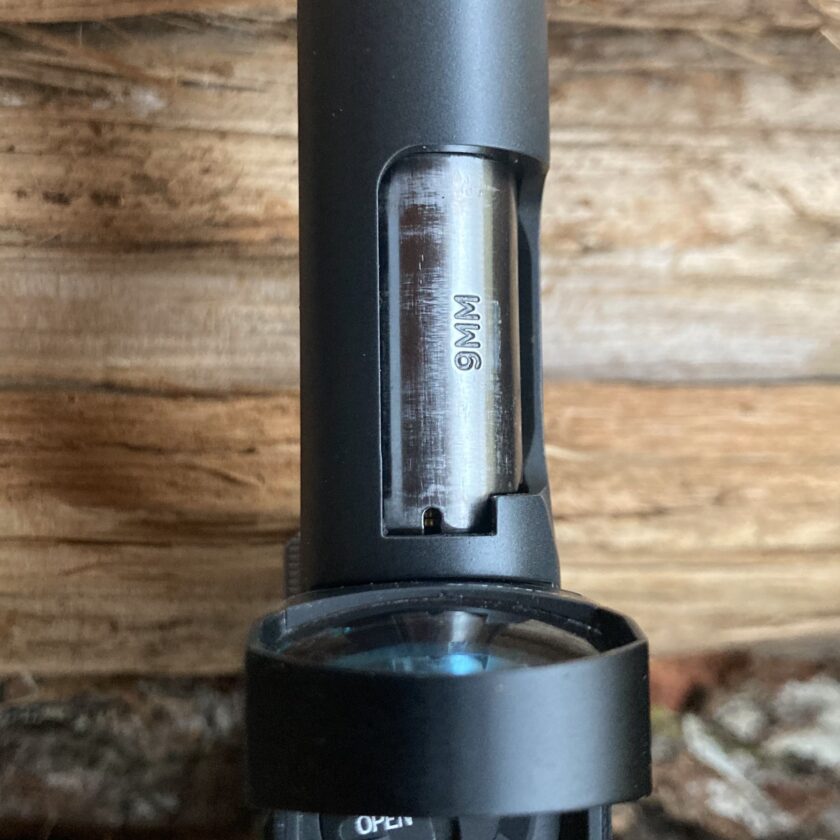
While all models in the Aegis line are available in .45 ACP, I chose to review a model chambered in 9mm. This was partially due to the fact that I have some 9mm ammo. Mostly, though, this was because 9mm is my preferred defensive chambering. I’ve written a lot about my preference for the 9mm 1911; I predict that most future 1911s I review will be chambered in 9mm, as well.
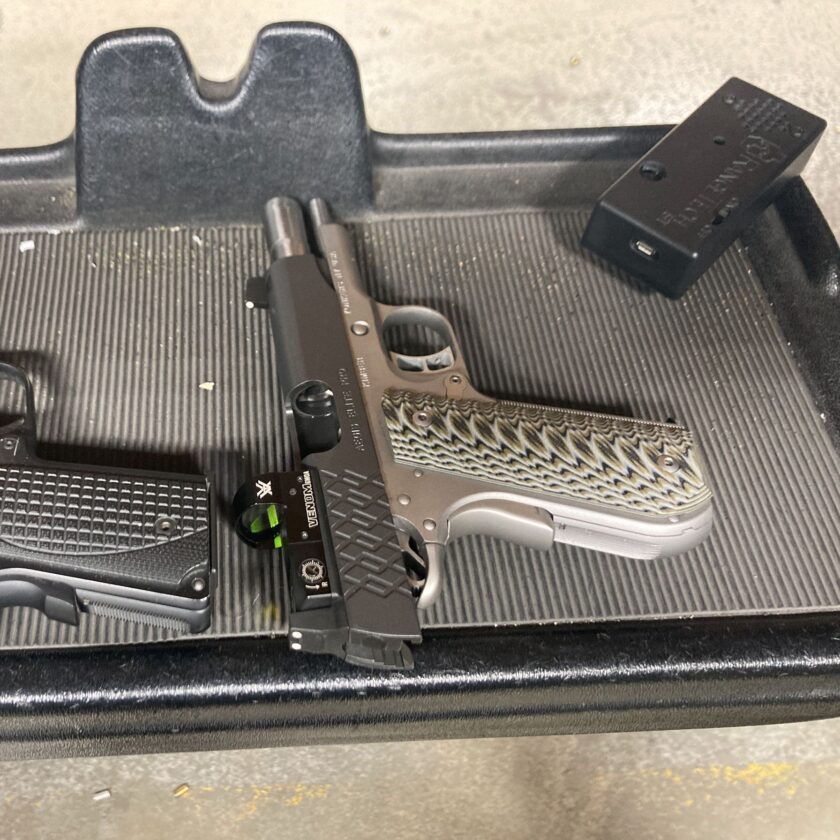
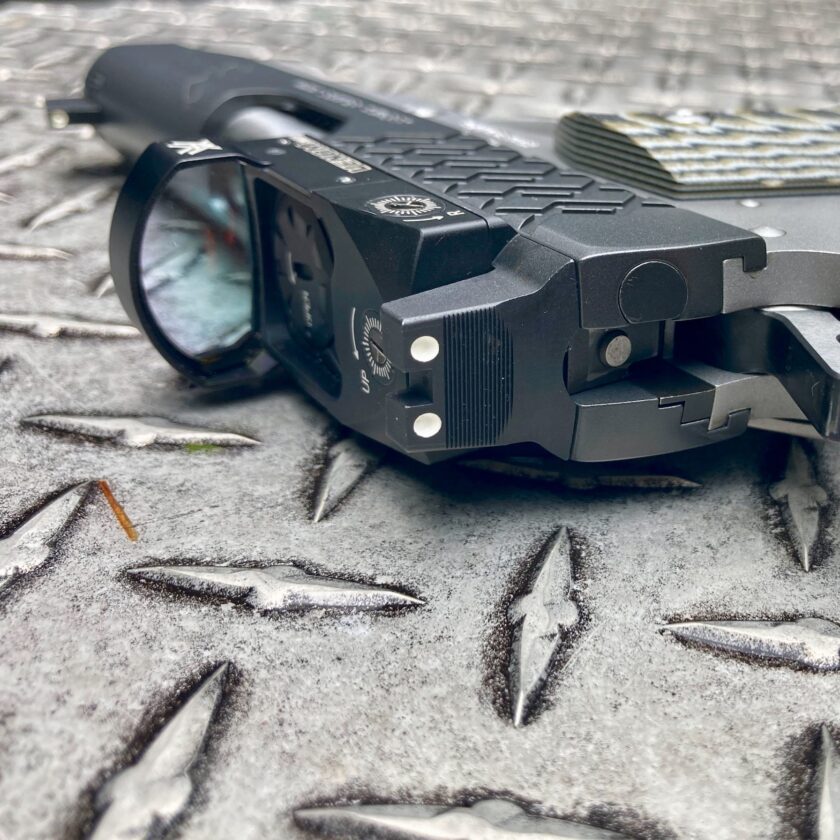
As you’ve doubtlessly noticed, the Kimber Aegis Elite Pro is available with an optic included. Kimber models shipping with an optic are labeled OI, models cut for an optic are “optic ready” or OR. The OI variant ships with a Vortex Venom. Nothing against the optic but I do want to make this clear: this review is a review of the gun only. I didn’t want to muddy the water by throwing another variable in the mix. I was also hesitant to spend precious range time and ammo tinkering with getting the optic zeroed.
Performance
To evaluate the performance of this pistol I will use my modified version of the R.E.A.P. methodology, as I did when reviewing the S&W M&P Shield Plus. R.E.A.P. (in my case) stands for Reliability, Ergonomics, Accuracy, and Portability. Let’s get into it.
Reliability
Take this section for what it’s worth. First, I was unable to put tons of rounds on this gun due to ammunition cost. Yes, prices have come down but 9mm ammo still isn’t exactly cheap. I’ve eaten way into my supply and am hesitant to pay $400 for a case of 9mm. Secondly, this is only one gun of thousands produced so it’s not a definitive statement about the entire product line. That’s true of any reviewer’s sample, but it’s probably worth mentioning. However…
I fired exactly 150 rounds of 124-grain ball and the Kimber Aegis Elite Pro was 100% reliable. Not a bobble, not a hiccup, no stoppages, and no complaints from me. Keep in mind this is an VERY small number of rounds on a sample size of one. It is impossible to say if reliability issues would emerge, but in the my limited time with the Kimber Aegis Elite Pro I had no issues. If I were considering this pistol as a carry candidate I would definitely want a few hundred more rounds on it, but so far, so good.
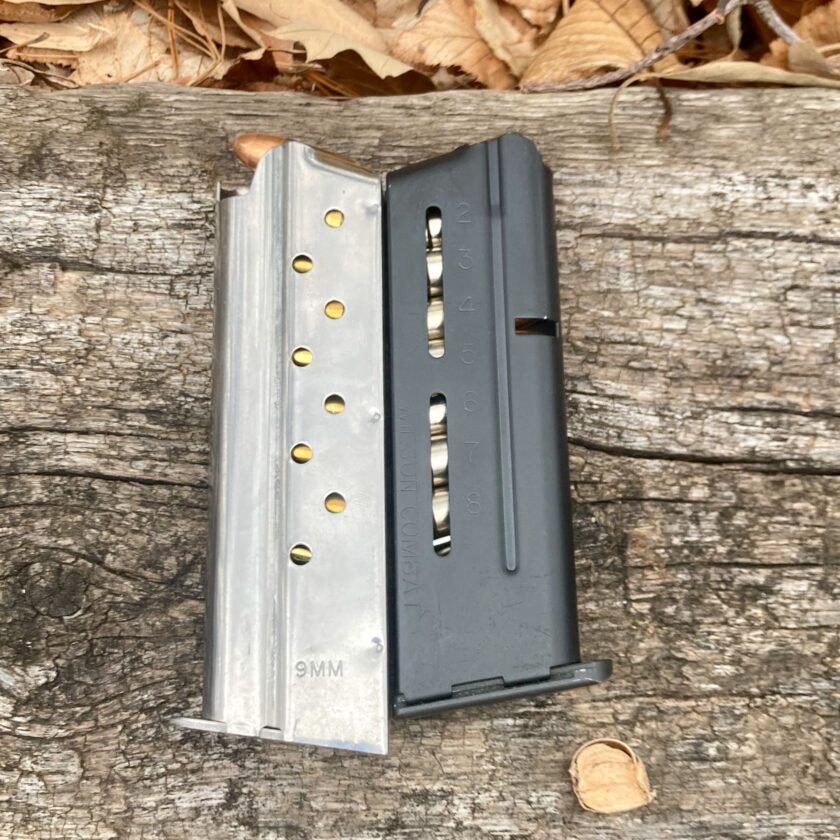
It’s worth quickly mentioning magazines. This pistol ships with Kimber-branded magazines that worked like a charm. Magazines can often be an issue affecting 1911 realiability. In this instance the supplied magazines were perfect. Again, your mileage may vary but I had a great experience. Magazine capacity is 9 rounds.
Ergonomics
This is where the Kimber Aegis Elite Pro pistol really shines, and an area in which my opinion may hold a little water. Bottom line: Kimber got a lot of things right when it comes to ergonomics.
Ergonomics: Grip
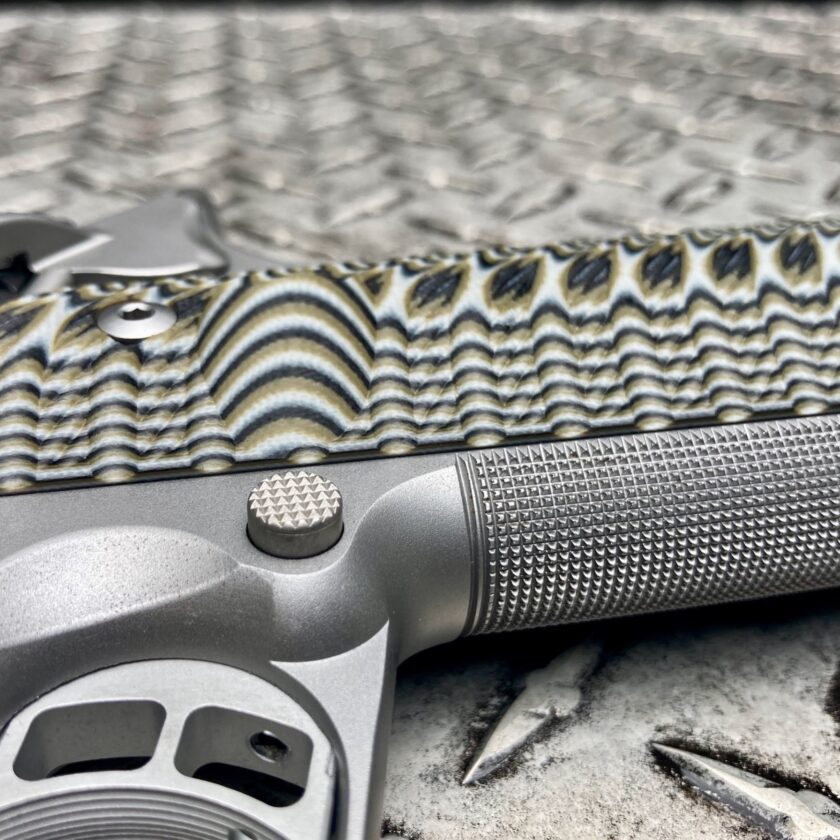
First, the pistol has texture everywhere it should. The front-strap is sharply checkered at 24 LPI, lending a really solid grip and a nice compliment to the grippy G10. The G10 grips have a very nice swell making the overall grip both comfortable and secure.
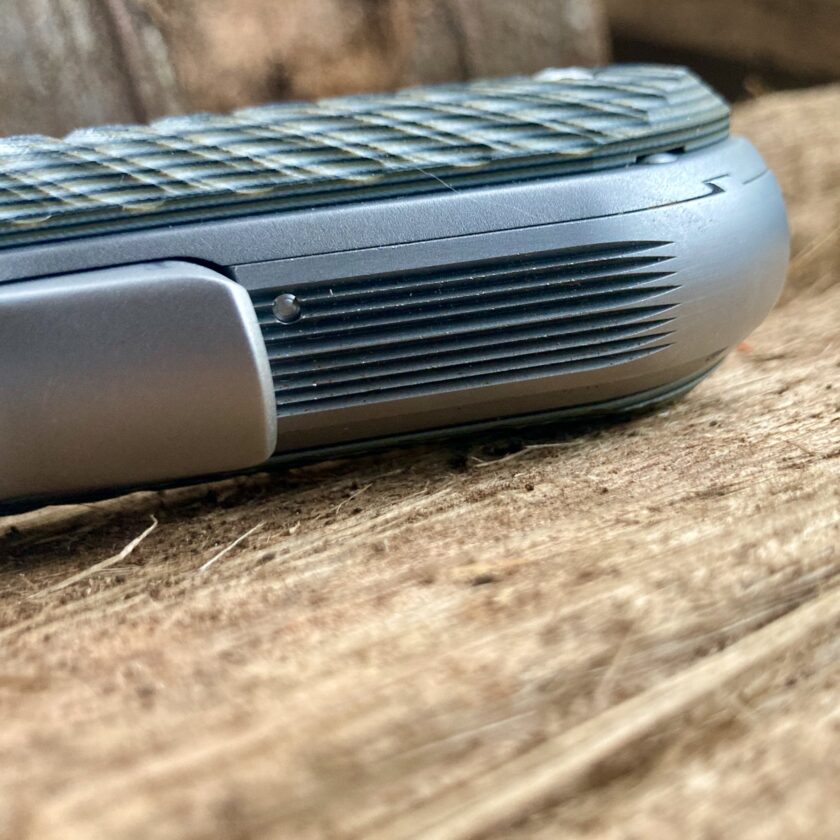
The mainspring housing is lined, and sharply. Weirdly this was the only part of the gun that was somewhat uncomfortable. Those thin lines are actually pretty sharp. They definitely help you hold onto the gun, but if I had my choice I think I’d prefer checkering. However, it works as intended, and with a lot of dry practice you’ll develop the right callouses in the right places.
Ergonomics: Safeties
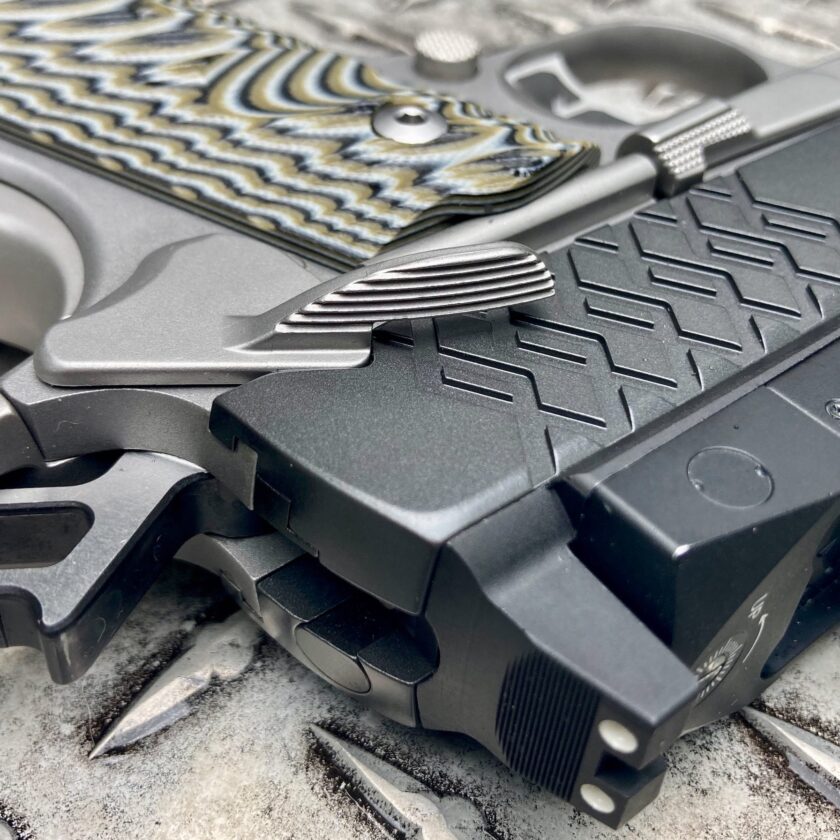
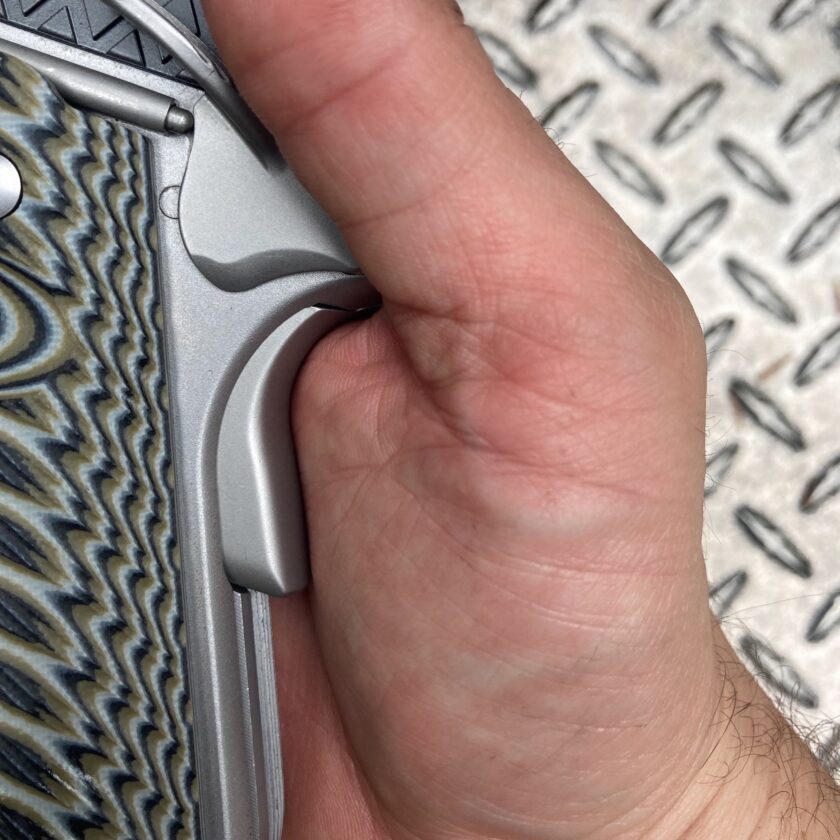
The Kimber Aegis Elite Pro’s thumb safety is outstanding. It is wide, has an ever-so-slight downward curve, and nicely serrated. It provides a nice, positive, tactile and audible “click” when engaged or disengaged. It also provides a really solid shelf for the thumb during firing. I do have one pretty big complaint about the safety, however.
Conspicuously absent was an ambidextrous safety. This was kind of an academic bother until I went to the range. A couple drills I fired called for Weak Hand Only (WHO) fire. With no ambidextrous safety I had to begin with the safety already disengaged. I also lacked the safety lever upon which to tighten my thumb. The ambi safety was sorely missed! You can always add one from the aftermarket but with the fitting required I really wish manufacturers would just include one on defensive-oriented models.
Moving on to the grip safety: it is excellent. There is no “bump” – speed bump or memory bump or whatever you call it – but it works beautifully. It protrudes enough that it’s difficult not to disengage it. During use there was no thought at all given to the grip safety. As it should be.
Ergonomics: Other Controls
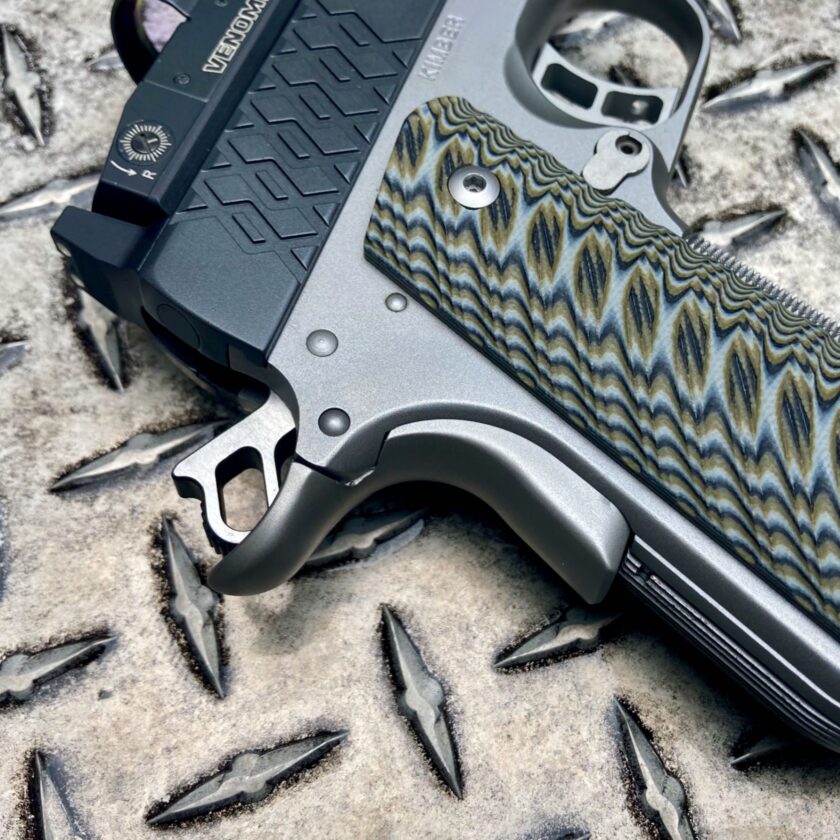
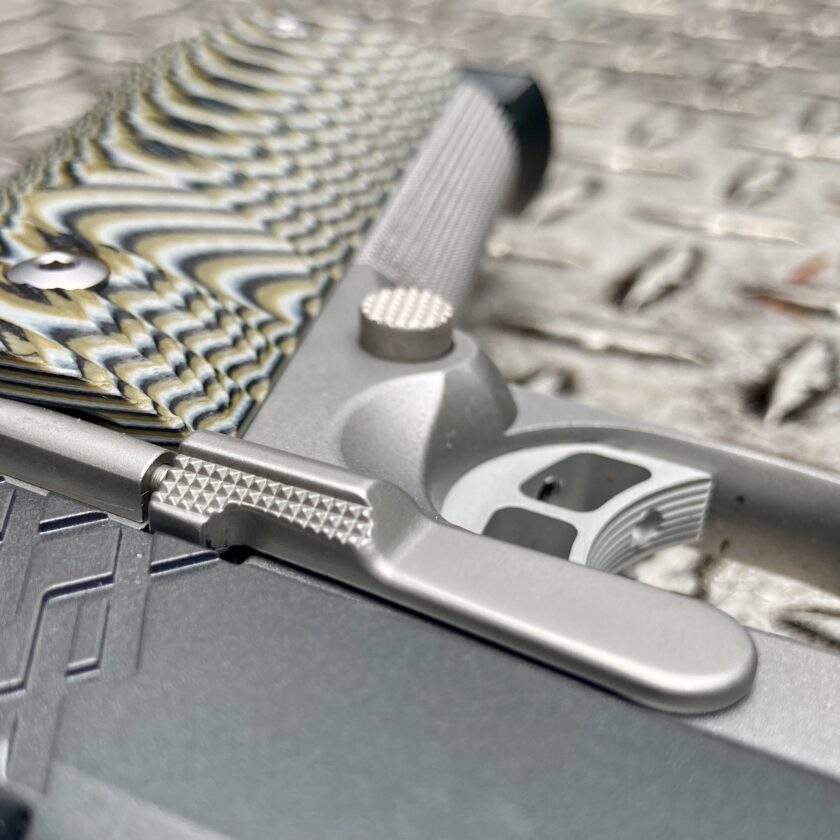
Moving on, the magazine release is extended, nicely checkered, and corresponds with a relief in the left grip panel. I found it easy to hit at speed – no complaints here at all.
I found the slide stop/slide release, though not extended, to be easy enough to actuate. While I prefer a slightly extended lever this one is nicely checkered and worked well. Again, no complaints – this is a well-constructed pistol.
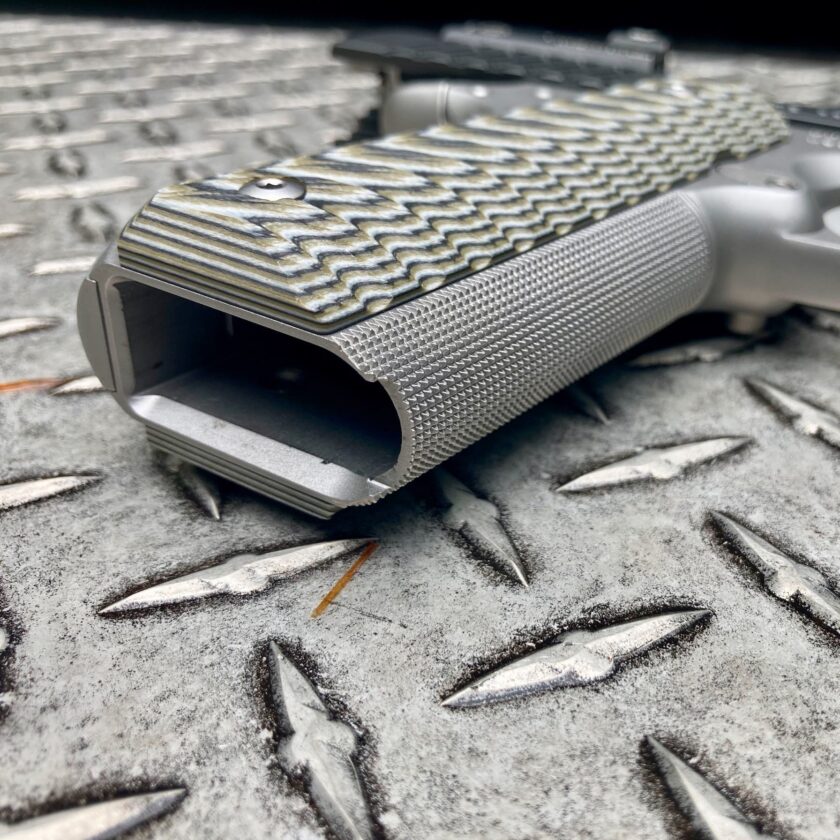
The magazine well is beveled, making a decent funnel. I found it serves its purpose admirably. The wider opening really does facilitate smooth reloads. This is a very nice touch and one that is missing on a lot of 1911s.
The rear “AEX” cocking serrations are really good-looking. They seem functional, but with the optic in place I didn’t have much chance to use them, so I can’t really confirm.

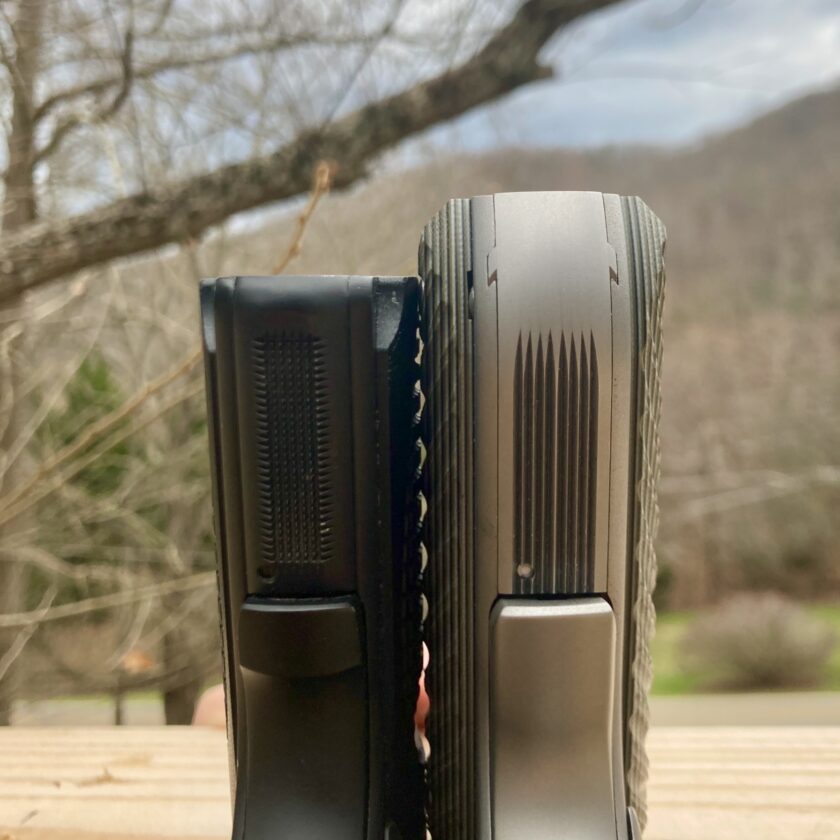
One thing that is absent from this gun are forward cocking serrations. While forward cocking serrations are provided on full-sized, 5″ Aegis Custom models they are omitted on the smaller 4″ Aegis Pro and 3″ Aegis Ultra models. The finish on this slide is extremely nice…and slick. I really like having forward cocking serrations on a 1911, and really missed them on this exemplar.
Ergonomics: The Trigger
I debated where to put the section on “trigger” – it seems like it could go in a general description of the gun, or under accuracy or ergonomics. Ultimately I decided to put it here, so here we go.
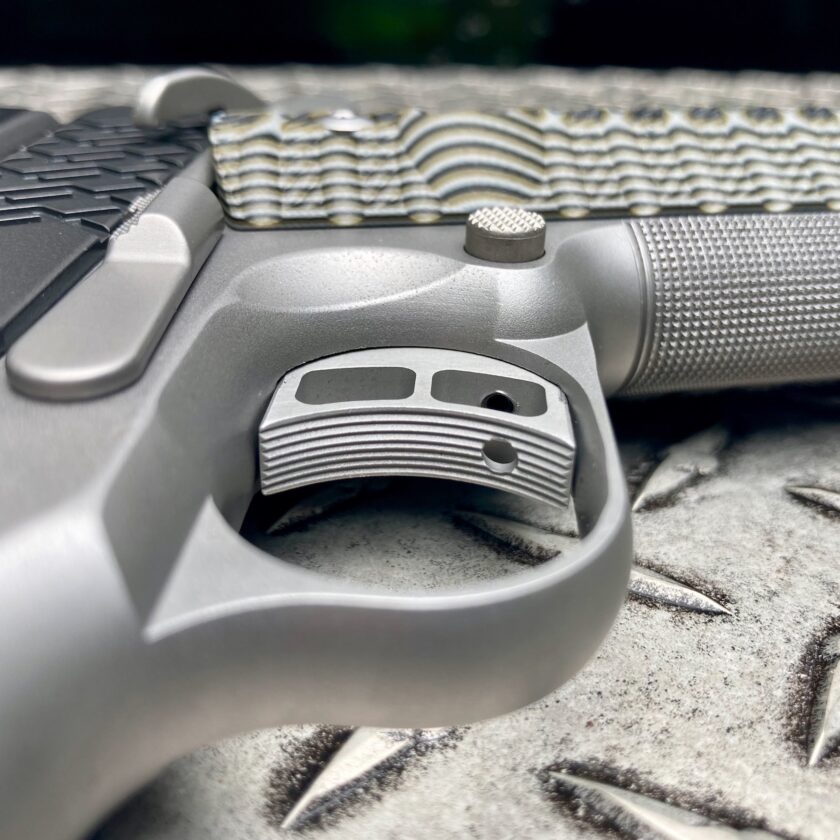
The trigger is one of the defining characteristics of the 1911. The trigger on this pistol was pretty good, even by 1911 standards. Break is a clean four pounds with just a bit of pre-travel and no overtravel. Reset is short and crisp, as expected. Again, even by 1911 standards this is a very good trigger.
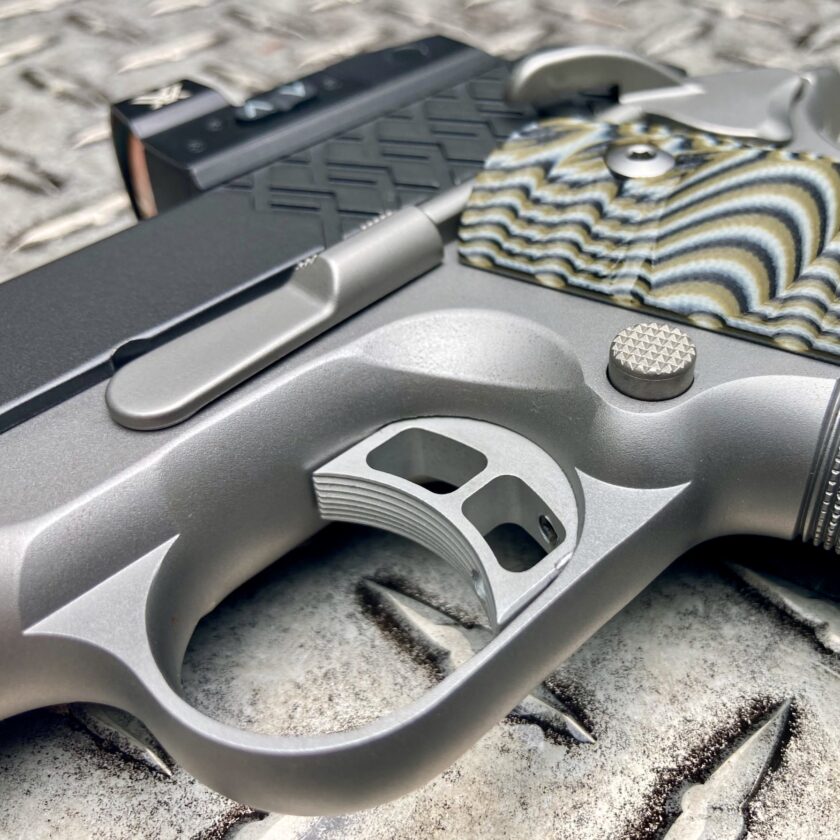
The trigger itself is medium length, curved, and grooved – all pretty standard stuff. It is skeletonized with two large, rectangular holes rather than the de riguer three-hole trigger. It’s a nice looking trigger, and blends nicely with the overall looks of the gun.
Accuracy
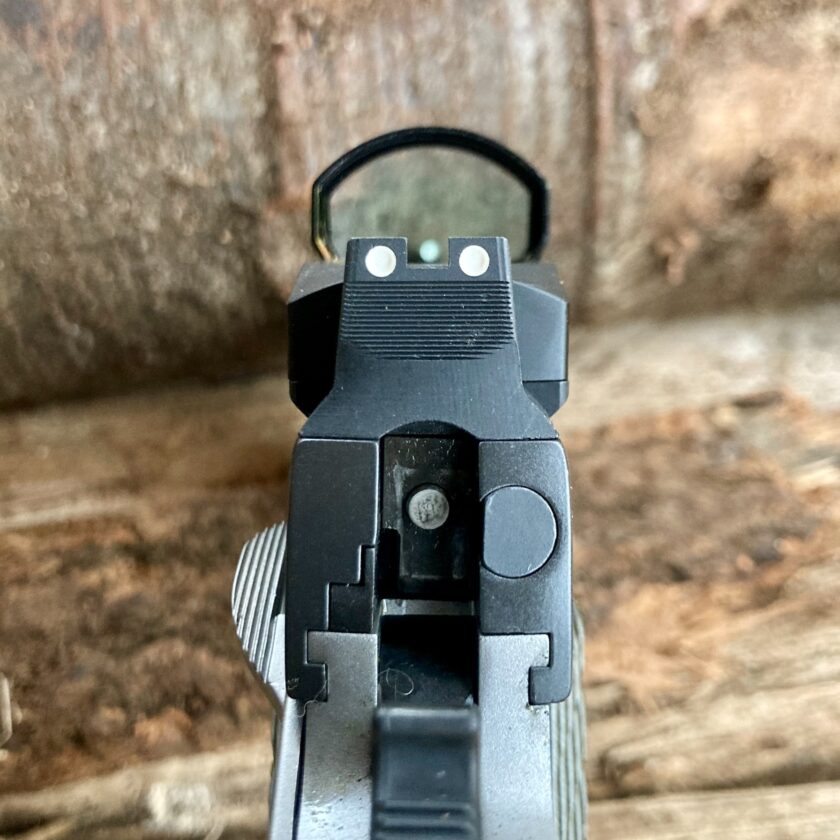
As readers here know I prefer to evaluate practical accuracy to inherent, bench-rested groups. As you will see I measured accuracy based on my scores with various well-known drills and tests. Before we get into that I want to be absolutely clear on something. I did not use the Vortex Venom optic that shipped with the gun. Since it is a co-witness optic I simply used the suppressor-height irons.
Using the optic may have slightly bettered my scores slightly in the drills that follow. From experience I can tell you that I’m not sure I could have done a whole lot better, though. I haven’t shot in a while, and I came into this range session completely cold. The last time I shot was a couple dozen rounds over a month ago. Suffice to say the performance out of this gun was a cold, “performance on demand” from me. As a result, any failures are on me.
…performance out of this gun was a cold, “performance on demand” from me.
The drills shot here represent a good mix of abilities a shooter and his firearm should collectively possess. Instead of wasting a single round “plinking” I decided to fire every single shot in a quantifiable drill. The following drills come out to exactly 150 rounds, the amount of ammo I allocated to this review. And I attempted to make each drill progressively more difficult. Let’s get into them.
Dot Torture – 50 Rounds
Dot Torture is one of my favorite drills. To shoot the drill download a target, place it at three yards (at least), and fire the prescribed rounds on each dot. The first 50 rounds fired through this gun were fired on the target below. Again, no warm-ups or practice drills. I managed a 49/50 at 5 yards under strict scoring standards (scoring only shots cleanly inside the circle).
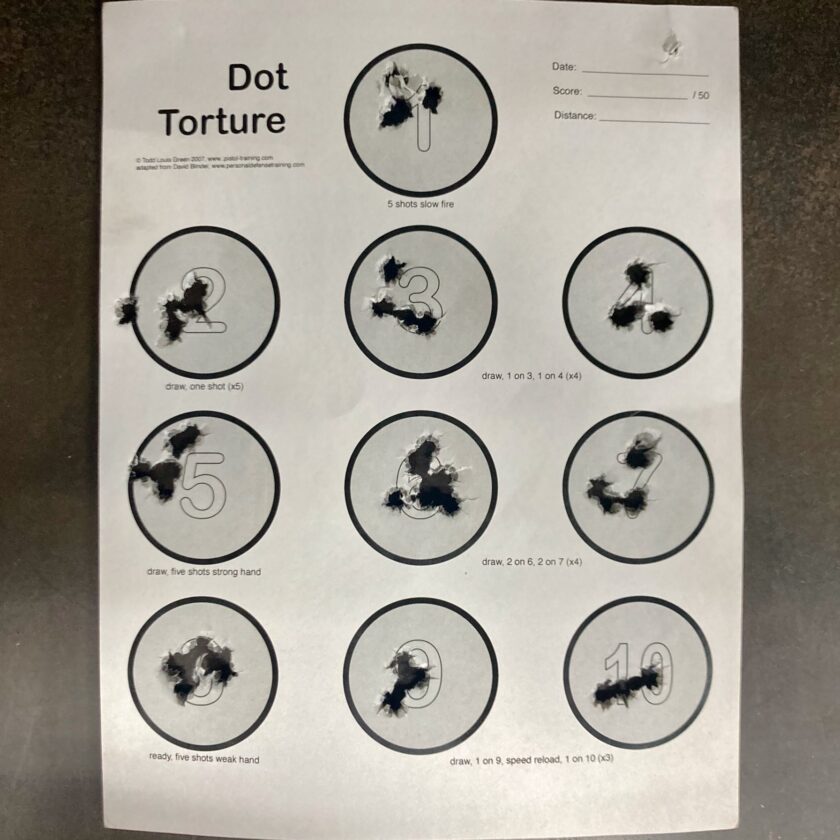
The one shot I missed was on the strong-hand only (SHO) stage. As it turns out, SHO stages bedeviled me throughout the rest of the session. Otherwise this isn’t a bad performance at all. This drill is meant to be shot at 3 yards, so I’m pretty pleased. Next, I moved on to the 5×5 Drill.
5×5 Drill – 25 Rounds
Next up was the 5×5 Drill: 5 yards, 5 rounds, 5 seconds, in a 5″ circle…and repeat 5x to ensure it’s not a fluke. Passing this drill has been called the “high school diploma of gunfighting.” I fired this drill from concealment and easily managed to pass all five rounds with a mean time of 4.18 seconds.
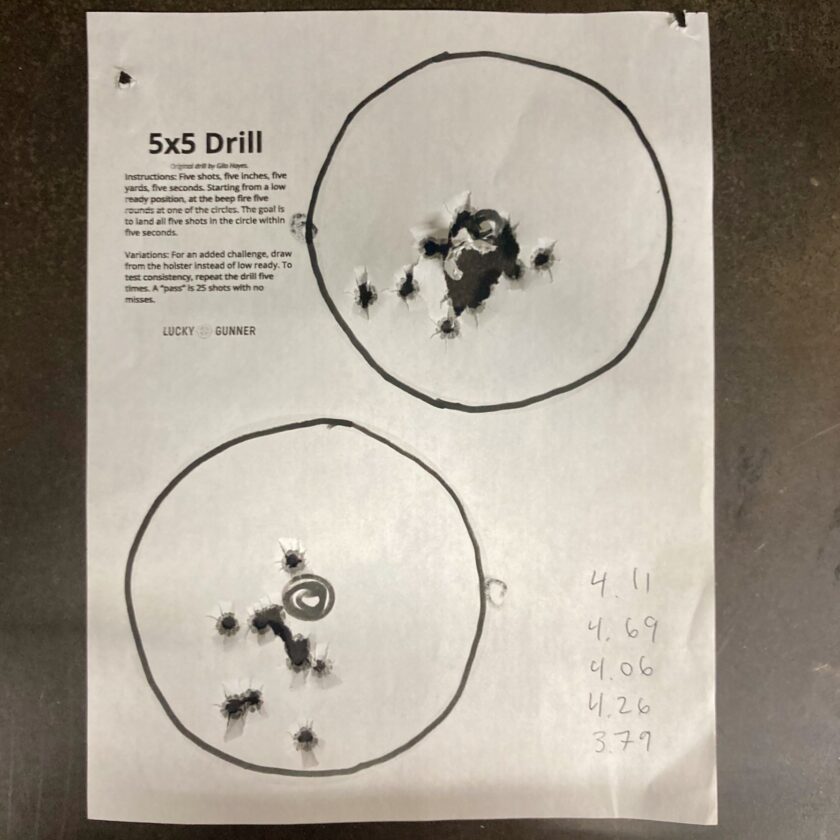
You can download a really nice 5×5 target here. Mine looks so crappy because my printer was out of ink when I printed, so I had to add some magic marker.
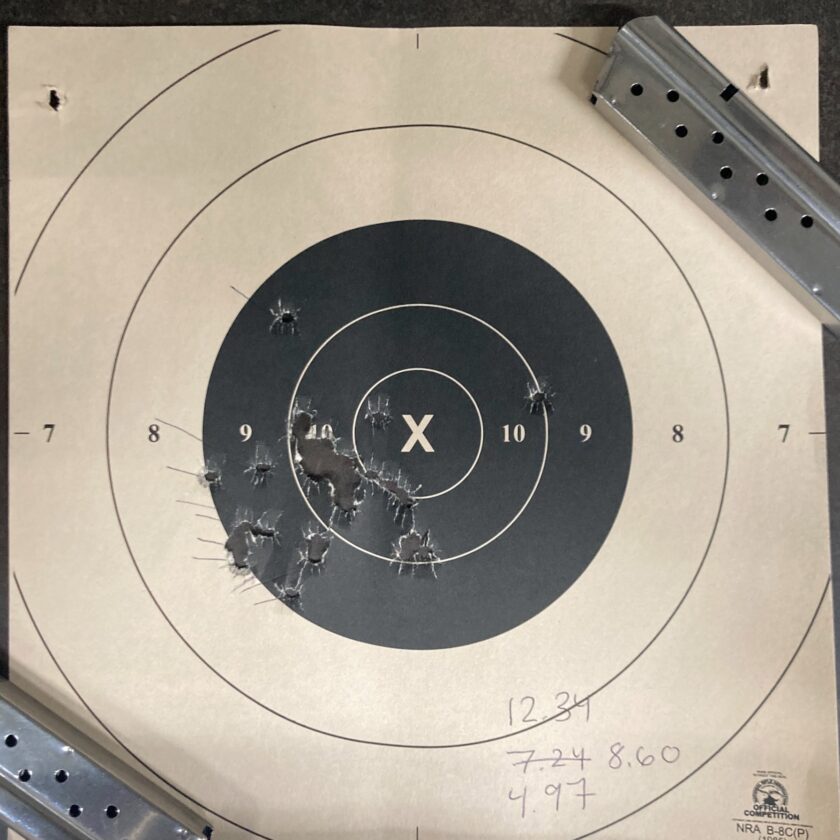
Hackathorn’s The Test – 10 Rounds
Next up was Ken Hackathorn’s “The Test.” This 10-round drill fires all rounds at 10 yards, in 10 seconds, on a B-8 repair center target. I used the Vickers scoring method (all rounds in the black circle is a “pass”), mainly because I didn’t know the scoring system prior to hitting the range. I shot from concealment and passed with a time of 8.91.
Hardwired Advanced Super Test – 30 Rounds
Next, I shot the Advanced Super Test. This test was designed by Daryl Bolke and Wayne Dobbs of Hardwired Tactical, and is based on The Test described above. It is shot on a B8 repair center and consists of three stages:
- 15 yards, 15 seconds, 10 rounds
- 10 yards, 10 seconds, 10 rounds
- 5 yards, 5 seconds, 10 rounds.
The “advanced” version is shot from concealment. The 10 and 15-yard stages weren’t terribly challenging, but I found the 5-yard stage a bit sporting, time-wise. Score the target by the numbered rings, i.e. 9 points for rounds in the 9-ring, etc. With 30 rounds that’s a possible 300 points. I stayed well within the par times and managed (I believe) a 290 with the Kimber Aegis Elite Pro, which is considered “outstanding.”
5-yard Roundup – 10 Rounds
Justin’ Dyal’s “5-Yard Roundup” is where I started to have some real SHO problems. This drill consists of four stages, all of which are shot at five yards, and all start from the low ready. It is shot on a B8 repair center target. You are given a par time of 2.5 seconds for each stage, and the stages are:
- Draw and fire one round
- From the low ready fire four rounds
- Strong hand only, from low ready fire three rounds
- Weak hand only, from low ready fire two rounds
The drill is scored per the scoring rings (a shot in the 7-ring is 7 points) for a total of 100. Going over the time imposes a stiff penalty of 5 points, however. You’re really encouraged to get your shots in on time. Shots completely off the paper incur a 10-point penalty.
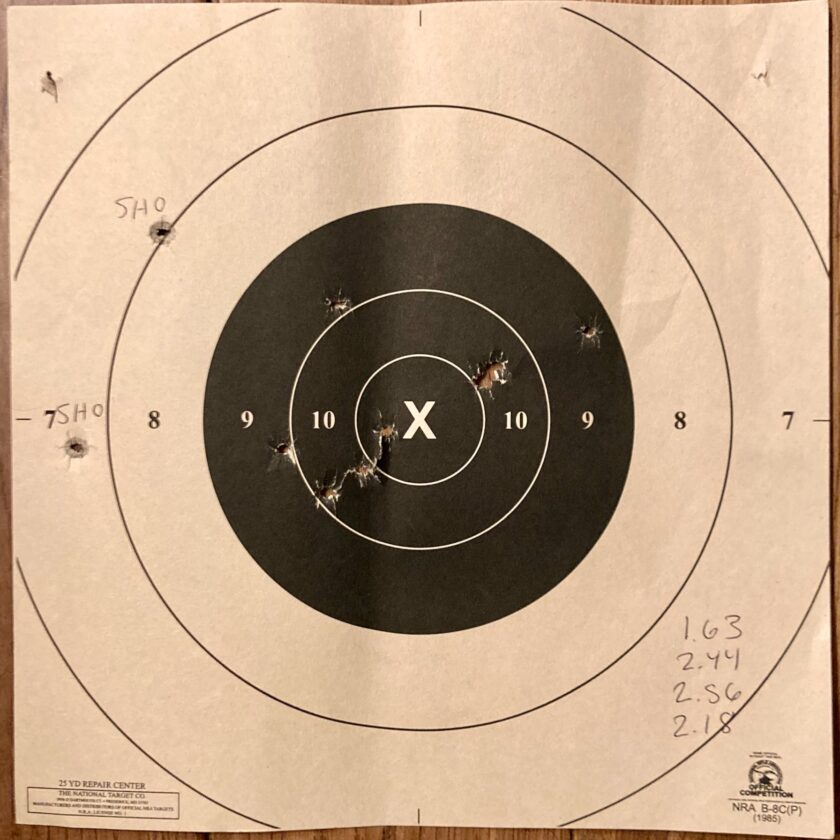
I would have pulled off a pretty damn respectable score but for some reason I had trouble with strong-hand-only. I pulled two of the three way out of the black which knocked me down to a 92. On the same stage I also went over the time which subtracts an additional five points taking me down to an 87.
Wilson 5×5 Skills Test – 25 Rounds
The Wilson 5×5 Skills test is a 25-round, all-around test of handgun skill. IDPA uses it as a qualifying test for ranking. It is shot on an IDPA silhouette and consists of four stages, all fired at 10 yards. The stages are:
- Draw and fire five rounds, two-handed
- Draw and fire five rounds, strong-hand only
- Next Draw and fire five rounds, slide-lock reload, fire five more, two handed
- and Draw and fire four rounds to body and one to head, two handed
Times are recorded for each stage and the total determines your ranking. All shots not within the appropriate circle on the target are awarded a 0.5-second penalty. I managed to shoot a 19.72 – barely into the Master Class. However…I missed four shots. All four were on the Strong Hand Only stage. With my penalties added that takes me up to 21. I really need to work on SHO!
What Does This Mean?
To be honest, I don’t know what kind of groups this gun will hold at 25 yards. If I had to guess, based on the performance I got from it out to 15 I imagine it would do pretty well. Ultimately I don’t really care because the Kimber Aegis Elite Pro performs extremely well under time and accuracy standards. I was able to acquit myself reasonably well on all of the above drills.

While I flubbed the 5-Yard Roundup and dropped four shots on the Wilson 5×5 Test, I’m still pretty impressed. You can blame the misses on me. The accuracy…well, the Kimber Aegis Elite Pro lent itself to good accuracy. The grip felt great in the hand. I’ve never messed around much with a bobtail 1911, but it felt great. Recoil was also much more controllable with the all-steel Aegis Elite Pro than my aluminum-framed Nighthawk, and the G10 grips and checkering were greatly appreciated.
In a nutshell, this pistol excels as far as accuracy is concerned. I was able to pull it out cold and shoot fairly high scores on some pretty demanding drills. I wouldn’t have been able to do that with any pistol.
Portability
Portability addresses how easy or difficult this gun was to carry. Honestly, portability is kind of where this particular pistol fails for me.
Portability: Weight
First, the weight is pretty considerable. The Kimber Aegis Elite came in at 36.7 ounces (empty) on my scale. That’s better than the advertised 40 ounces, but it’s over two and a half pounds; that’s a lot of steel. Compare that to my aluminum-framed Nighthawk: it weighs in at a 26.8 ounces, 10 ounces less. While this is heavy in comparison to my carry 1911, it’s not heavy as 1911s go, so I can’t complain about it too much. Still, that’s important to know if you’re coming from a plastic pistol.
Portability: the Optic
My biggest portability complaint is the optic. The optic’s mounting plate protruded out from the sides of the slide. This prevented the Aegis Elite from being compatible with the myriad of 1911 holsters I own. I had to modify one of my hold holsters to fit the gun, and I wouldn’t trust this holster for actual carry.
Unfortunately that’s part of the bargain for running a optic on a 1911. This gun does have some redeeming carry features. First, even though the grip is longer than my Officer-frame Nighthawk, the pistol is a bobtail. A “bobtail” means that the butt of the frame is rounded off.
Not only does this give the gun a distinctive look, it also really helps prevent printing. The soft, rounded edge just doesn’t catch your shirttail as much. This is a very nice touch. Another really nice thing about the Commander frame is the additional round of magazine capacity it permits (9+1).
If you’re comfortable with the weight the Kimber Aegis Elite Pro should make a fine carry piece. I opted not to choose a Commander frame when having my personal 1911 built – I felt the frame was just too long. I stand by that decision, but the bobtail cut on this gun has almost changed my mind. Almost.
My Thoughts on the Kimber Aegis Elite Pro
Looking back through this article I see that I went off the deep end describing the drills I shot. So what’s the bottom line? What do I think of the Kimber Aegis Elite Pro? Short story: I’m way more impressed than I thought I would be.
First, the craftsmanship is outstanding. This is a beautiful pistol and it functions well. Not only that, it is also a very well thought-out pistol. The Kimber Aegis Elite Pro’s has most of the features of a serious defensive 1911, yet no superfluous add-ons. This pistol is is a heavy-duty, all-steel gun, and it shoots like one: softly. It absorbs recoil way better than my aluminum-frame Nighthawk.

I was disappointed in the lack of an ambidextrous safety. I think an ambi safety is a non-negotiable on a defensive 1911 – you have to be able to shoot it with either hand. The smooth slide was also a little disappointing – I really like forward cocking serrations. I realize this isn’t a universal choice. Some people don’t like them and some manuals-of-arms don’t require them.
Overall, though, this is an excellent pistol. I was unable to test reliability to the extent that I would have preferred, yet still walked away very impressed. I’d be willing to further test a non-optic version of the Kimber Aegis Elite Pro. If you’re looking for a carry 1911, this one deserves your consideration.