Dry Practice Function Stacking: Varying The Draw
I began this series during full-on COVID lockdowns. Now you can go to the range but you might have a problem finding ammo...or being able to afford it. Today I'm going to talk about some very simple, low-cost things you can to do increase the value of your dry practice time.
This article contains affiliate links.
Intro: Read this!
First, I am not a fan of the term "dry fire." If all you're doing is "firing" you're missing out on a massive spectrum of things you can practice. If you've followed my dry practice posts this year you've already gotten a taste of this. I've practice presentation, trigger, reloads, malfunction clearance, SHO stuff. . . and I'm a long way from done.
Second, novelty is your enemy. If you've already encountered something in training that closely mirrors an actual encounter you experience, you already have a mental model constructed to deal with that situation. For example: the first time you see your sights in reduced light shouldn't be while you're defending the lives of your wife, your child, and yourself. You should know what that looks like and not be surprised and distracted by it. We can't possibly imagine everything - there are simply too many variables out there. We can, however, chip away at the iceberg of novelty by accounting for as many of these variables as possible and adding them into our routines.
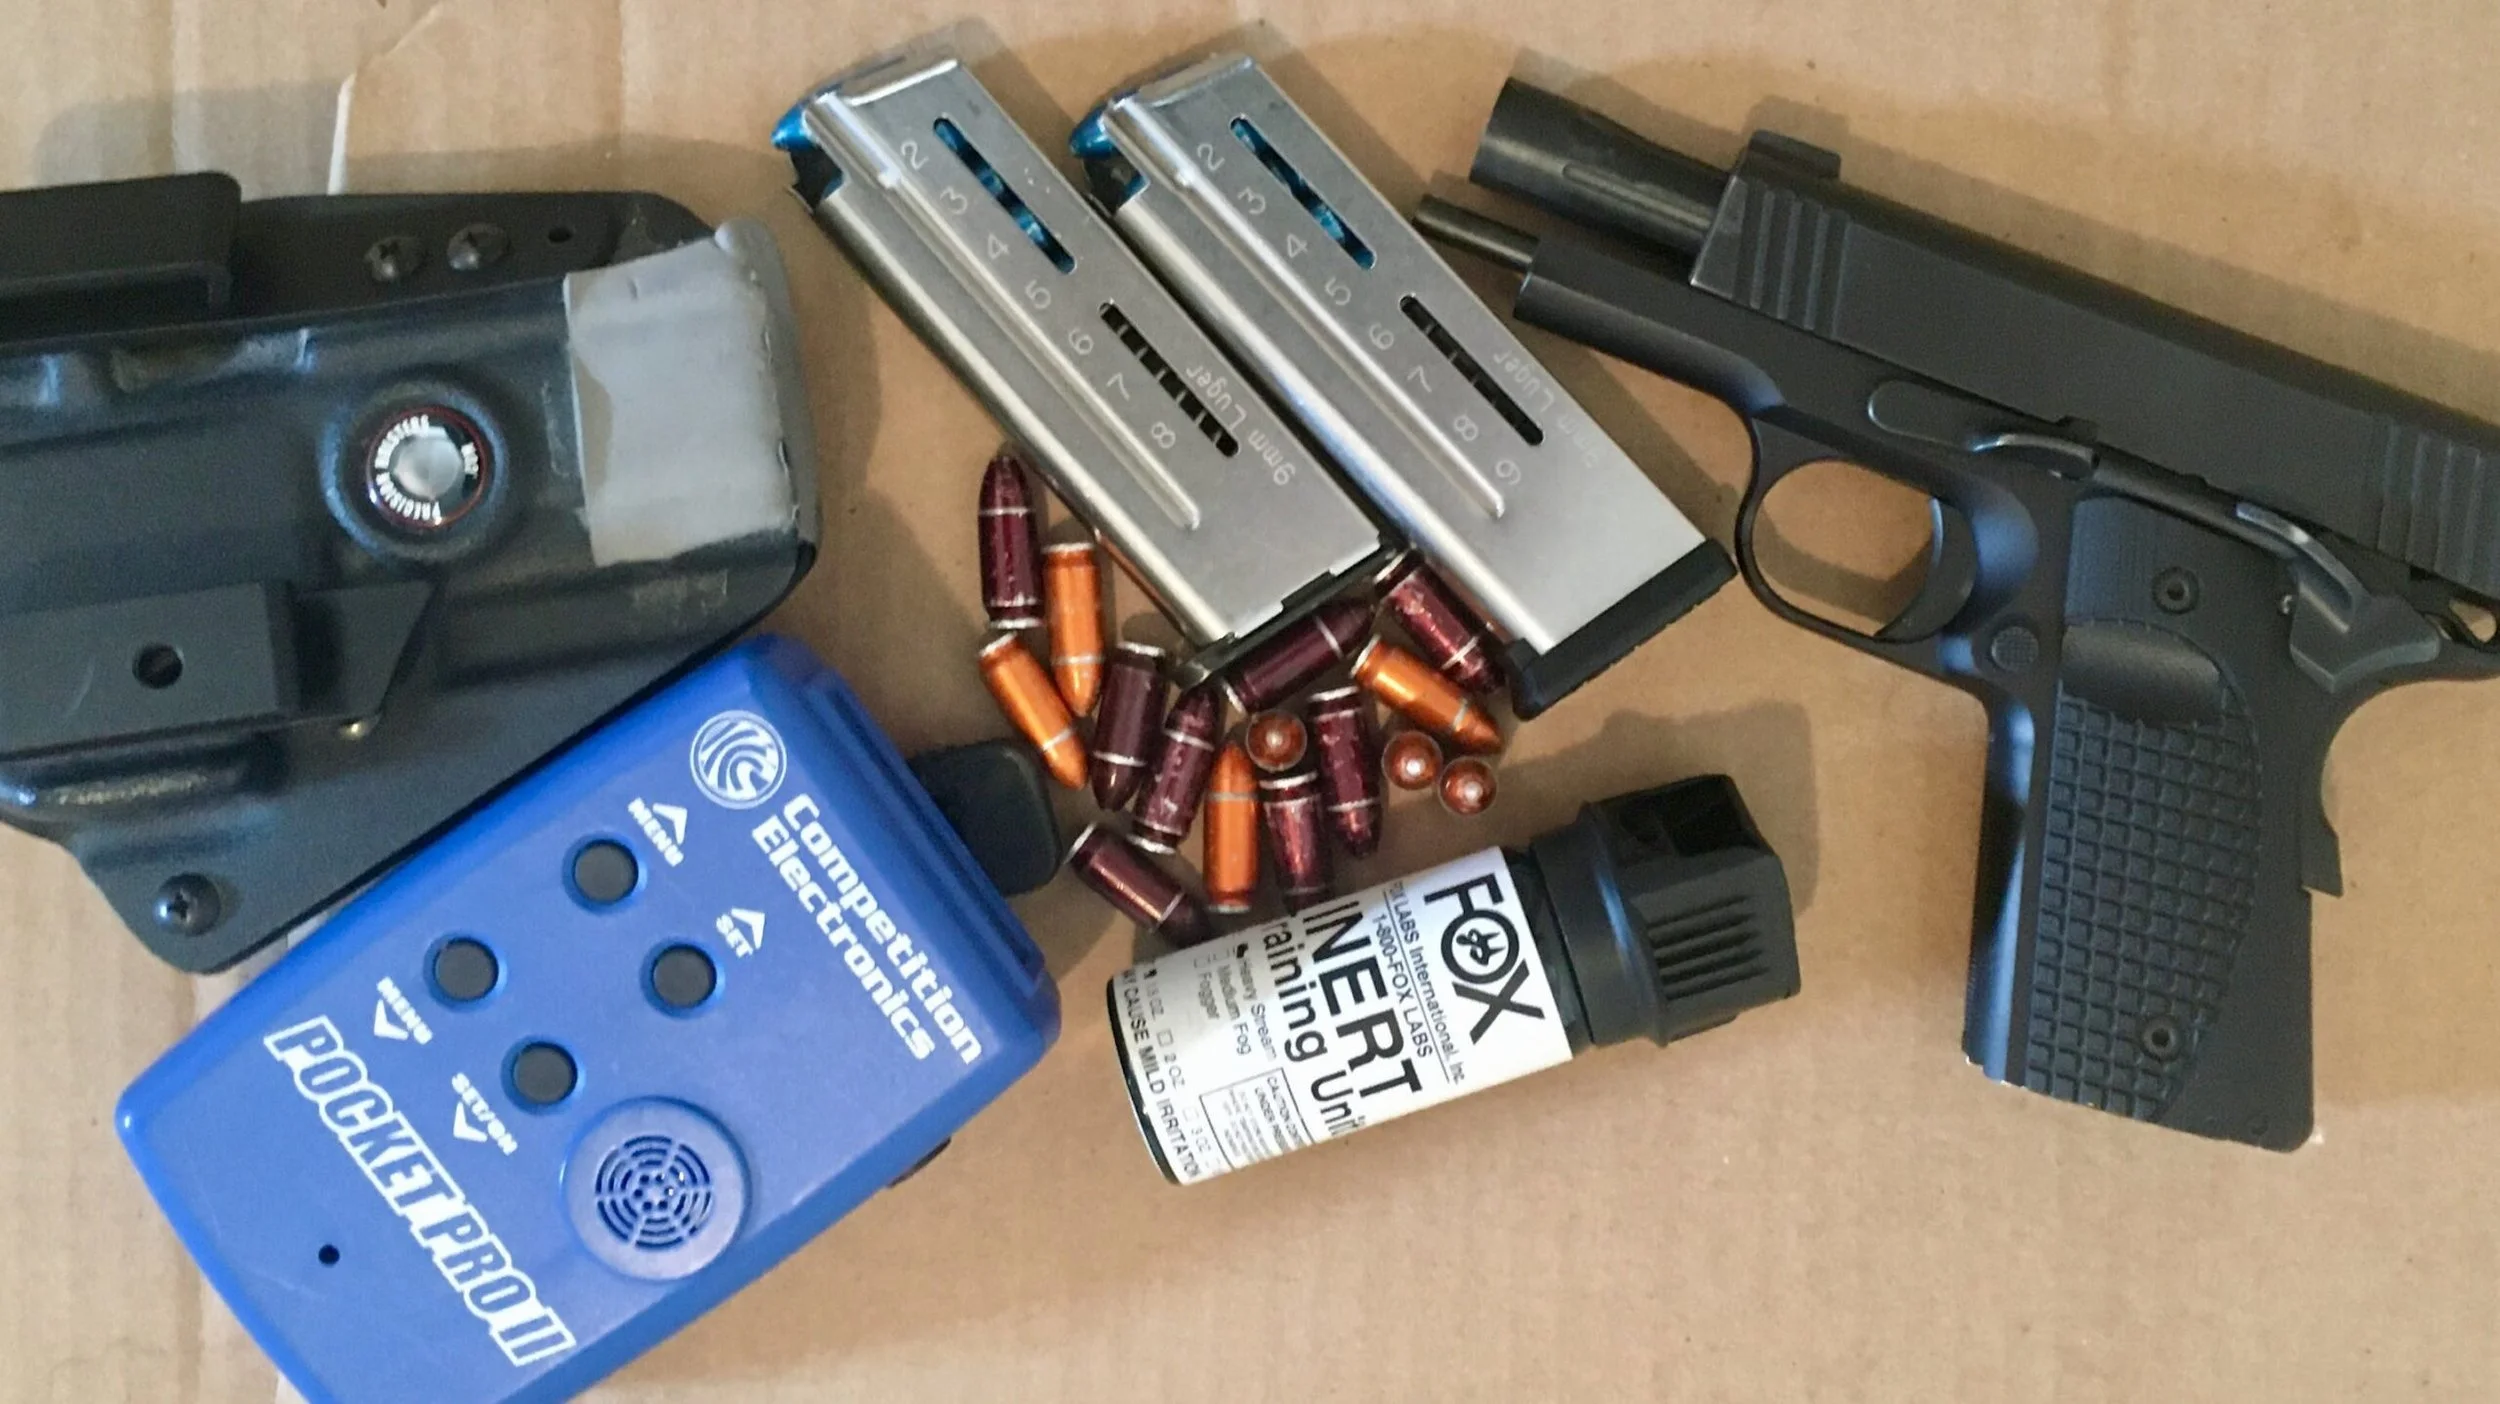
A couple caveats: First, ensure you are adhering to safety best practices. Now is not the time to be in the hospital because of a gunshot wound, or the time to be You don't need much gear to dry practice but I do strongly recommend the use of some snap caps. I strongly prefer A-Zoom snap caps. I'd be willing to bet there isn't a run on these and they will last you for a very, very long time. Get some now.
Let's get into today's topic. Today I am going to talk about the varying the draw stroke.
Introducing Variables
The reason I don't like the term "dry fire" is that it implies I'm doing nothing more than going through the motions of "firing" my gun. That could not be further from the truth. When I dry practice I practice all manner of skills. The draw stroke is as an important a skill as you can master. I recommend spending a TON of time with the draw stroke. That may sound redundant and boring, but there are a ton of variables you can add into your draw stroke.
Not only do these keep things a bit more interesting and novel, they also help you worth through a variety of scenarios before you actually need them. You don't want to find out that the first time you ever pivot and draw is the time you need it for real. I have talked previously about varying the condition of your target - its distance, height, multiple target arrangements, etc. Today I'm going to talk mostly about adjusting your body's position/location relative to the target. What follows are some techniques to vary your draw stroke practice, keep it fresh, and get a lot more out of it.
Before varying your draw stroke, you need to be on very firm ground with the bread and butter: the straight-up, standing, squared-up-to-the-target draw. This will take some time, and I strongly recommend putting that time in.
Variable: Position of Retention
One easy variable to introduce is drawing to the position of retention. This isn't a class on shooting from retention, but I will briefly explain. If you know what the four-count draw stroke is, the gun is basically kept in position three: muzzle oriented downrange, gun held tight to the body, with one or two hands on the gun, depending. Fire is not aimed, but is only kinesthetically indexed on the target. The body should be leaned aggressively forward. If firing with one hand, the support hand should be up in a "cage" around one's head, protecting it from blows.
You will want to practice this while very close to the target. I practice shooting from retention at basically contact distance - a foot or two from my target. This isn't a full substitute for a combination of hands-on, force-on-force training and live fire, but it's also not terrible if dry practice is all you've got. Drawing/shooting from retention is a chronically under-practiced firearms skill.
Variable: Facing 90º To Target
The next variable is to begin your position at a 90º angle to the target. This forces you to look, then pivot toward the target as you draw. If safe to do so, I recommend practicing this with the target on your right and on your left. To do this drill I back up to the appropriate distance. I turn 90º to the right or left. At the buzzer I glance over at the target. When I have made the decision to shoot I pivot toward the target as I draw.
You can vary the degree of the angle a lot if you can move laterally on the firing line. For instance, if you are 7 yards from your target, being directly in front of it creates a 90º angle. Waking two steps forward will decrease this angle to maybe 70º. If you take two steps backward that will open the angle to 100 or 110º. Odds are low that an attacker is going to present him or herself from straight-on and pull his Hi-Point at seven yards. Much more likely is addressing a target at some angle, or adjusting your body to reduce that angle. I would spend just a little bit of time practicing this.
Variable: Facing 180º To Target
I would also practice rotating 180º to address targets to my rear. This means facing up range, glancing to the rear and identifying a threat, then pivoting in the appropriate direction (left or right). If the target favors your left side, pivot to the left; if it favors your right side, pivot right.
Variable: Distance to Target
I have addressed this briefly before, and will address it only briefly here (I have a lot to say on the matter and would probably prefer to make it its own article). In short, you should vary your distance to the target. It is really easy to fall into the trap of always practicing at five or seven or ten yards. But there is some benefit to practicing at a variety of distances. At some closer ranges you don't need quite as clear a sight picture...or a sight picture at all. At longer ranges you need a crystal clear sight picture. I attempt to vary my position from 0 to 20 yards (about as far as I can comfortably get in my yard) during each session. This gives me an opportunity to work on a kinesthetic index, a flash sight picture, or a full, clear sight picture, depending on what is called for.
Variable: Surrender Position
And of course you can do all of this while varying the starting position of your hands. That is, hands in the air as if being held at gunpoint. The surrender position probably isn't a position you want to find yourself in, but it does simulate more realistic position of hands up and between the target. More importantly, the surrender position prevents you from artificially "setting up" your hands for a fast draw. You can't be fingering the hem of your shirt if your hands are high in the air.
And of course the "surrender position" can be modified to any number of other positions, like the interview position, arms folded across your chest, holding something, or with your hands in front of you as if defusing a situation. The sky is the limit, and if you're only practicing your draw with your hand under the hem of your garment...you might want to branch out a little.
Closing Thoughts
For many of you there is nothing ground-breaking here. Some of you have probably never thought about introducing most of these techniques into your practice regimen. Some of you know you should, but don't. I call these articles "function stacking" because you are still practicing the draw. That still counts toward mastery of the draw stroke, but you also add something else in to create a bit more cognitive load, and "double dip" by practicing something else (i.e. turning) along with your draw. You can stand there and click the trigger for fifteen minutes...but it's probably not going to be as effective for you as a carefully planned dry practice session.

