In this installment of Know-a-Knot we are going to build on a knot we already know: the Figure Eight Loop. The Figure Eight has many variations, and this isn’t the last version of the Figure Eight that I will show you. This week is kind of special because we are actually going to learn two knots: the Figure of Eight, and the Retrace Figure Eight.
The Retrace Figure Eight
The Retrace Figure Eight has the same end result as the Figure Eight Loop, but it is tied a slightly different way. Why would you want to know two ways to tie the same knot? It does give you an additional ability. With the Figure Eight Loop you tie the knot, then either slip it over something, or place something over it, i.e. slip it over a cleat, or snap a carabiner on to it.
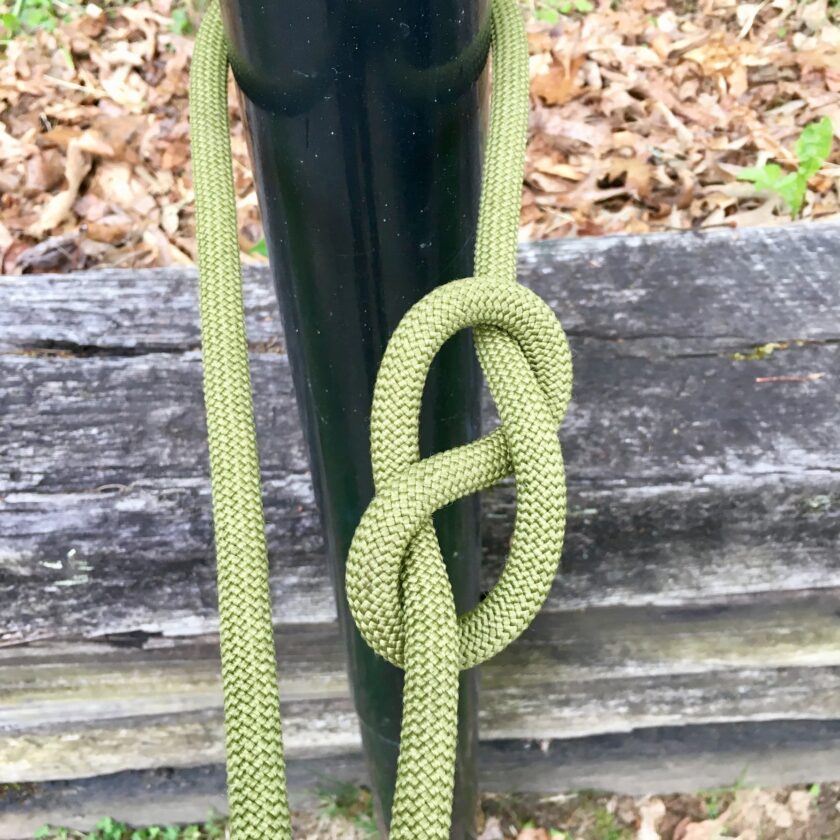
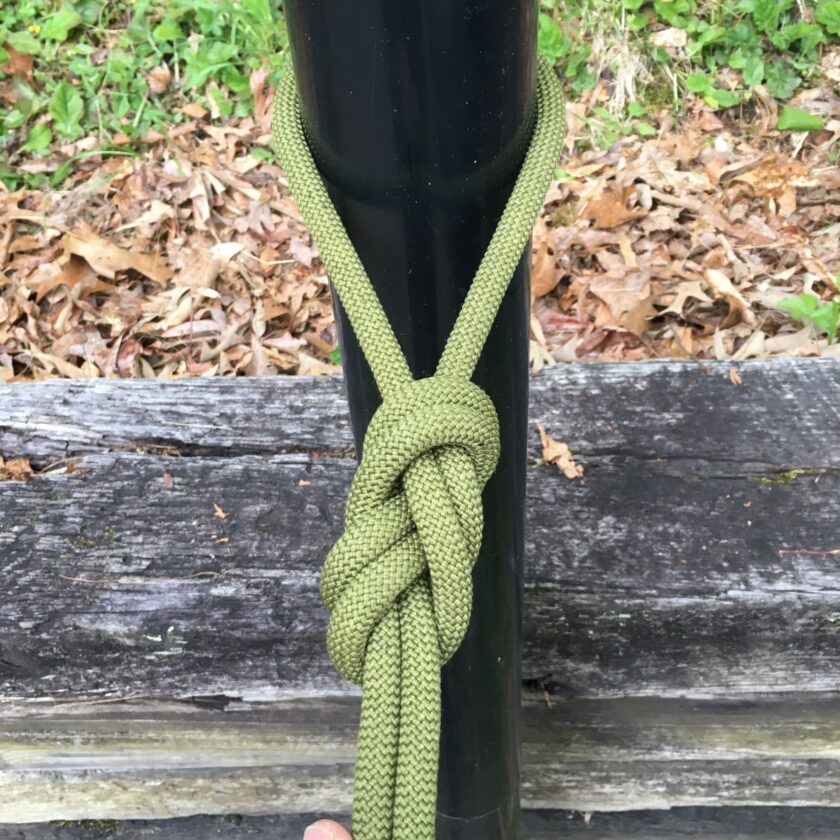
The Retrace Figure Eight allows you to tie a Figure Eight around an object, like a pipe, a closed eyelet, or even something really big like a car. The top image in this article is a great example – you couldn’t get a Figure Eight Loop into that eyelet, but you can tie a Retrace Figure Eight through it. But wait – there’s more! The Retrace Figure Eight can also be used to join two ropes of equal diameter (though technically this is a third knot known as the Figure Eight Bend). This is a really versatile knot and a great one to know.
I also mentioned that I would show you two knots this week. The plain, old Figure Eight will be incident to tying the Retrace Figure Eight. If the terminology seems slightly confusing, it is, but hang in there. Let’s start tying the Retrace Figure Eight and I’ll show you what I mean.
Retrace Figure Eight: Step 1
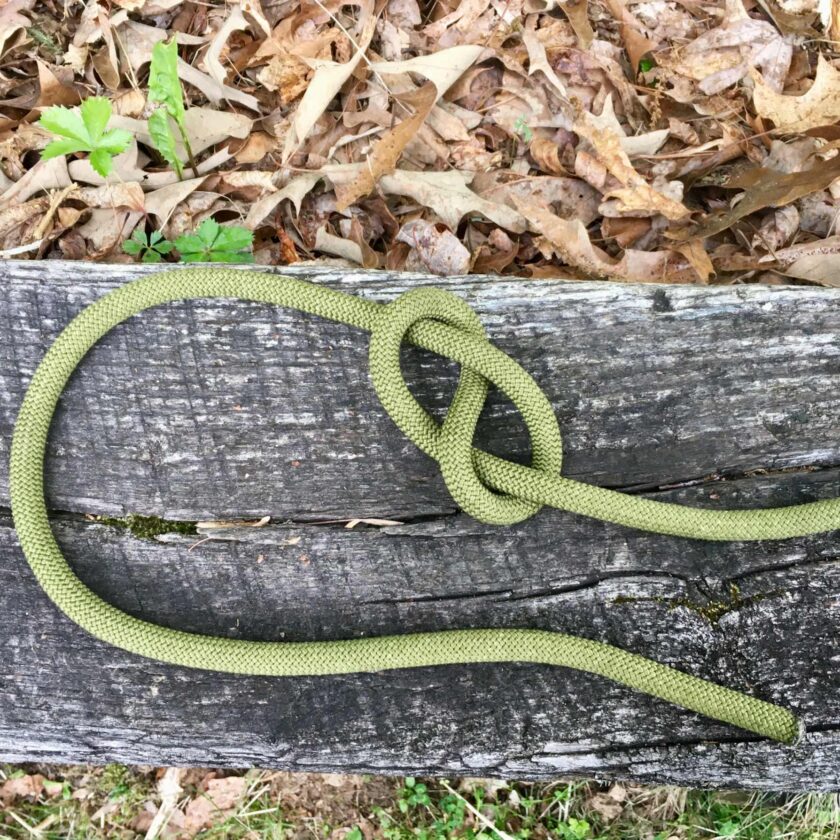
First, let’s tie a Figure Eight. Begin by creating a loop.
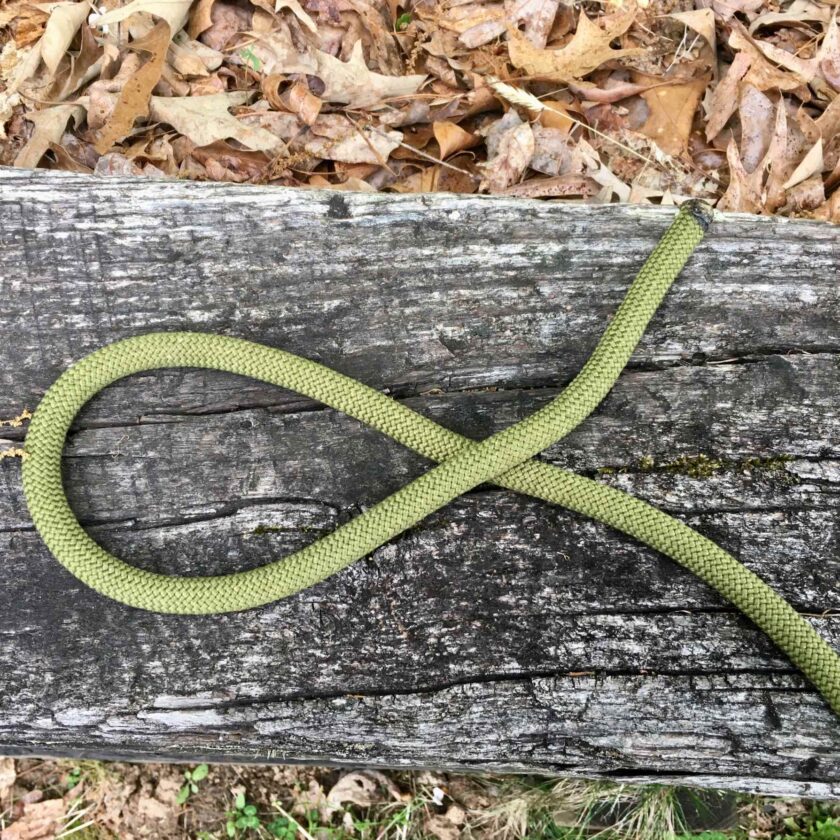
Retrace Figure Eight: Step 2
Once you have created a loop, pass the running end under the standing line as show below.

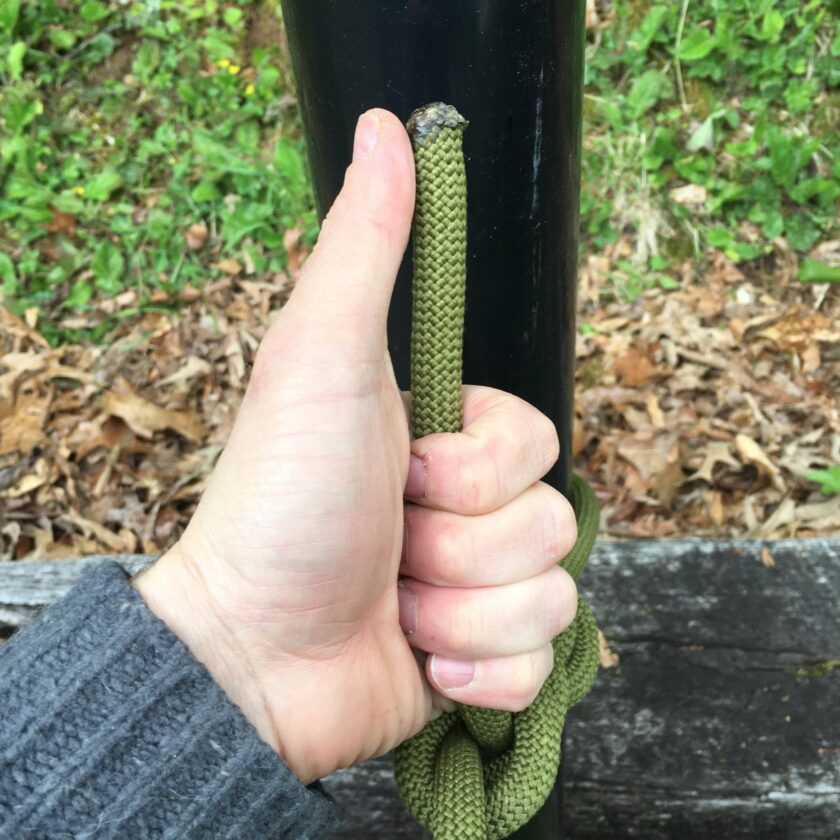
Note that my illustrations begin with a fairly short length of rope for ease of demonstration. You will need more working rope, as show in the next photo.
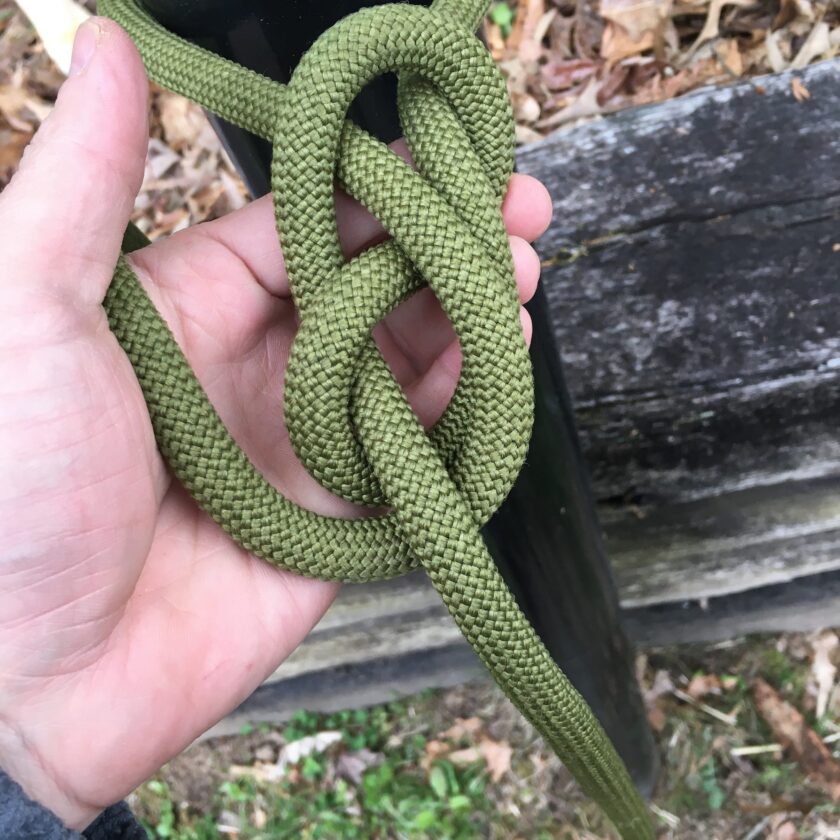
Retrace Figure Eight: Step 3
Next, pass the end of the line through the first loop as show below. This knot is the Figure Eight. The Figure Eight is used as a stopper knot, to keep line from running through a piece of hardware (like a carabiner or pulley).
Retrace Figure Eight: Step 4
Now pass your working line around your object.
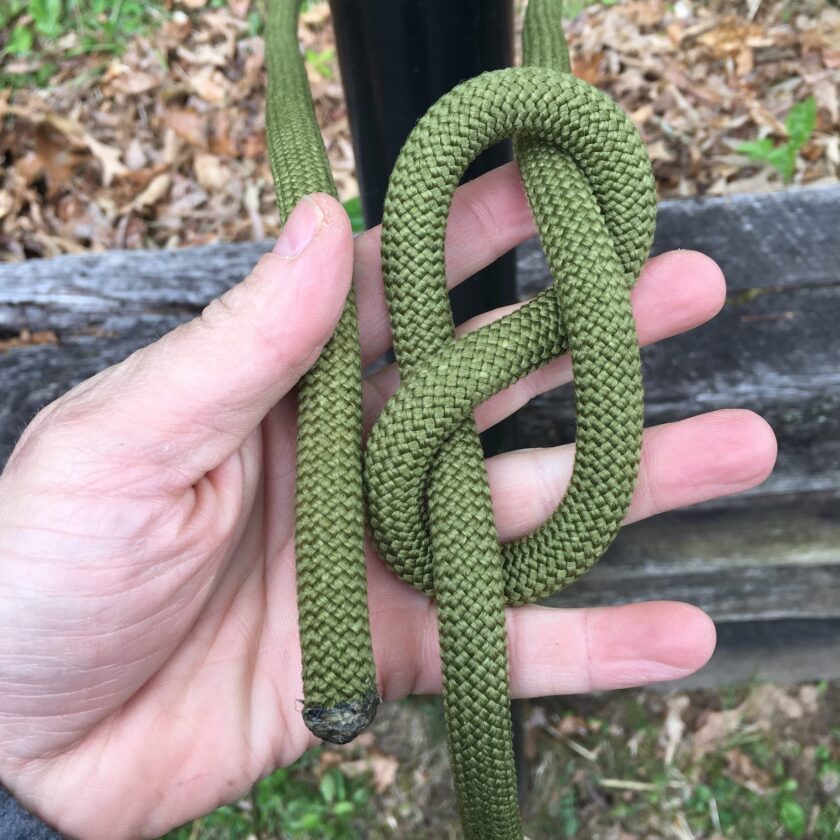
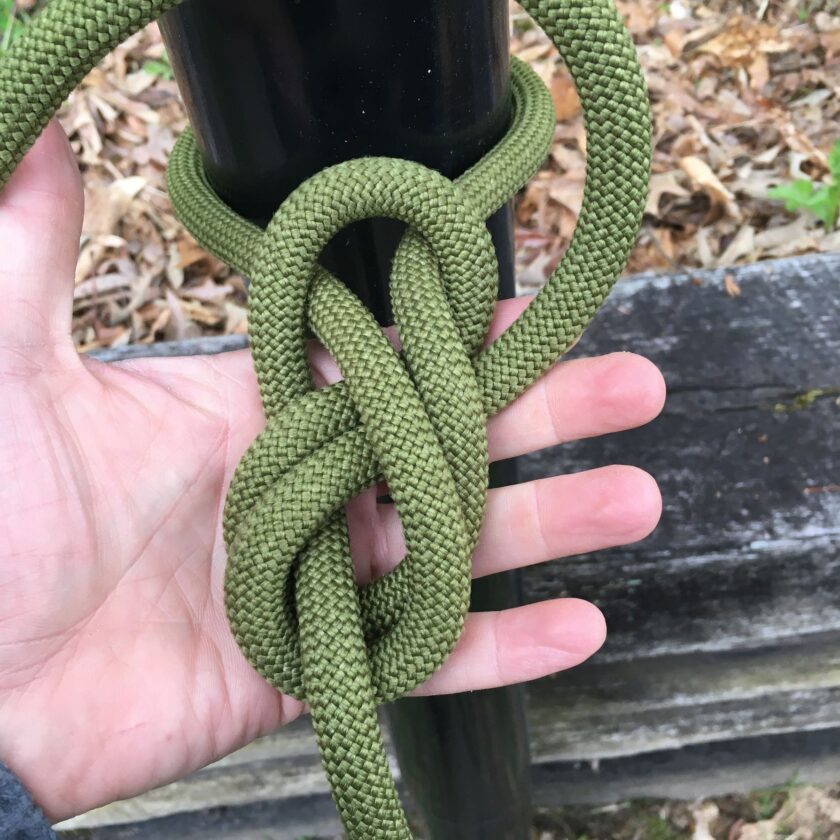
Retrace Figure Eight: Step 5
Begin retracing the working end back through the Figure Eight. Start with the working end beside the line that is wrapped around your anchor or object.
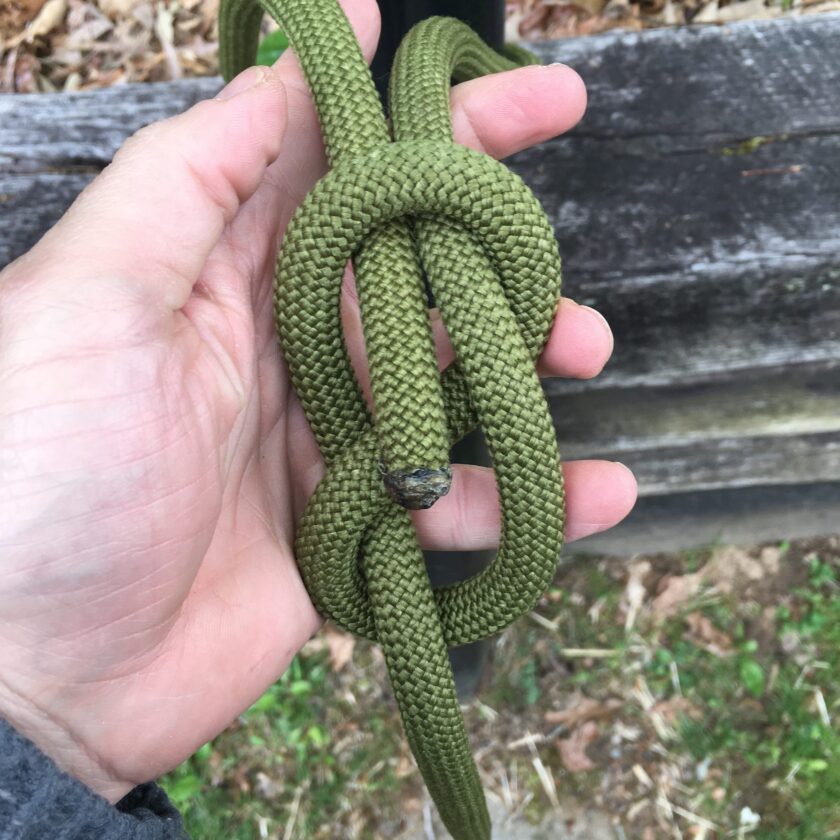
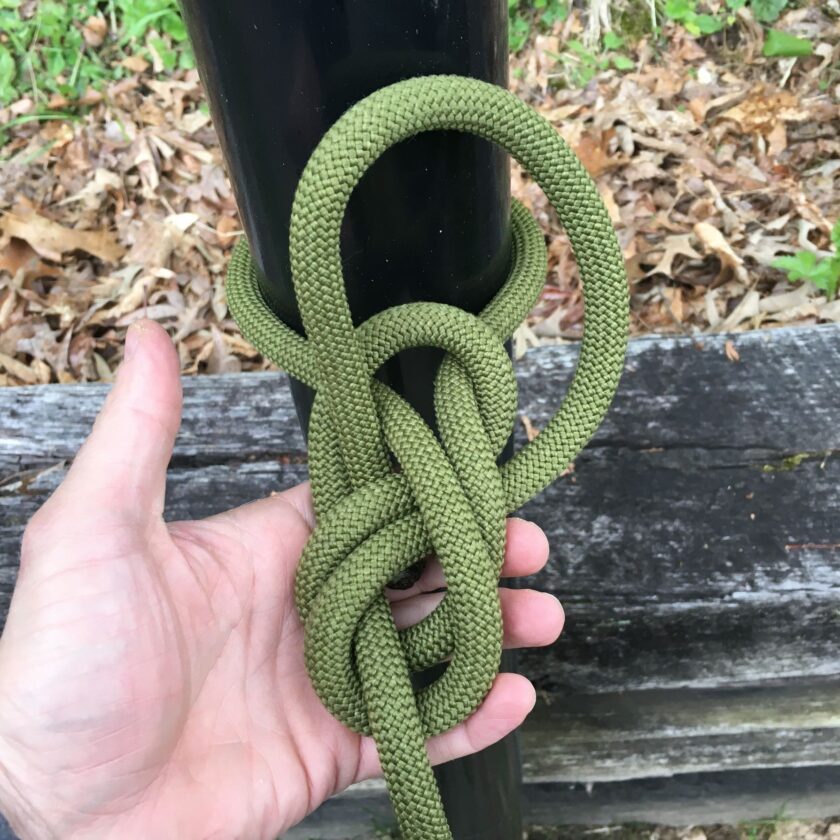
Retrace Figure Eight: Step 6
Continue retracing that line. I will attempt to illustrate, photographically:
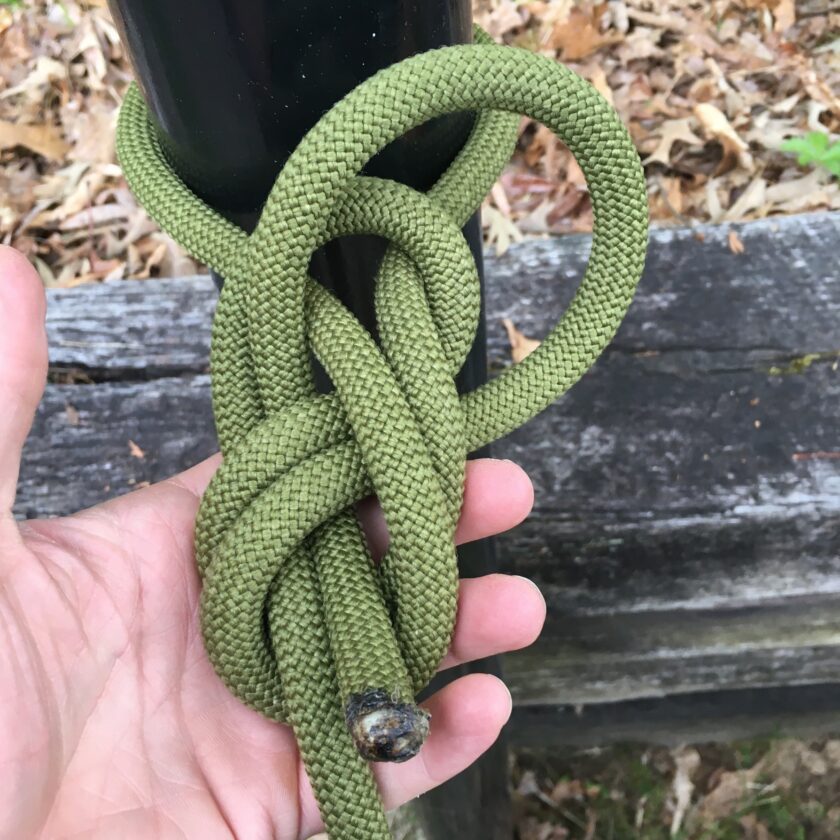

Retrace Figure Eight: Step 7
At this point you should have a knot that is indistinguishable from a Figure Eight Loop, but that is tied around an object. Now it’s time to clean it up.
And that’s it! You have learned two knots today: the Figure Eight, which is a stopper knot, and the Retrace Figure Eight. Stay tuned: next week we will learn a brand-new variation on the Figure Eight – an interesting and useful middle-of-the-line variation.