Welcome back to the Across The Peak Podcast, the show Where Rich and Justin discuss preparedness, the birds and the bees, guns, history, tattoos, and… well, basically all the stuff your old man shoulda taught you! After a four-year silence we are re-releasing the ATP archive. Here it is, folks, Across The Peak Episode 034: A Crash Course in Homebrewing! This show was originally released on 01/30/2019.
A Crash Course in Homebrewing
This article contains affiliate links.
Featured image retrieved from https://www.flickr.com/photos/crazysphinx/4071064709, licensed under Creative Commons 2.0.
What are you drinking?
Rich’s Drink: Carnivore red wine (c’mon Rich, no beer on a brewing episode?)
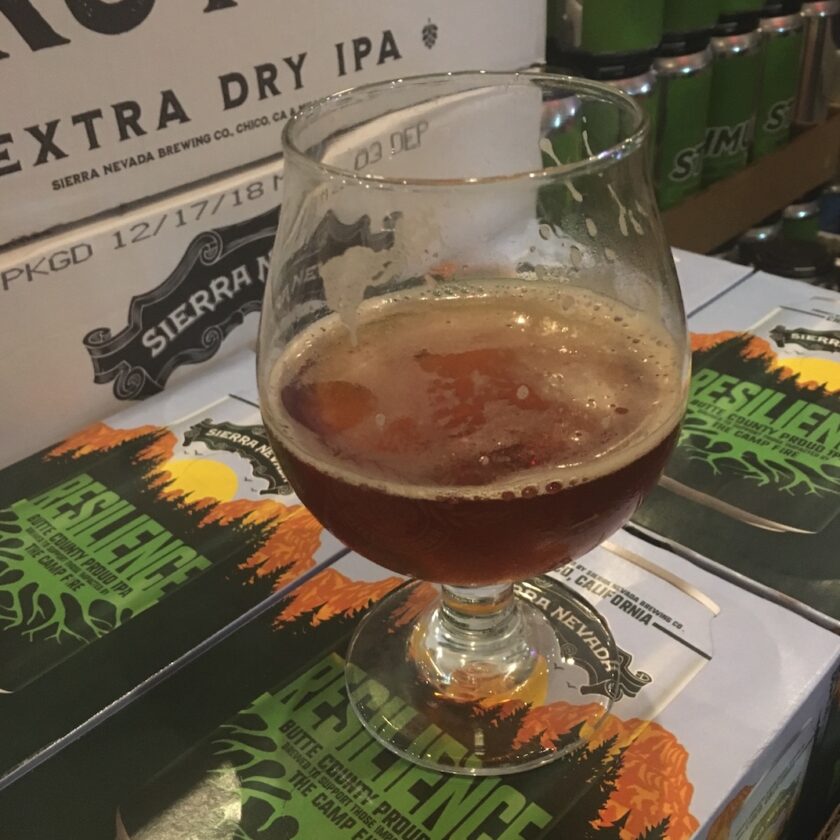
Justin’s Drink: Sierra Nevada Resilience (that’s two Sierra Nevada brews in a row)
A photo of the beer from the night we walked to our local beer store and had our first Resilience. It wasn’t a long-time favorite, but we certainly enjoyed it!
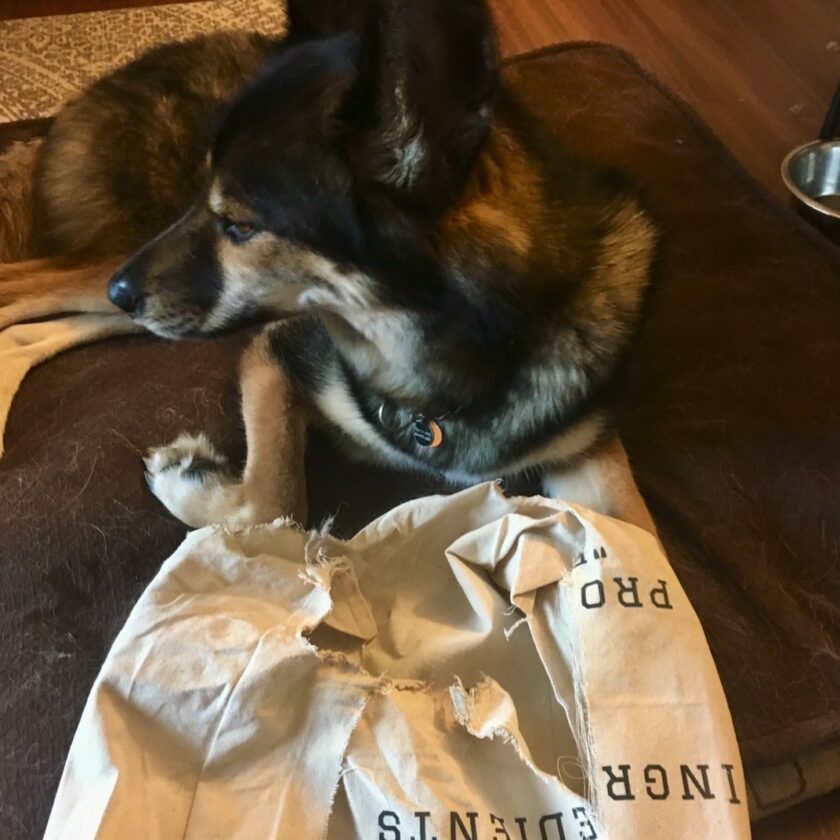
Aaaand…here is the tote Jake destroyed! We got such a kick out of this it was totally worth it!
This was a very photo-heavy episode. I tried to put all the original photos back in here.
Homebrewing Equipment & Ingredients
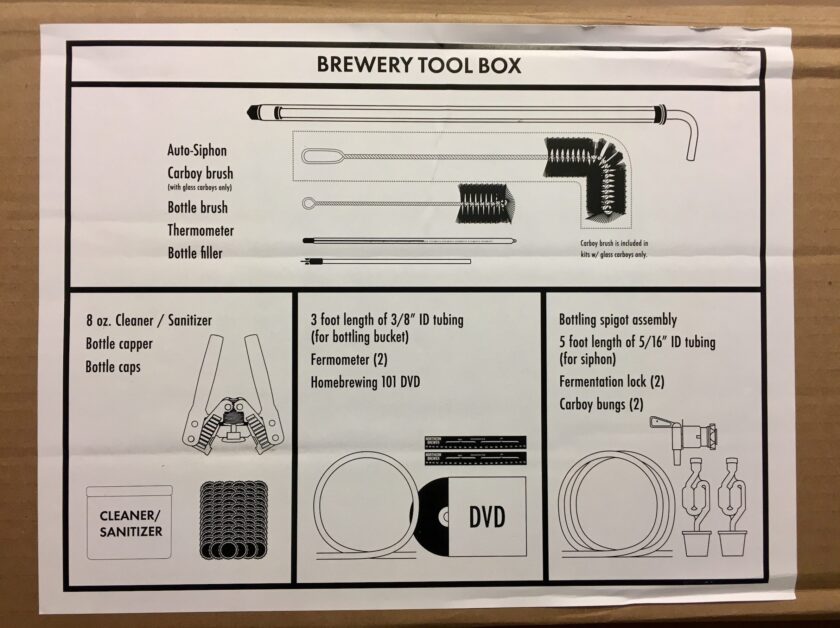
We had the Northern Brewing Homebrew Starter Kit. That it served us well, and all of the gear in the pics you see here are from that kit. That kit lasted us for several years and many batches. The only additional thing you’ll need is a very large pot (20 quarts should do it). Some things not explicitly pictured:
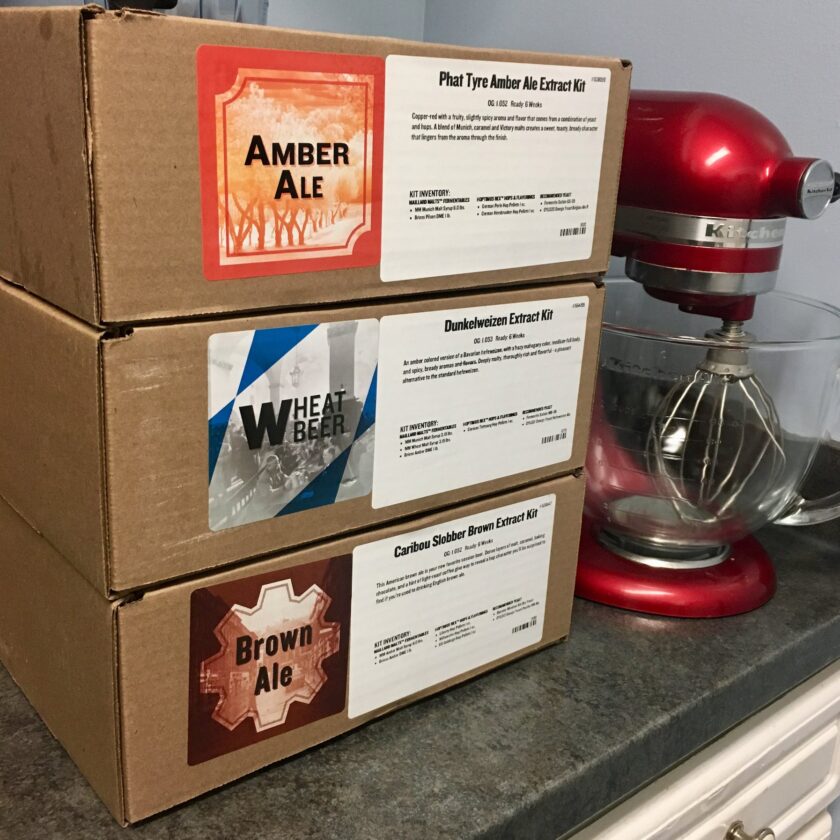
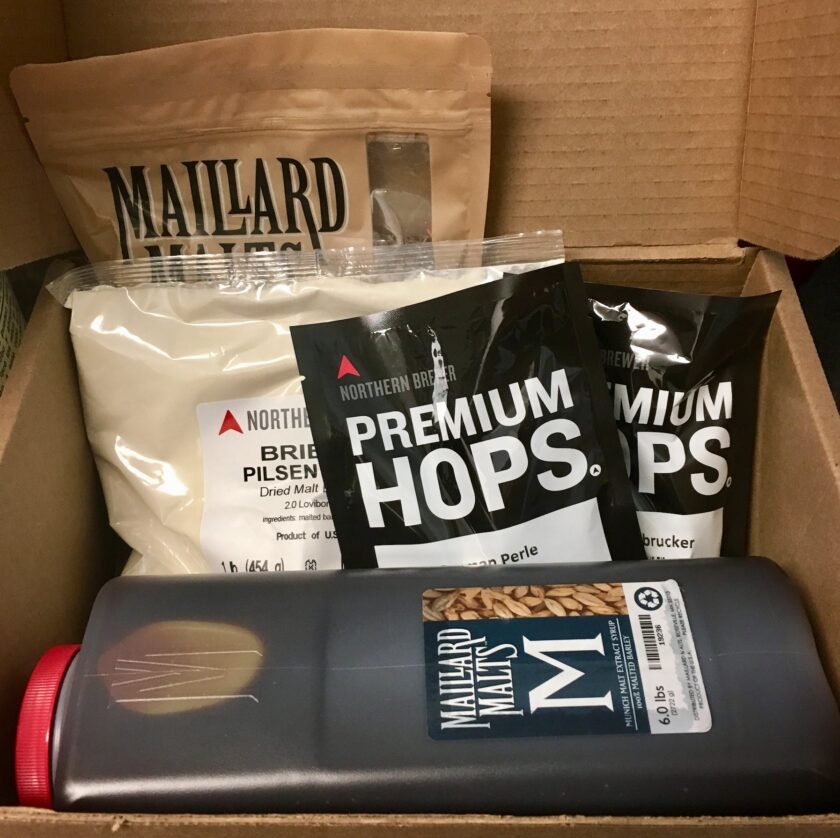
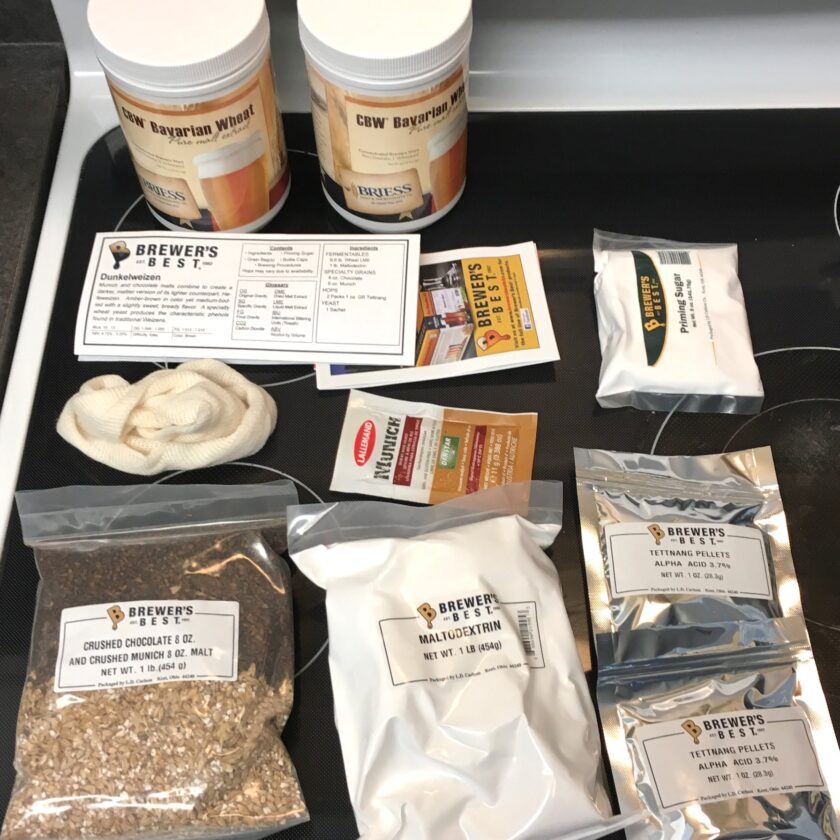
Recipe kits are another big part of this. Below are some stacked pictures of kits, along with ingredient layouts.
You will also definitely need some sanitizer.
The Process, Step-by-Step
First, bring your water up to temperature. Add in the grain and let it steep.
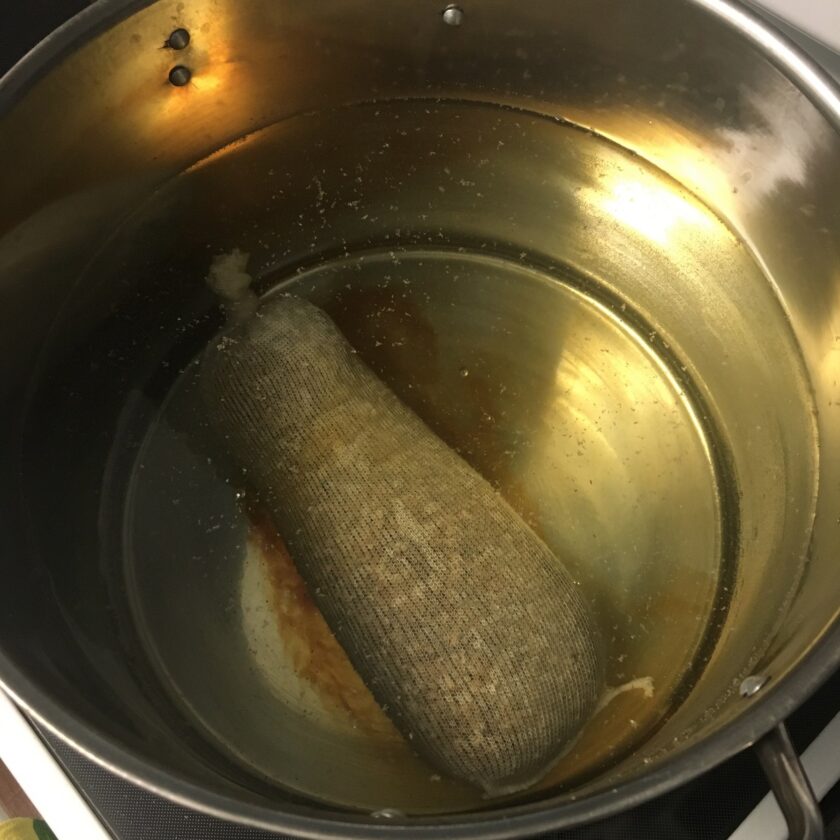
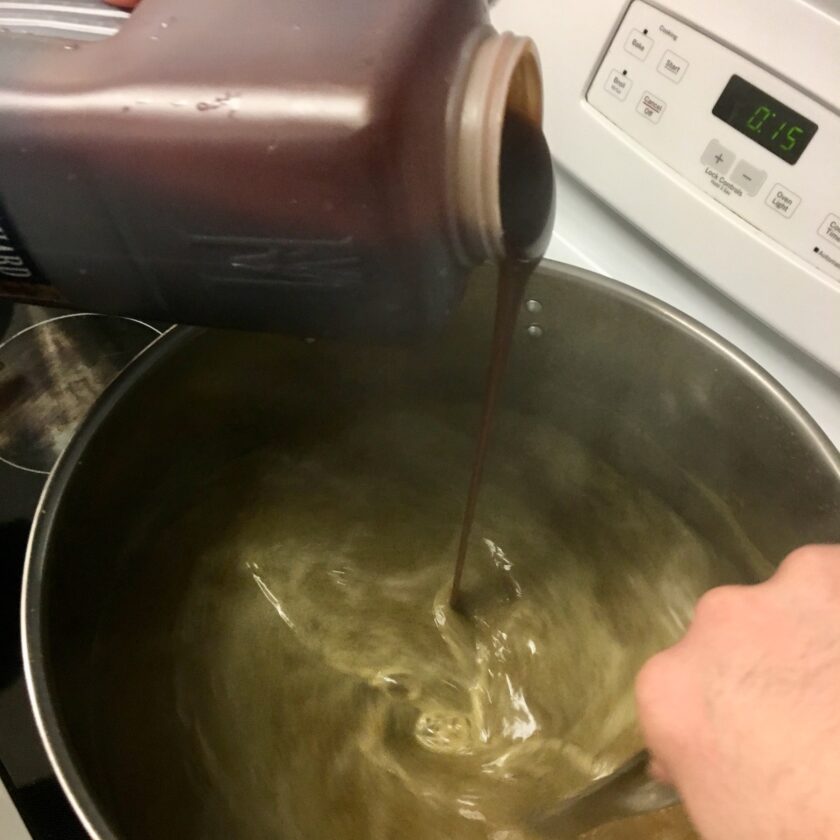
Once the grain has steeped remove it. Pour in the liquid malt extract (LME). You may also want to reserve some hot water to get all of the LME out of the container.
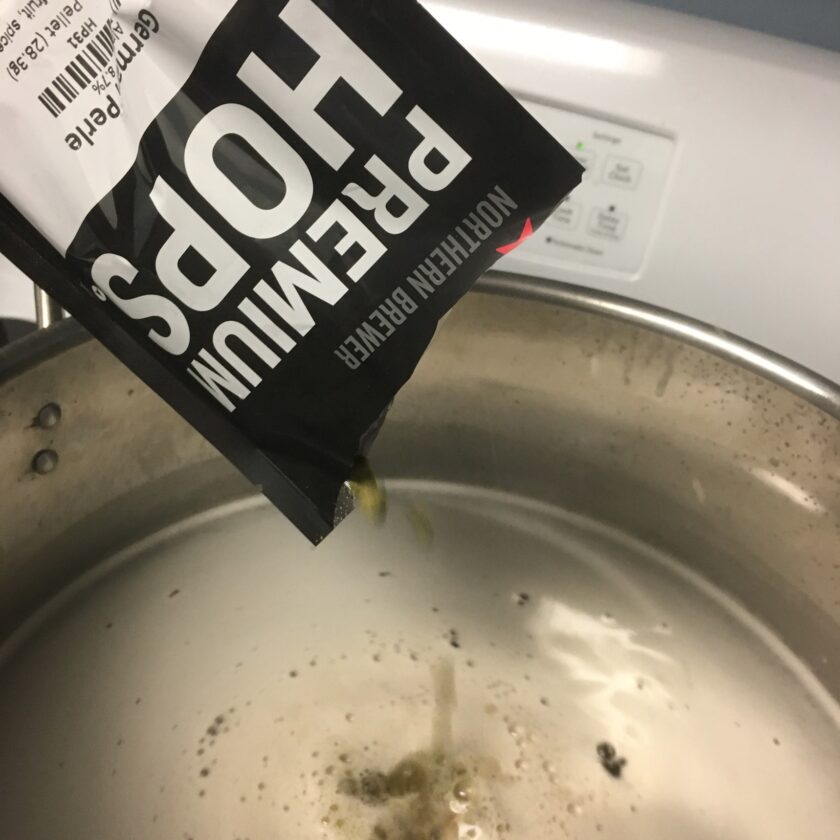
Add in the hops as directed.
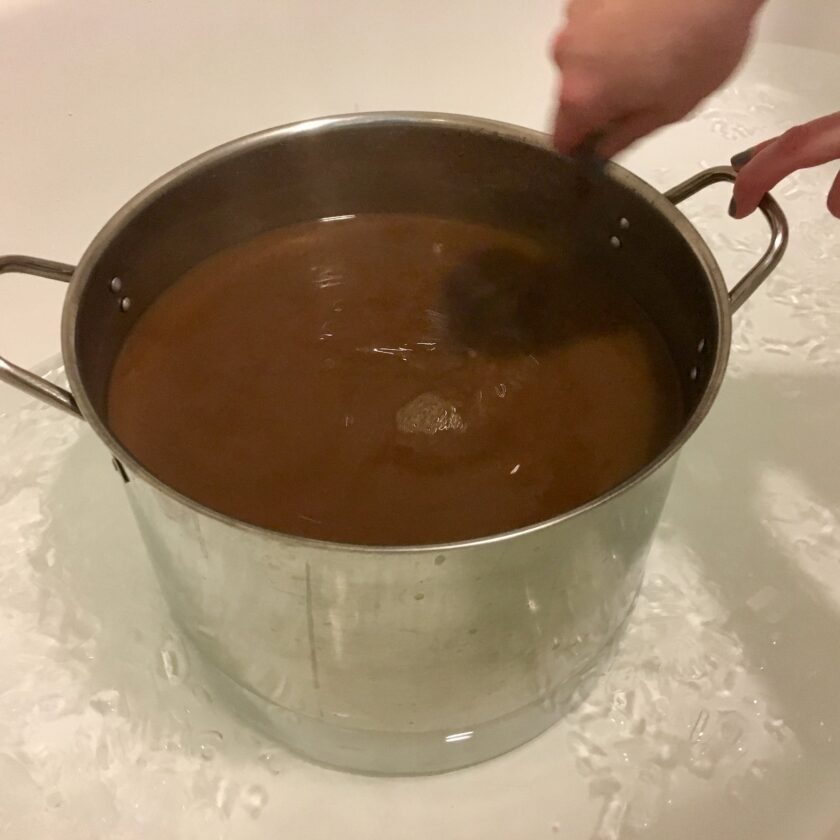
Once the boil is done (it usually takes about an hour) transfer the brew pot to ice water or put in the sanitized wort chiller. Cool the wort as quickly as possible.
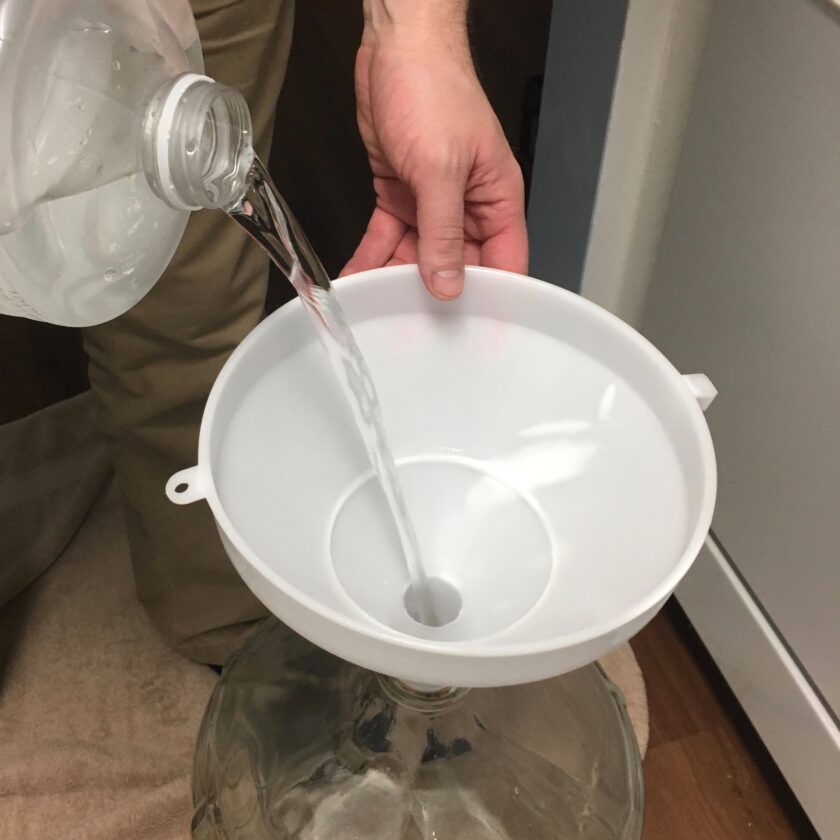
Add the chilled wort into the sanitized carboy. I like to add some water first, then add the wort, then top the carboy off with water.
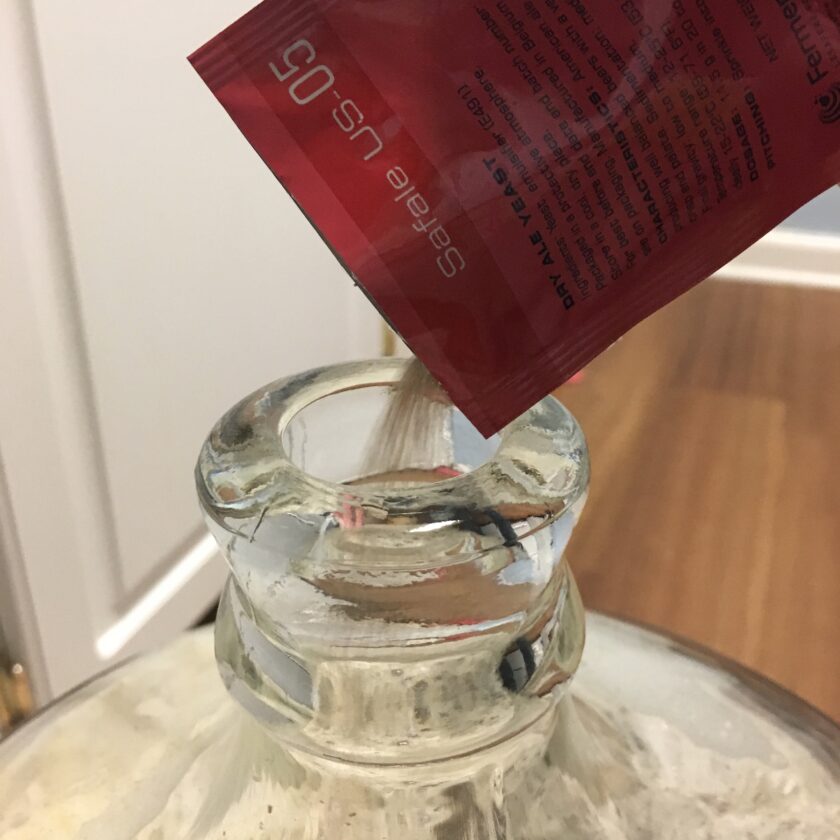
Pitch the yeast, adding it to the carboy.
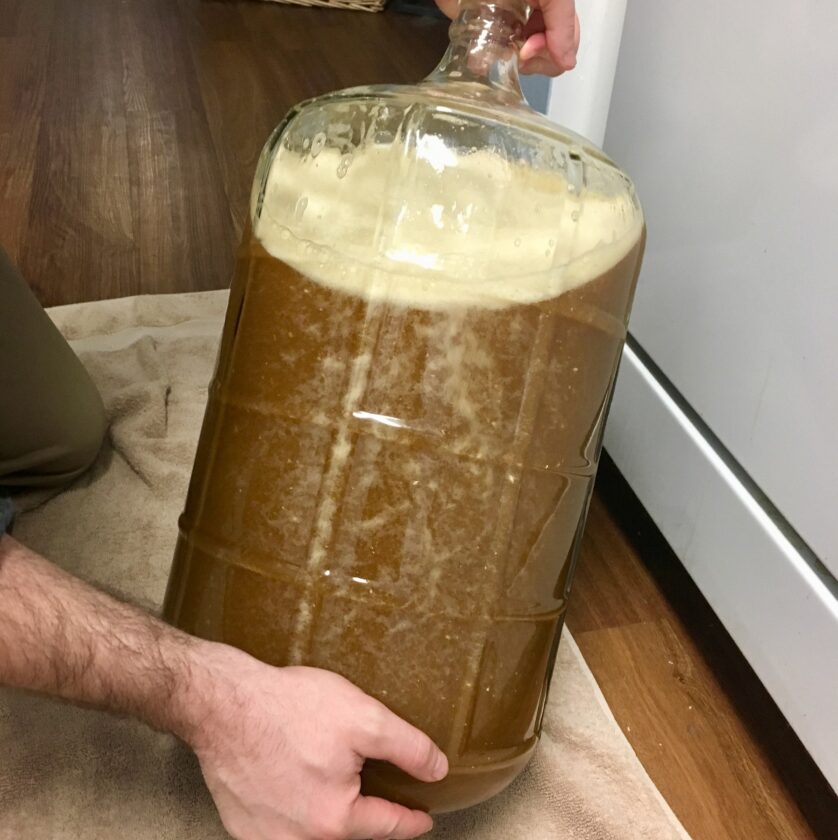
Aerate the carboy, making sure the yeast gets mixed in well.
Now comes the waiting game. The carboy has to ferment for a couple of weeks, preferably in a dark place with a consistent temperature.
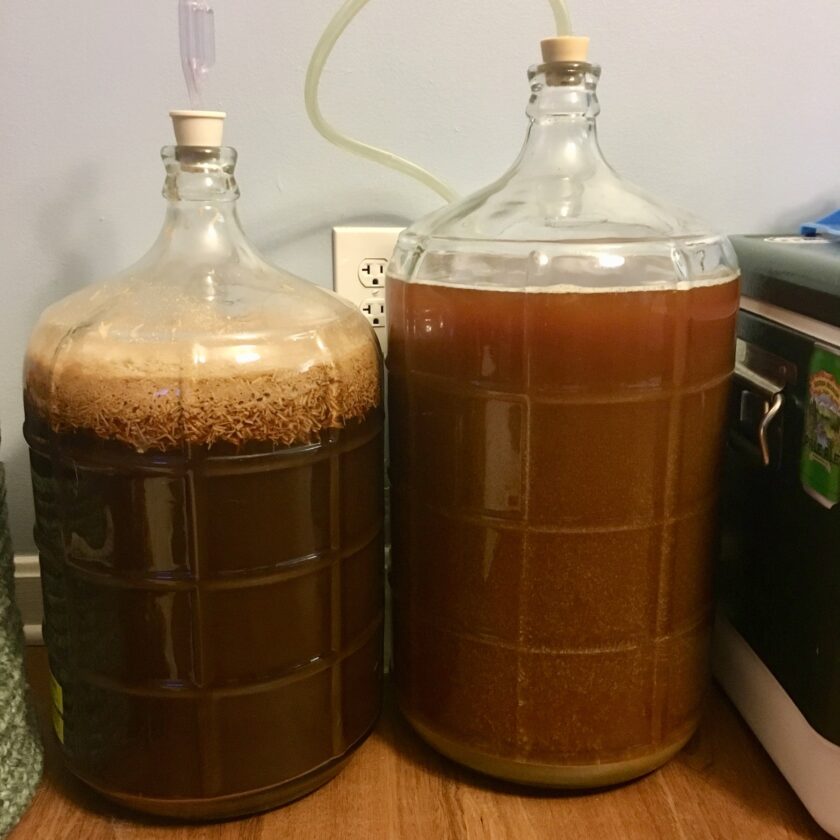
Watch out for a blowout, especially as particulates get pushed up into the stopper. The gas can blow the stopper off and spew particulates all over the room.
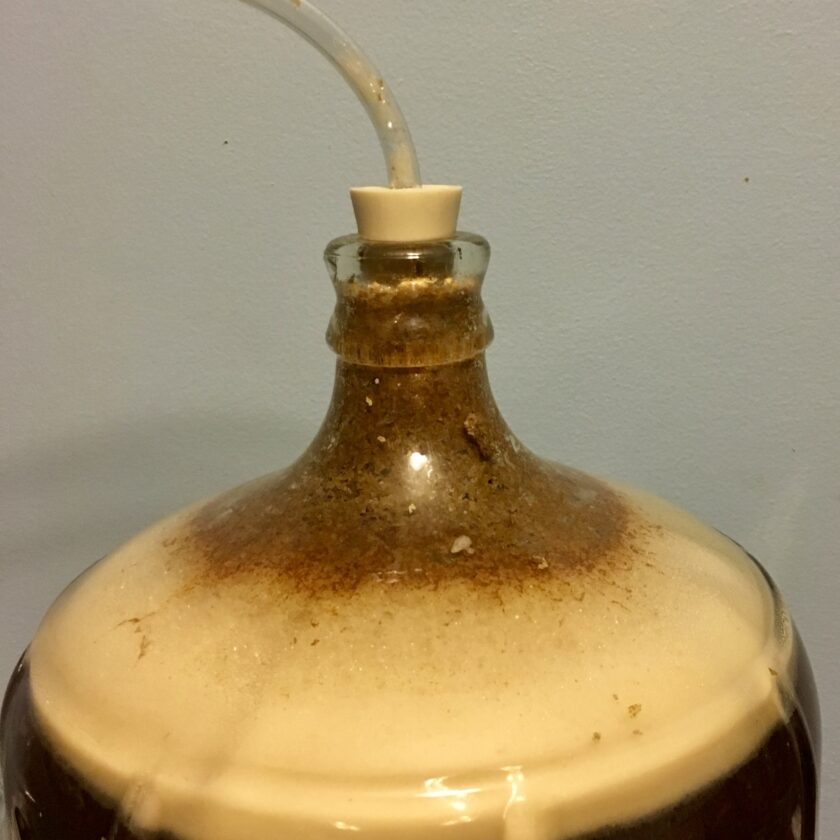
After the primary fermentation, you will usually do a secondary fermentation where beer further ferments, and clarifies.
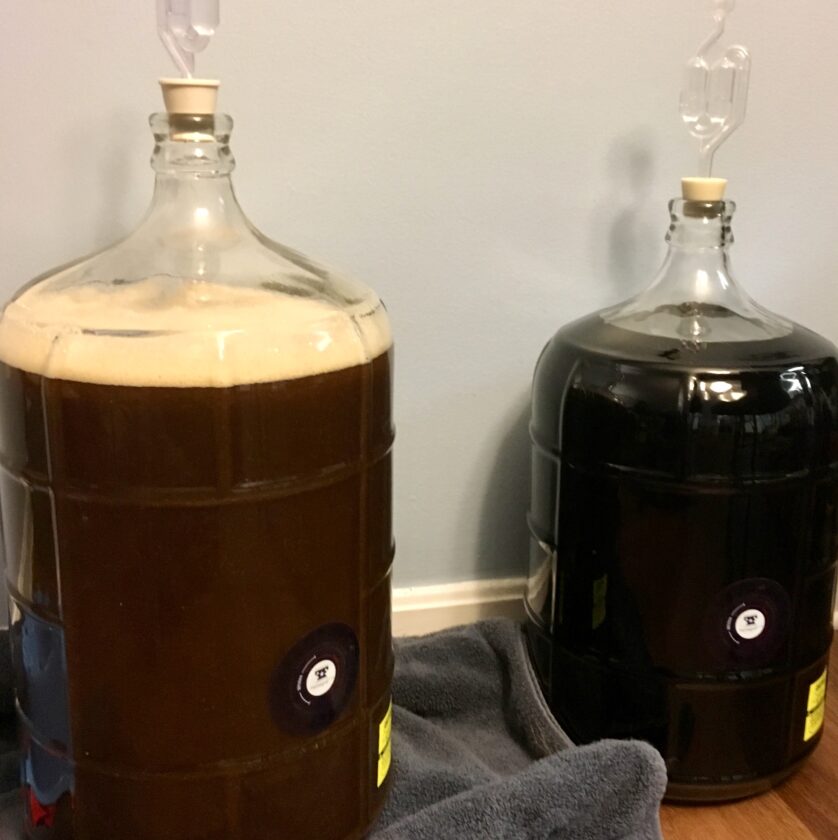
Bottling
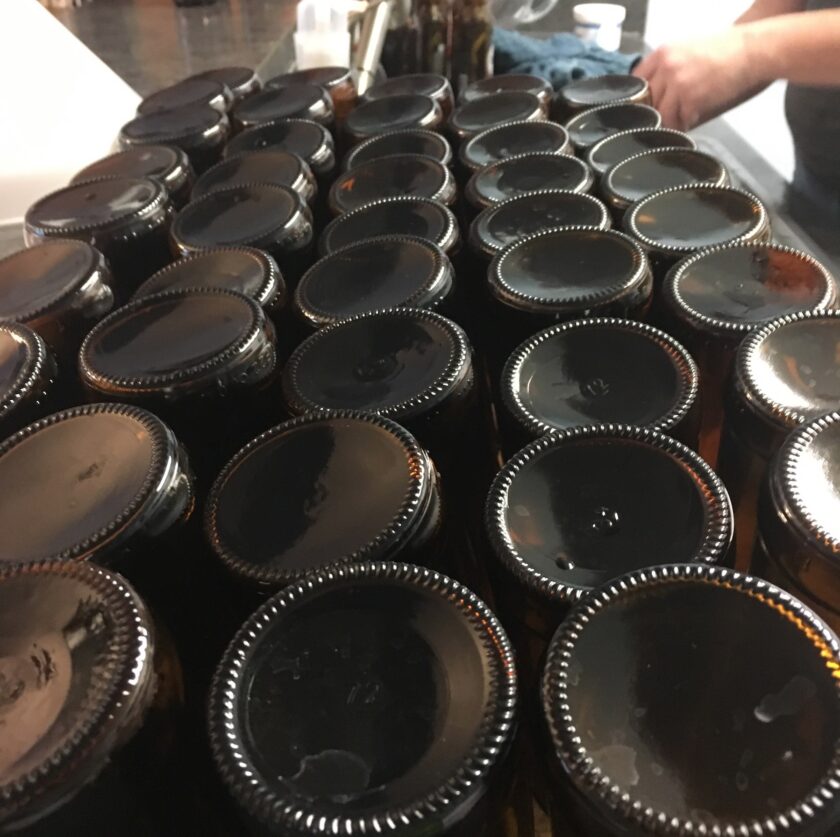
After secondary fermentation, beer must be bottled. Sanitizing bottles was our least favorite thing about homebrewing.
The beer gets siphoned into a bottling bucket. A solution of priming sugar is added to the beer. This gives yeast a controlled amount of sugar to ferment to create carbonation. Beer is then siphoned into bottles, the bottles are capped and labeled.
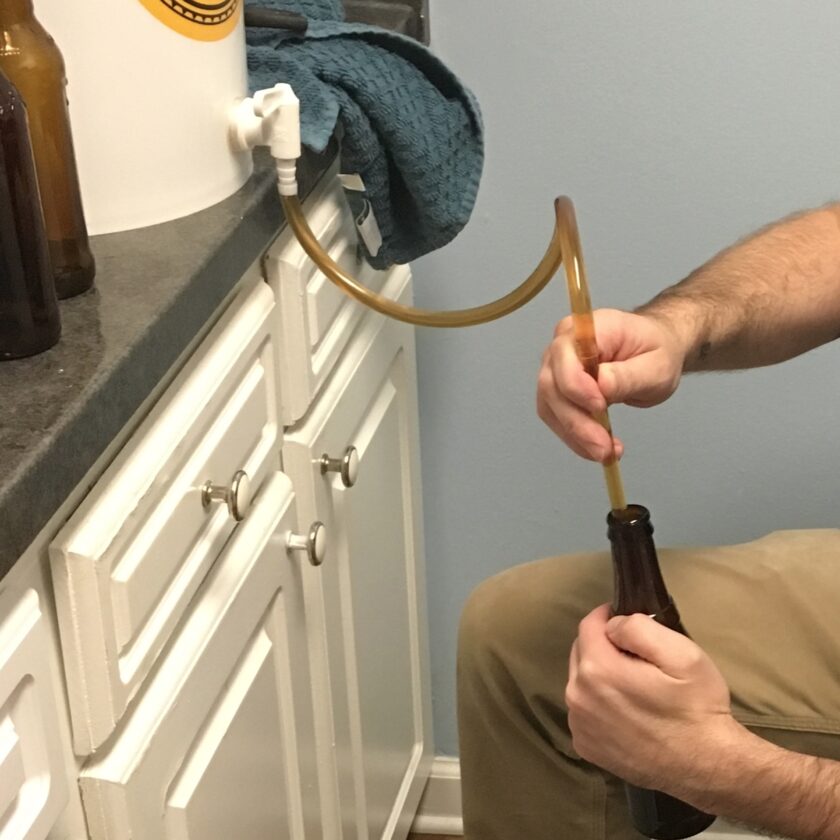
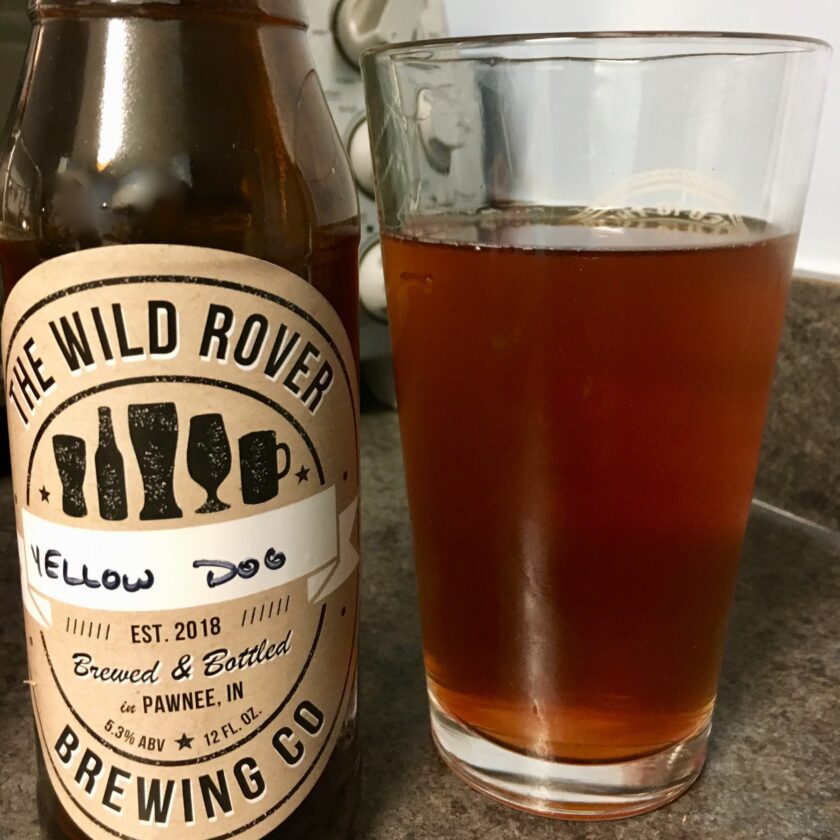
Beer needs to sit in the bottles for a couple of weeks…or maybe longer. Then it’s tasting day! Enjoy!
———————————–
Book of the Week
Cooked: A Natural History of Transformation by Michael Pollan
———————————–
Hindsight/Behind the Scenes
This was such a fun show to put together! Putting together all the photos was so much fun! Also, a huge kudos to Rich! Rich did an outstanding job of interviewing us and asking about a topic he probably knew more about than he let on. In re-listening to this I am very impressed with Rich’s interviewing skills. Since this is a picture-heavy article, below are some pictures of Ky’s and my apartment.
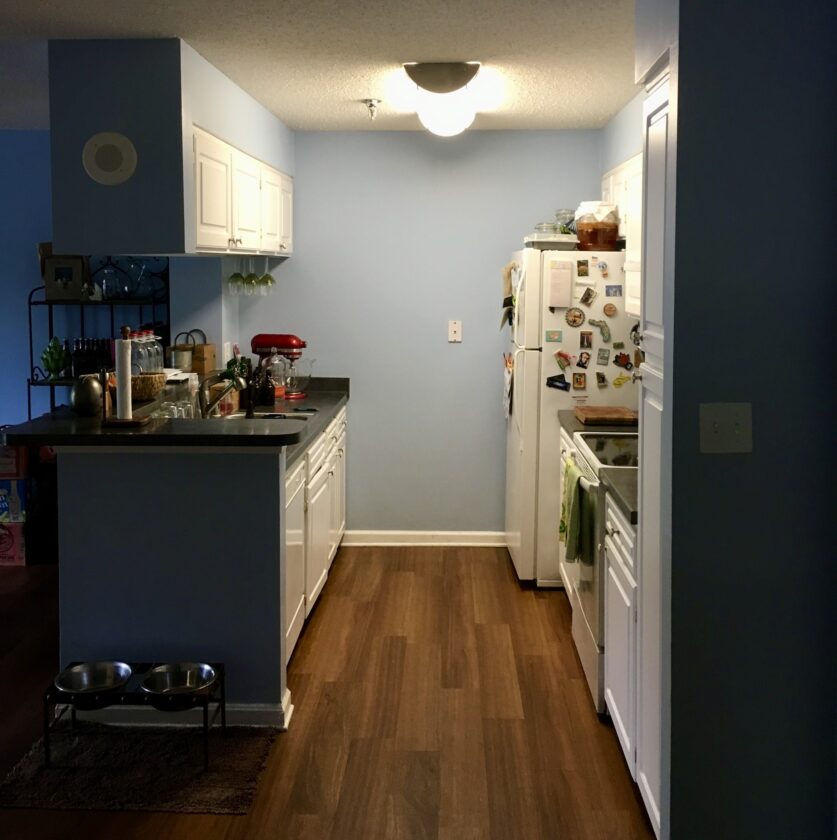
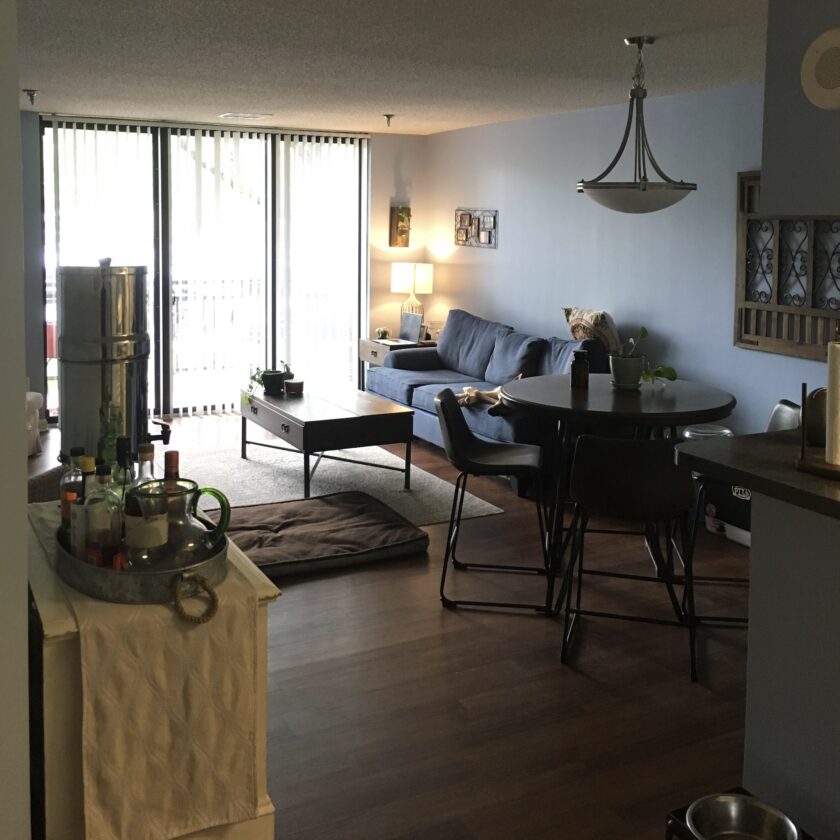
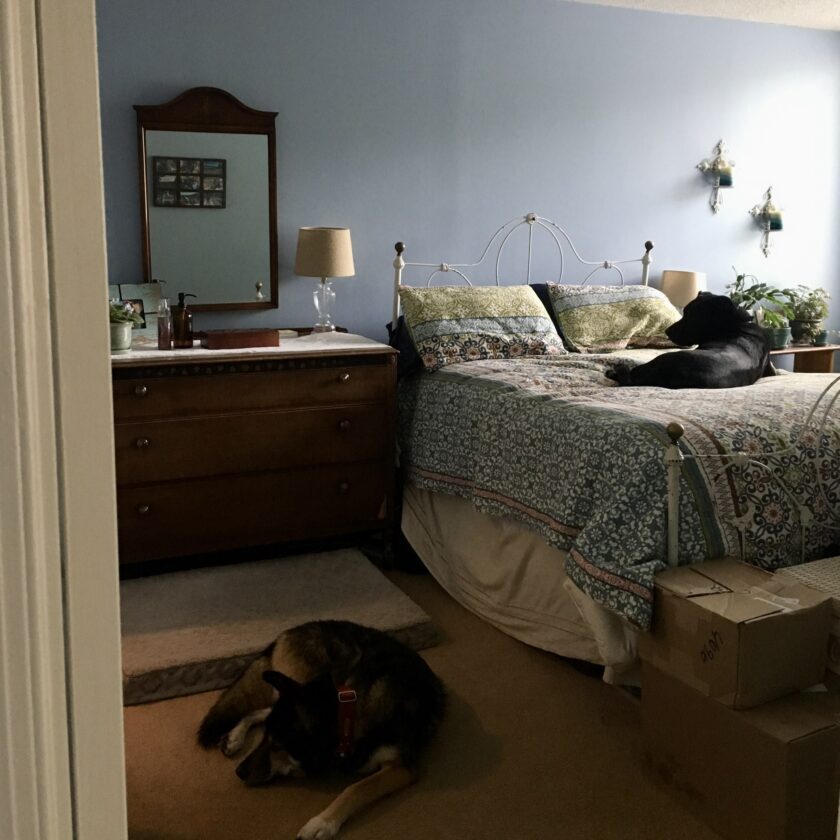
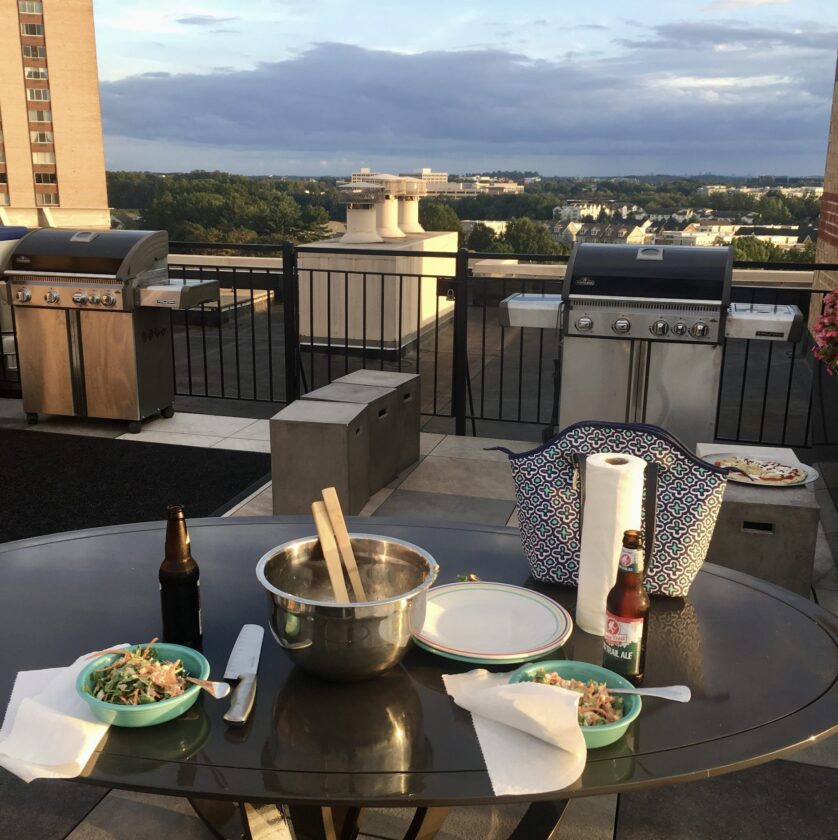
This episode also reminded me of how much stuff Ky and I did in a 740-square-foot, single-bedroom apartment. We recorded and produced this podcast. We made beer, sauerkraut, cheese, kombucha, sourdough bread… Ky and I cooked almost every meal, grilled steak and pizza, roasted chickens, had folks over for dinner, did our vehicle PMs, and even made the most of the sliver of outdoor space – the roof deck and a postage-stamp patio – we had. We did more in that tiny apartment that many people do in a huge house. And we had a blast doing it!
