Welcome back to the Across The Peak Podcast, the show Where Rich and Justin discuss preparedness, the birds and the bees, guns, history, tattoos, and… well, basically all the stuff your old man shoulda taught you! After a four-year silence we are re-releasing the ATP archive. Here it is, folks, Across The Peak Episode 006: How to Change a Tire! This show was originally released on 08/07/2018.
This article contains affiliate links.
How to Change a Tire
A couple of years ago I wrote this article on how to change a tire. Upon listening to this episode I realized that the article and the podcast were really similar. So, rather than recreating the show notes from whole-cloth I’m going to retread this article. Changing a tire is a skill that everyone who drives should know and know well. If you’ve never changed a tire give it time – I’m sure it will come up. Though tires are stronger than ever they still fail from time to time. I hadn’t had to change a tire in years and the need presented itself twice in the past month. This post will discuss the basics of how to change a tire, as well as a couple little things I’ve picked up.
What Are You Drinking?
Rich’s Drink: Johnny Walker Black
Justin’s Drink: Death by Coconut from Oskar Blues (this is Death’s first appearance on the show!)

Rick Steves’ Scotland by Rick Steves
Kitchen Confidential by Anthony Bourdain
How to Change a Tire
Our society is incredibly vehicle focused. For many people a car is their most prized possession. Many people would prioritize having a new car over home ownership. I have had co-workers to referred to their cars as “my baby” or similar adoration. Yet increasingly fewer numbers of these people know how or perform even the simplest corrective maintenance: changing a tire.
I have written and spoken about this several times before, and I won’t stop, because it’s important. A flat tire can be a huge inconvenience, or even a life-threat, depending on where you are. Or it can consume no more than a few minutes of your time because you know how to change it quickly and efficiently and have the tools to do so (though vehicle manufacturers are beginning to frustrate this by not including a spare tire with some cars).

The good news is changing a tire isn’t that difficult. And if you own a car, a tire tool, and a safe, working jack you have everything you need to practice. I recommend trying it out before you really need it. Let’s get into the actual nuts and bolts of changing a tire.
Required Equipment
Before you get knee-deep into the process of changing a tire, you’ll want to make sure you have everything you need and that it’s all in working order. You don’t want to get your car jacked up and get the old one off…only to find you don’t have a spare. Let’s take a look at what you need to change a tire. If you’re missing any of this stuff I’ve provided some links to replacements on Amazon.
Tire iron/lug wrench: this is the tool used to loosen and tighten lug nuts. Some tools have a flat, screwdriver-looking tip that is usually intended to pry off hub caps. Keep in mind that lug nuts come in a variety of sizes. If you want the one-size-fits-all solution, check out a 4-way tire tool.
Jack: obviously you’ll need a jack to lift your car. Most cars come with a jack but some do not. If you don’t have one replacements are available on Amazon for around $25. Along with the price of a tire tool you’re still well under $50 – not a high price to pay for peace of mind if you ask me.
Step 1: Safety, Safety, Safety
First and foremost, above all else, get into a safe location. Many people are reluctant to drive on a rim for fear of damaging it. Don’t be. A rim is cheap compared to even a mild negative outcome from being hit by a car. Get well off the road, preferably into a parking lot. If a parking lot is impossible, get as far off the active roadway as possible.
Visibility
If you do have to park on the side of the road, make your car as visible as possible. Turn on your hazard lights. Use signal flags, battery-powered flashers, or road flares (least preferred option). Do whatever you can to make your vehicle as visible as possible. Also keep in mind the speed at which cars approach. If you’re on an interstate with 60+ MPH speed limits, cars can cover hundreds of yards in a couple seconds. Make sure you spread any signalling devices far enough from your car to make a difference.
Stability
Next, make sure your car isn’t going to roll or shift when you lift it. There are several things you can do to ensure this. First, park on a level surface. DO NOT try to change a tire on a hill! Next, make sure everyone is out of the car before lifting it. The most recent tire change I did involved asking three strangers to get out of their car. I had pulled into a local produce stand and an old lady approached me just as I was getting out of my car. She and three of her friends had been grocery shopping and gotten a flat. I had to ask all of them to get out of the car and into the cold, but it was much safer for everyone, myself included.
Next, put the car in park and enable the emergency brake. If your car has a manual transmission, put it in first gear.

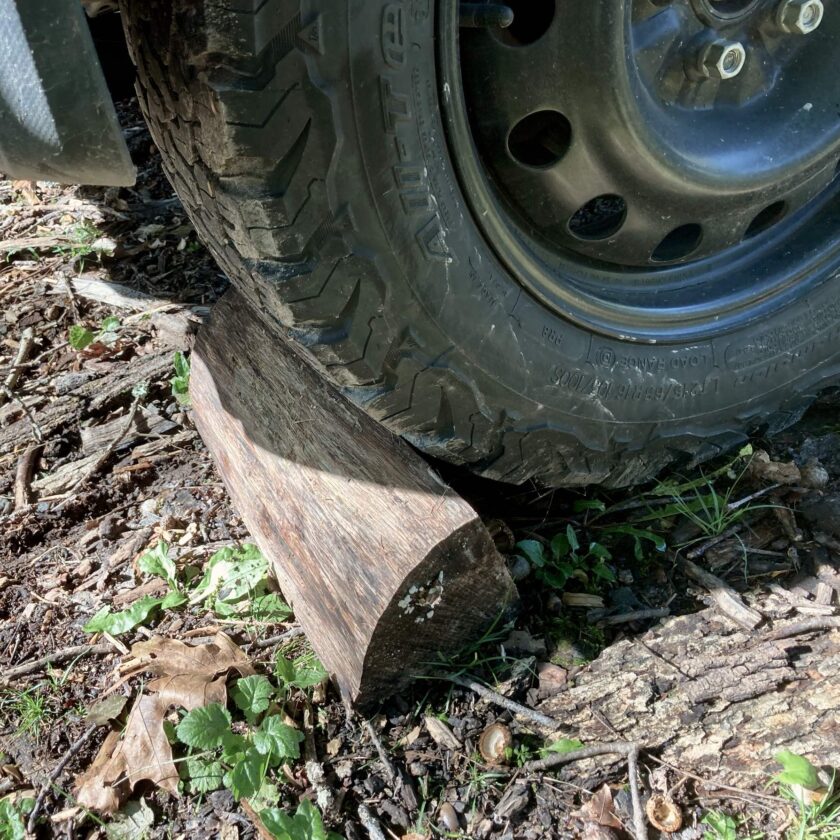
If possibly, chock the tire in the direction the care is most likely to roll. When you are parked on a level surface (you should be) and lifting the rear, chock the front. If you are lifting the front, chock the rear.
Step 2: Getting the Flat Tire Off
It might not seem like it, but there are a couple of pretty important sequences you want to follow when removing and replacing a tire. First things first: before lifting the car at all, “break” the nuts with the tire tool. This just means barely loosening them; once you get the car jacked and weight off the tire you should then be able to very easily unscrew them the rest of the way. The reason you want to do this when the car is on the ground is the force required to break them free. It’s a lot, and you don’t want to be reefing on the car while it’s jacked up.
Pro-Tips
A couple of additional notes here. First, if you have a locking lug nut you’ll need a special insert for your tire iron to remove it. This insert is usually included when you purchase a set of locking lug nuts – make sure you keep up with it! Second, the wheels may have hub caps over them. I thought hub caps were a thing of the past but the tire I changed for those old ladies had plastic hub caps. If there are no visible lug nuts, or the cover of the wheel looks or feels like plastic, you’ll have to carefully pry the hub cap off to get to the lug nuts.

Jacking Up the Car
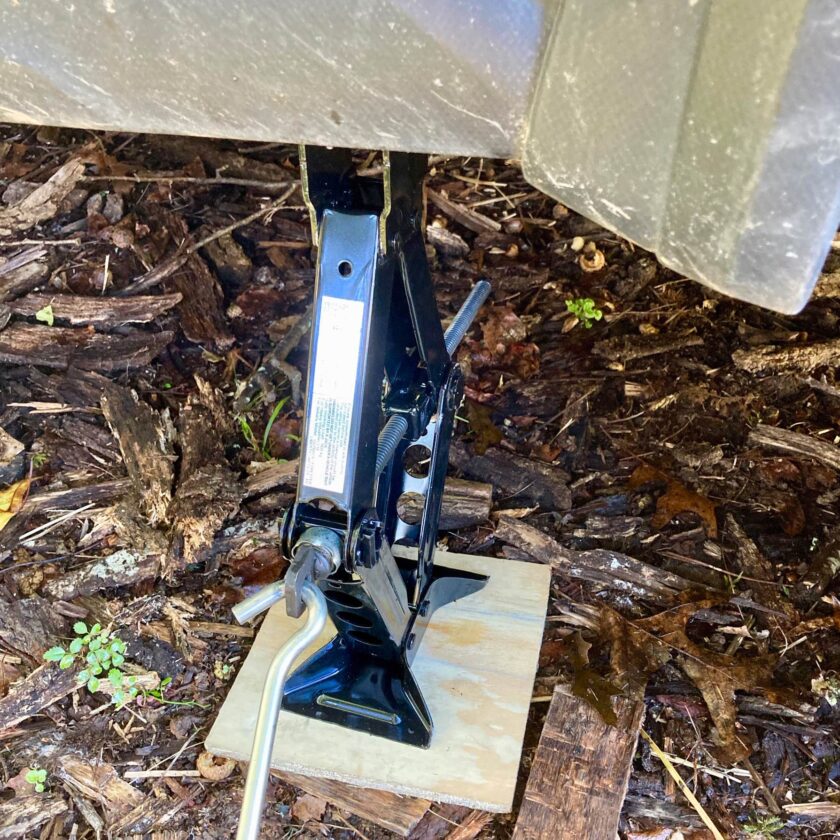
Once the nuts have been broken free it’s time to jack the car up. Your car should have a jack included that is designed to interface with certain load-bearing locations under your car. Make sure you put the jack in the correct place, otherwise you risk damaging your car, or the car sliding off the jack.
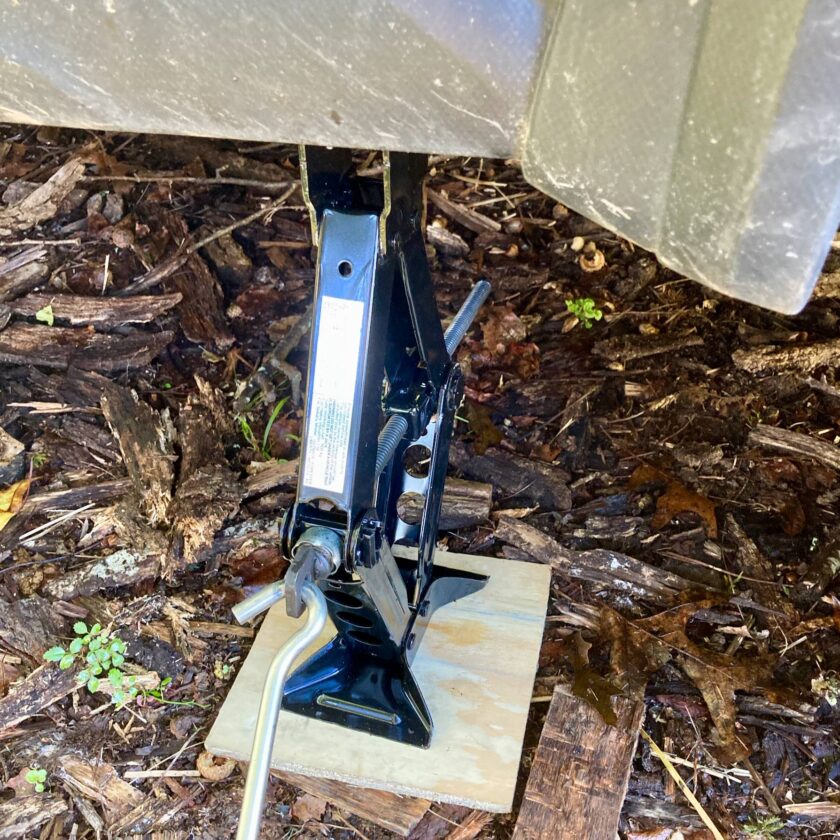
Again, it’s hard to overstate the importance of working on a level surface. Another thing you can do to increase the efficacy of your jack is to carry a small platform for it. I just a 6 x 6″ piece of 1/2″ plywood. This prevents the jack from sinking in soft earth, cost ,e next-to-nothing, and takes up almost no space at all. You could perhaps improvise with a hardback textbook or something similar that would help distribute the weight over a larger area. If you don’t have such a platform make sure your jack is on a solid surface like concrete or asphalt. Now jack the car up enough to get the old tire off.
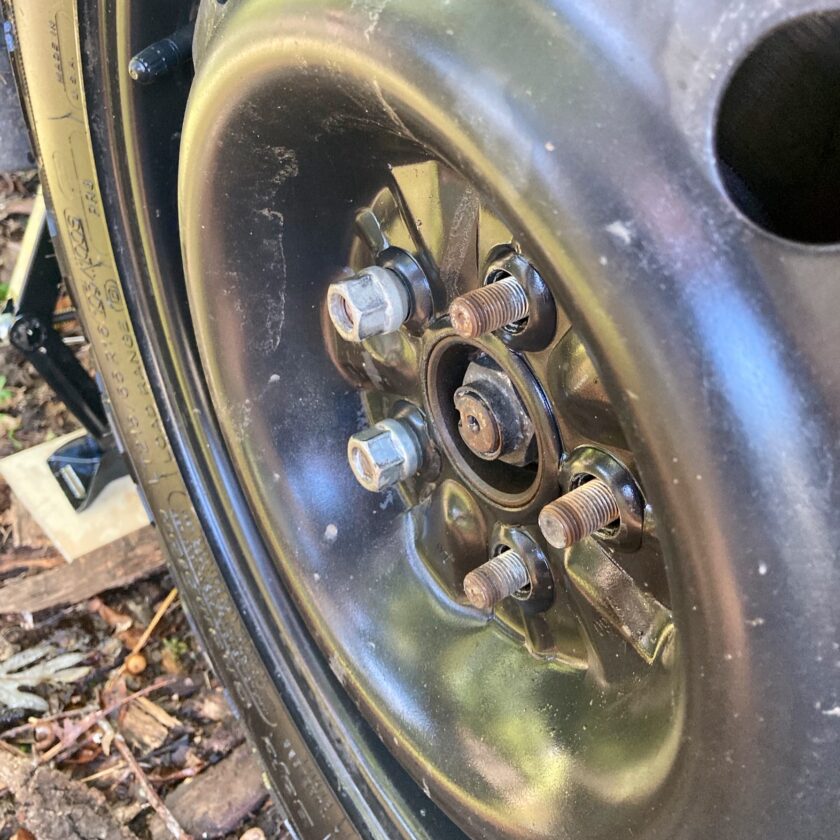
Removing the Lug Nuts
Once the car is up, finish removing the lug nuts. They should spin very easily under the tire tool, and they might even be turned with just your fingers. Make sure you put them in a safe place where they won’t be kicked/spilled/whatever and lost. You really, really need all of your lug nuts. Now pull the tire off and you’re halfway done.
Step 3: Putting the New Tire On
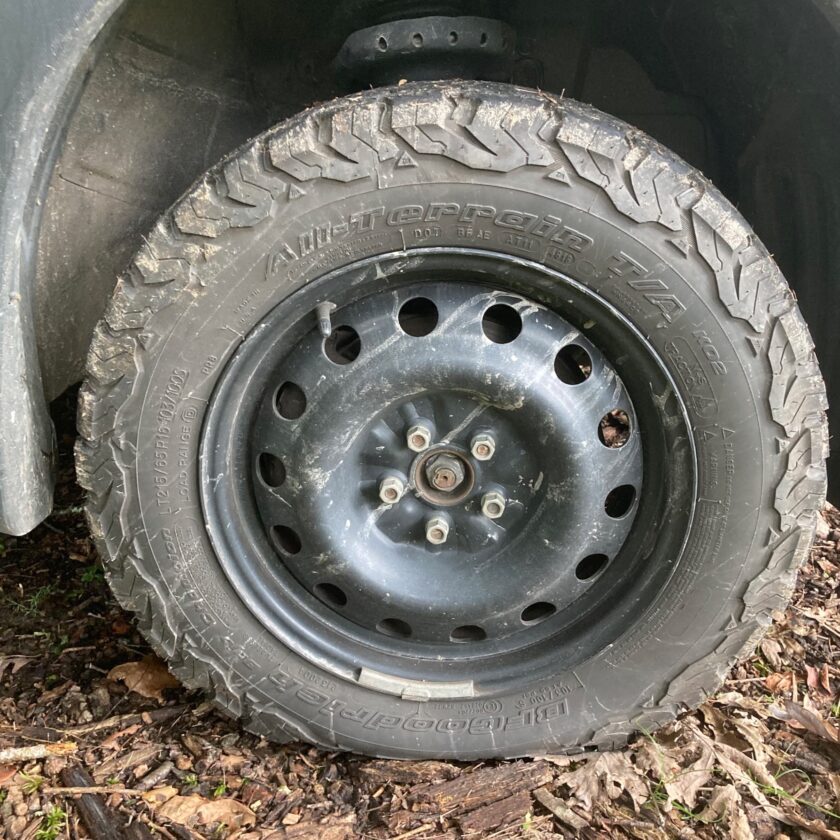
Now that the flat is off you simply have to replace it. You do have a spare that is in good condition and properly inflated, right? If you can’t answer that question affirmatively without checking…you should go check. If your tire is stored under your vehicle you should probably take the time to pop it off at least once a year to make sure it isn’t dry-rotted, cracked, burned (sometimes hot exhaust can damage tires), or otherwise damaged, and is properly inflated.
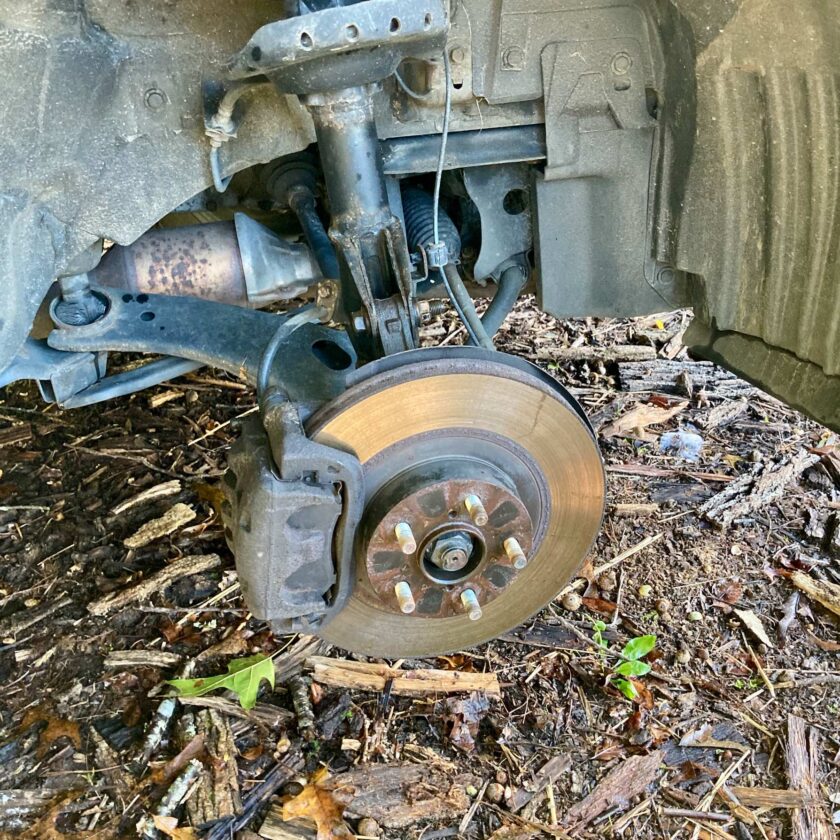
Once your flat tire is off, lift your replacement up and align it with the lugs. A quick pro-tip here: you might have to raise the car a bit more to get the new tire on, especially if it’s a full-sized spare. The fully-inflated new tire has a larger diameter than the flat so lifting it just high enough to get the spare off might not be enough. If so no biggie…just jack the car up a bit more and readdress.
Next, tighten the lugs down, but not all the way. Get them “finger tight” or as tight as you can with your fingers. After you’ve tightened them all, go back around and tighten them all again. If there is any play in the tire and wheel, correct it so the wheel sits flush and tight against the hub. Snug the lug nuts down again.
Finishing Up
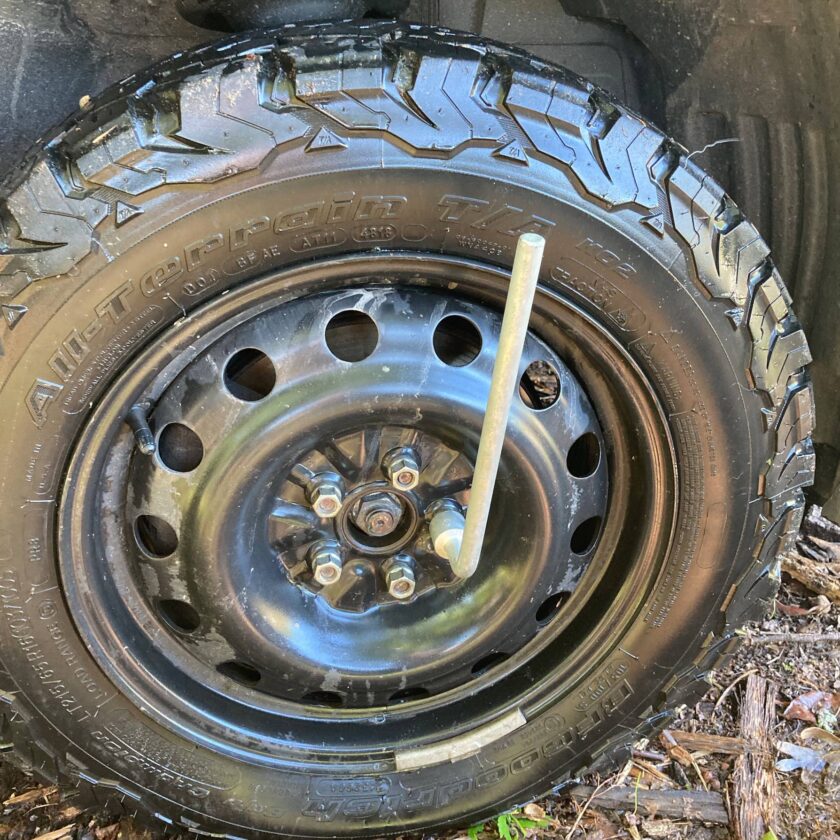
Now it’s time to slowly lower the jack. Slowly let it down, keeping an eye on the tire and wheel as you do so. Once the car is off the jack, go ahead and remove the jack and stow it. Retrieve your tire tool because it’s time to tighten the lug nuts. Lug nuts should get tightened in a star pattern. That is, you should tighten one nut, then move across the hub to tighten another, rather than tightening the one right beside it. This is to ensure the wheel sits flatly against the hub, and not at an angle because one nut got over-tightened before the others had a chance to be tightened.
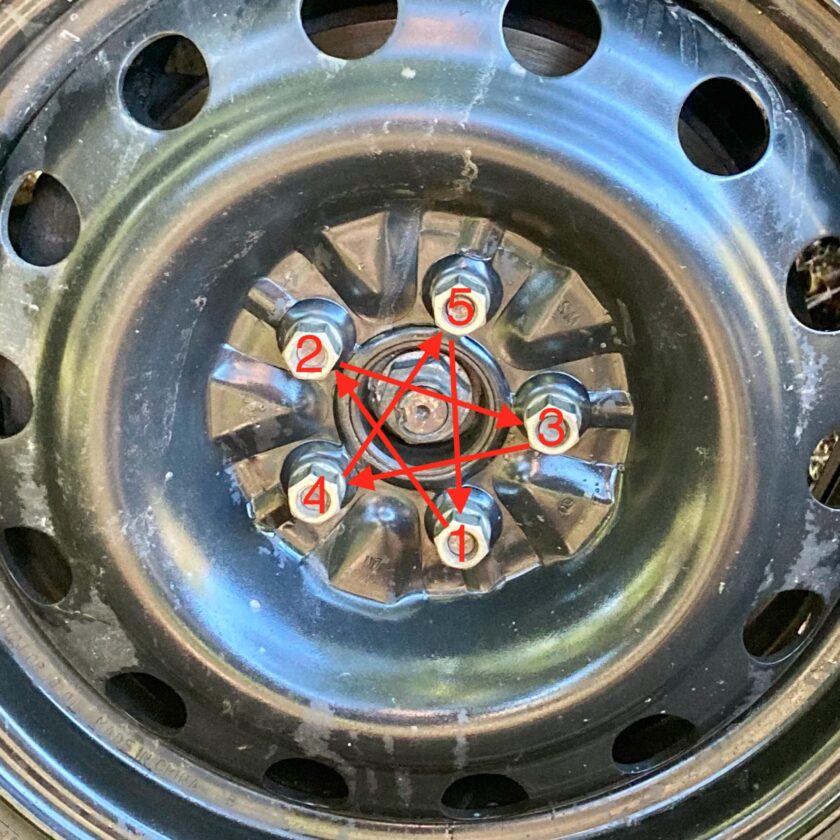
The photo above shows the star-shaped tightening pattern. You’ll want to go around that pattern at least twice. You’ll find that as you get back to one, it feels loose again. Repeat until all nuts are tight against the wheel. It’s hard for me to tell you how tight to tighten your lug nuts, but they should be really, really tight.
Closing Thoughts
And that’s it. You’ve changed a tire. You should really learn how to change a tire long before you find yourself needing to. My challenge to you: take 30 minutes in the month of December. Familiarize yourself with the tire-changing equipment in your vehicle. Make sure you know how to remove your spare…then remove it. Inspect it for wear and tear like cracking or dry rot, and make sure it is inflated to the correct pressure. Then jack your car up, making sure you know where the correct jacking points Then pull a tire off…and put it back.
I know it’s hard to want to get out in the cold and get your hands dirty. But seriously, half an hour is all it will take, at most (assuming everything is in good shape, of course). And it will be totally worth it in knowing that if the time comes, you’re ready to change your tire.