In Part I of this article I talked about some basic hand tools every household should have. The were basic PPE, screwdrivers, pliers, hex keys, hammer, measuring and marking tools, and saws. Those tools should get just about everyone started. Today I’m going to talk about a few more that I think are more or less essential and are still well within the realm of “basic” hand tools (and I wax philosophical here and there). Enjoy.
This article contains affiliate links.
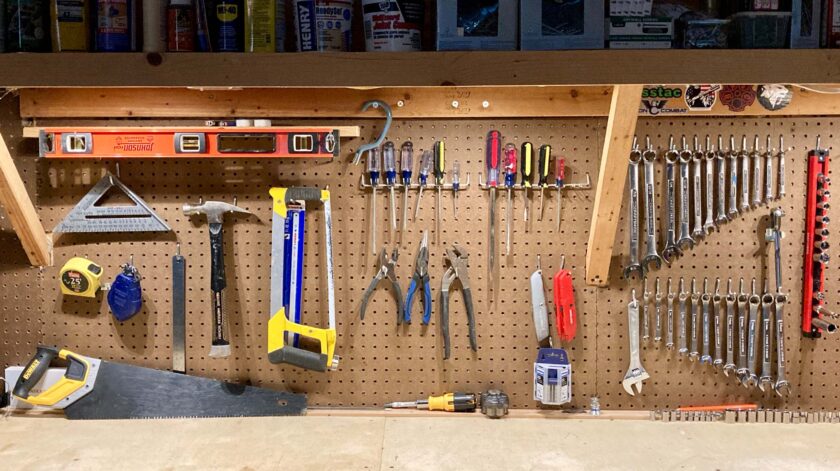
Crescent Wrench
I almost hate to even mention this one, but you should probably have a crescent wrench (or adjustable wrench). Why do I hate mentioning it? Because it’s a “universal” option that probably won’t work as well as a dedicated tool (OK, maybe I am a tiny bit of a tool snob: right tool for the right job, all that). Because of the crescent wrench’s adjustability it is also larger than a combination wrench, making it more difficult to get into really tight spaces. But sometimes there will be that odd thing for which the crescent wrench just happens to work really, really well.
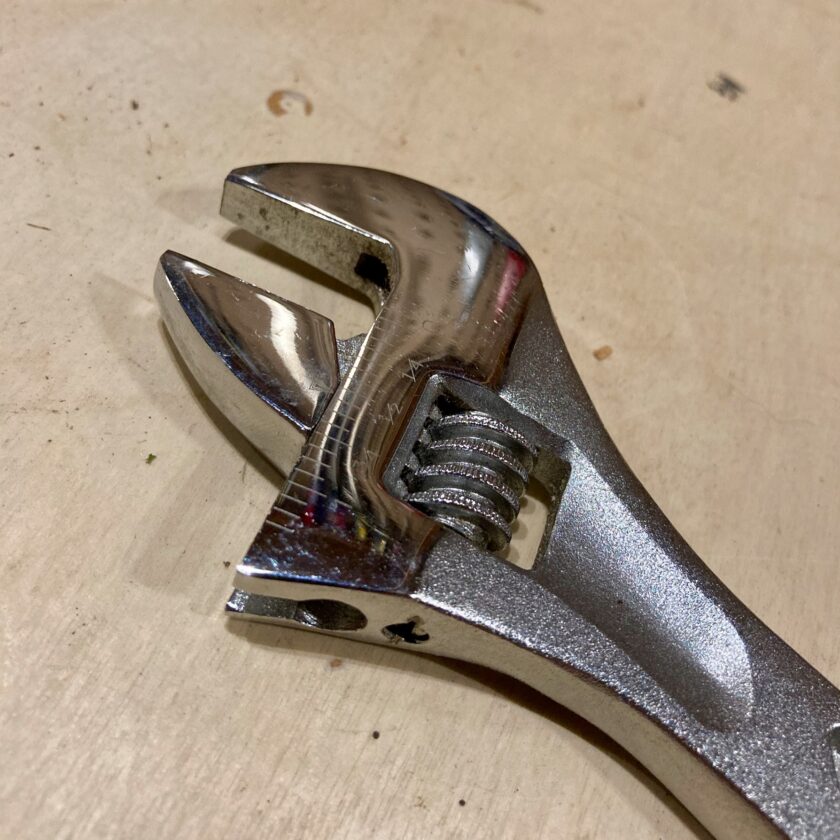
Though it’s not perfect, the crescent wrench does have some strong advantages. It is cheaper than a bunch of dedicated tools which makes it a good stand-in option while you are acquiring other tools. It is also much smaller than a full set of sockets or combination wrenches, making it a good option for minimalist kits like vehicle kits. Though it’s not my favorite tool for really any purpose it would be hard to recommend not having one.
Crescent wrenches come in a variety of sizes from small to massive. I recommend going middle of the road if you’re only going to have one (I only have one). This 8″ adjustable wrench from Irwin will answer the mail. If you want the whole set (10, 8, and 6-inch) I’d probably go with this set from Craftsman.
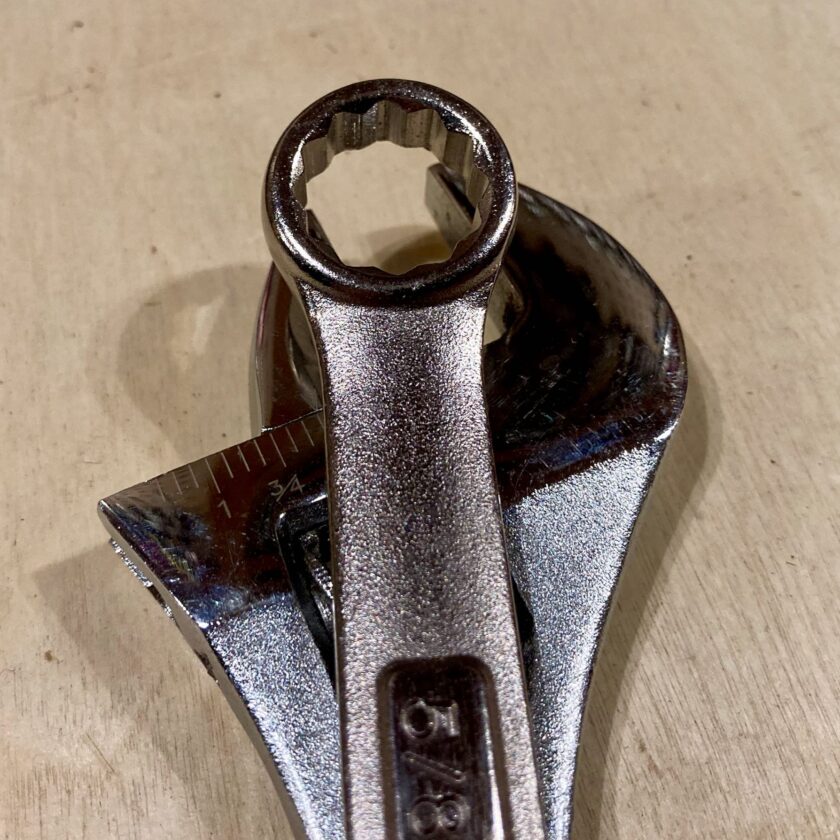
Combination Wrenches
Combination wrenches are called that because they are a two-in-one wrench. They are a combination of box-end wrenches and open-end wrenches. Box-end wrenches are the closed end. These provide the most strength and the best purchase on a nut or bolt head and generally do a much better job than a crescent wrench. The open end isn’t quite as strong as the closed box end, but provides better access. Sometimes you may be able to access a nut, but for whatever reason be unable to slip the closed, box end over it. This is where the open end shines – the open end can slip over the nut itself.
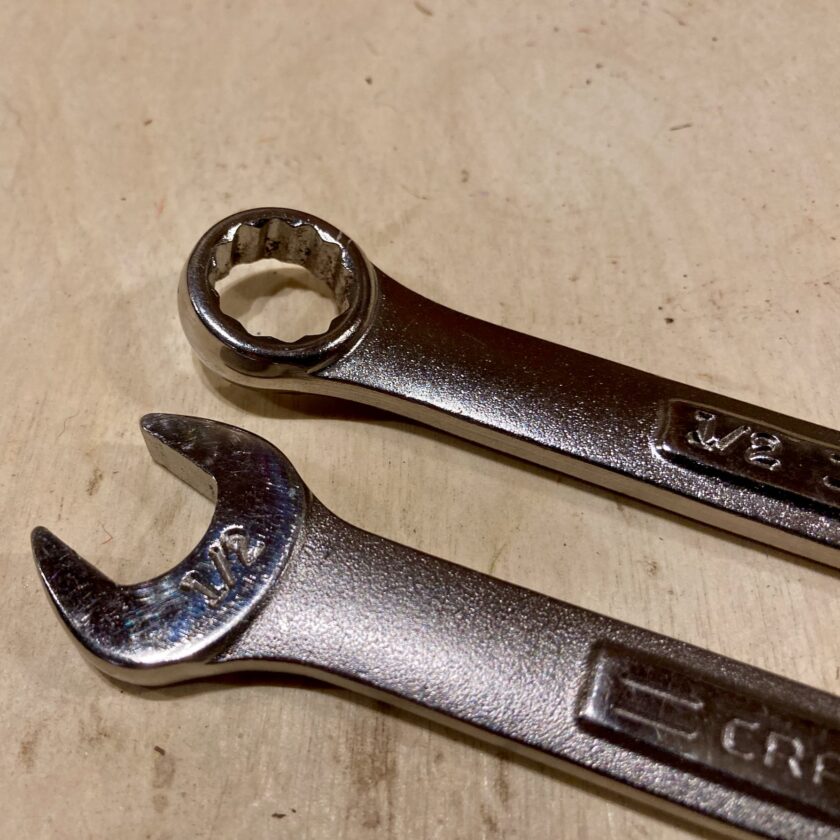
Unfortunately here is where we begin to get into a little bit of money. You really need two sets of combination wrenches: one in metric sizes and one in SAE (standard, or inch) sizes. One won’t work on the other, and in today’s world you’re guaranteed to run across nuts and bolts in a variety of standard and metric sizes. For some limited applications you might get by with one or other other but for general, everyday use you probably need both.
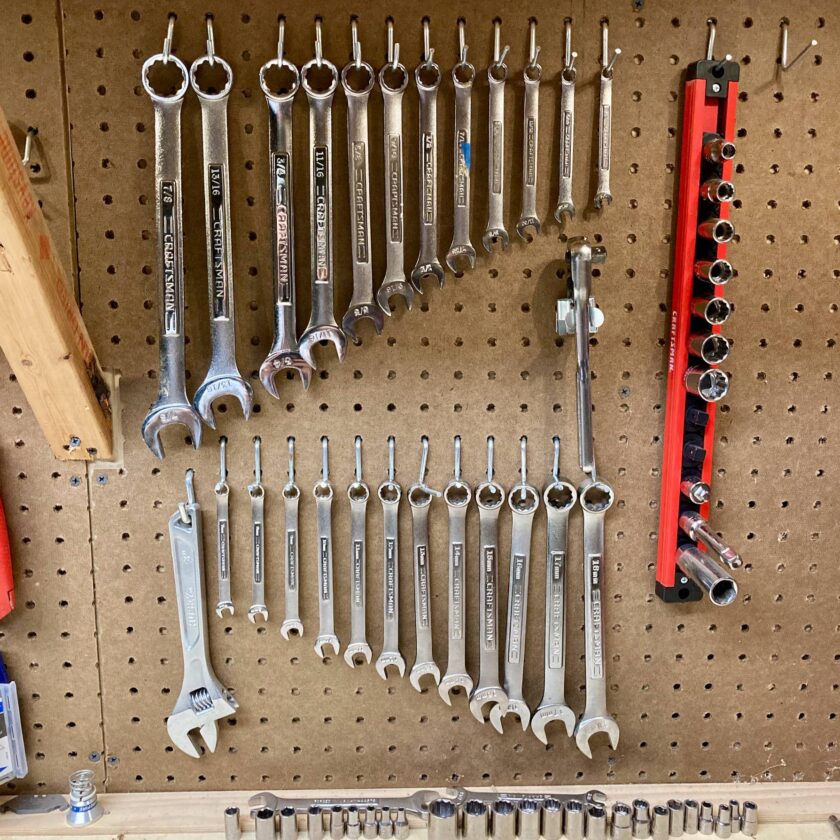
Again, in striving for the most applicability, I recommend going with a medium sized set. This Craftsman 11-piece SAE (inch) set and 11-piece metric set is what I have. The situations in which I haven’t had the correct size are so incredibly rare that…well, I don’t actually remember a situation in which I didn’t have the right size.
Socket Set
The next thing I would consider is a ratchet and socket set. A ratcheting wrench allows you to set a direction: tighten or loosen. You turn the wrench in that direction and it tightens (or loosens, based on what you’ve chose). You turn the wrench back the other way and it ratchets, meaning it allows the handle to turn back but doesn’t turn the bolt. It occurs to me now that I’ve never tried to explain the action of a ratcheting wrench and it’s much more difficult than I thought it would be.
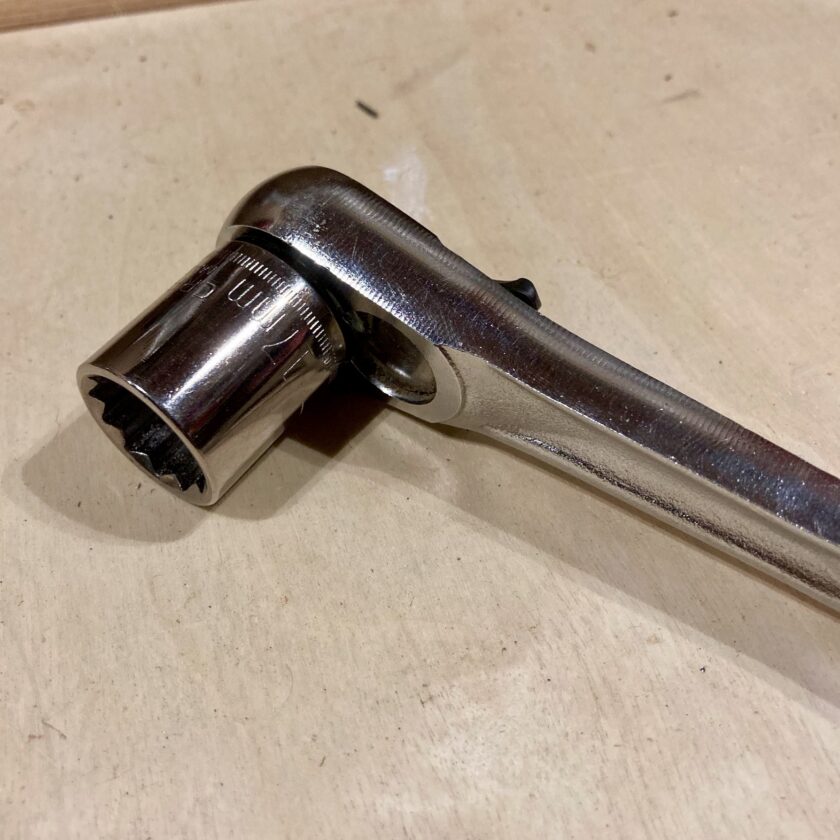
A socket set consists of several pieces and parts. First, you will have one or several ratchet wrenches. These come in varying lengths. They also come in various “drive” sizes: “drive” is the size of the post that fits into the socket and connects it to the wrench. A socket set may contain some sockets with a smaller drive size than most other sockets in the set. In this case it will also include an adapter, allow you to step down to the smaller size. Your socket set may also include an extension to allow you to get the socket into difficult-to-reach places.

And finally we get to the sockets themselves. There are a couple of considerations here. First, as with combination wrenches, there are SAE and metric sets. You will want a set of each. There are some very special applications in which one or the other will do. For instance, I keep a set of metric sockets in my car, for use on my car. For a general-purpose toolbox you will definitely want both. I would recommend a set something like this 105-piece set from Craftsman (that, as a bonus, contains hex wrenches and an interchangeable-tip screwdriver).
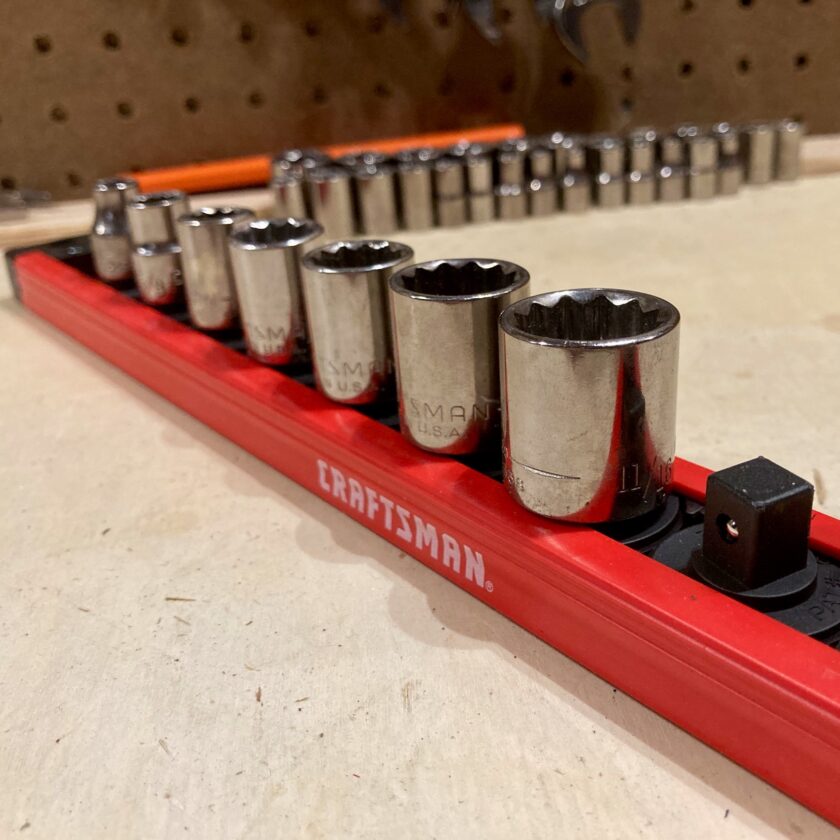
Beyond that the sky is the limit. You may also want “deep well” sockets. These are very long-bodied sockets that are deeper than standard ones. With standard sockets it is difficult to tighten a nut because the bolt that protrudes through will push the socket off the nut. A deep well can allow you to tighten from the nut-side, permitting a little more versatility. Finally, because sockets are a bunch of small, loose pieces, you may want a place to store them. I recommend a socket rack, something like this. You can throw it in your toolbox or hang it on a workbench.
Level
A level is one of those things that I don’t want to have to have. But man, it sure as hard to build anything much at all without a level. There isn’t a whole lot I’m going to say about a level other than get a halfway decent one. Take care of it. Hang it up. Don’t expose it to dings that could alter it’s ability to sit level on the surface of whatever you’re building. Don’t leave it outside in extreme temperatures – I have seen the liquid in them freeze.
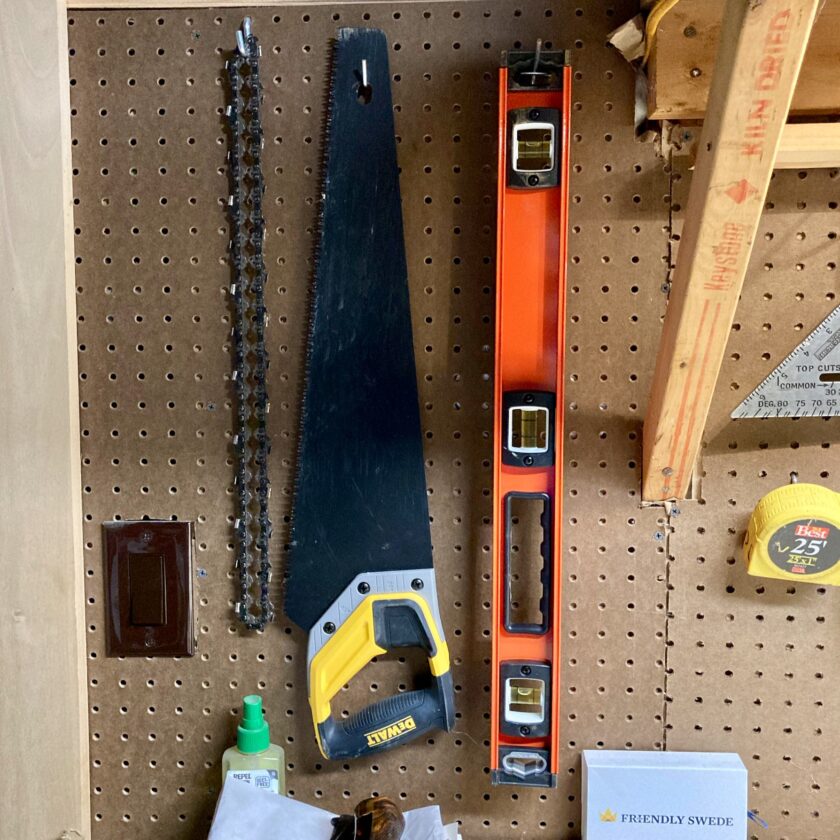
I don’t have a whole lot of specific recommendations here other that I wouldn’t go super short or super long. Sometimes a very short level can be handy – I helped a neighbor build cellar stairs the other day and his 9″ level was nice. However, there was nothing we did with that level that couldn’t have been done with a 2′ level. On the other hand, there’s quite a bit you can do with a 24″ level that you can’t do with a short one. I have a Johnson Level & Tool 24″ level and like it just fine. It’s my second level, my first one having been lost somewhere along the line.
Cutting Tools
Weirdly cutting tools are a category that many people seem to be resistant to. At least a lot of people that I’m around in practice. I know plenty of folks who will absolutely trash a $30 pocket knife cutting carpet, wire, Hardi-backer, sheetrock, and a whole host of other stuff that you probably shouldn’t cut with a knife. At the same time they’ll turn their nose up at spending $6 on a utility knife and a $0.03 blade. It makes no sense to me. I highly recommend having some appropriate cutting tools, staring with that utility knife.
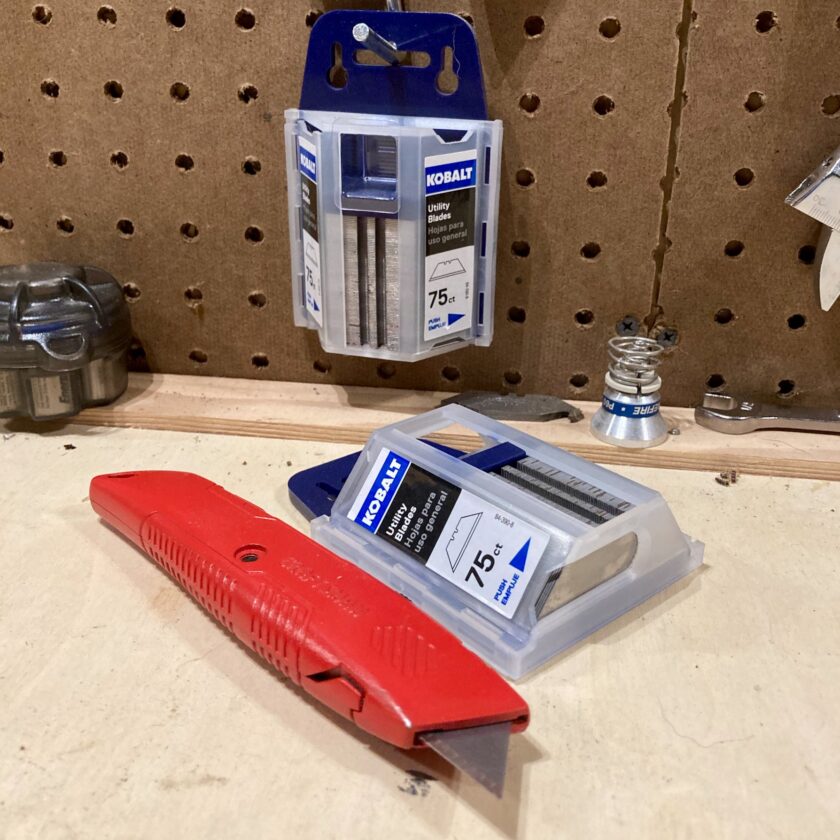
Utility knives aren’t expensive. I have this two-piece set of Craftsman utility knives, and a handful of other utility knives lying around. I have no problem spending a couple bucks on these if they preserve my knife. They also let me instantly “resharpen” by swapping out the blade, preventing me from working with a (dangerous) dull blade. I’m also not afraid to spend a couple bucks on extra blades. A little goes an awful long way.
In addition to a utility knife I would also recommend something to cut wire and possibly metal. Let’s start with cutting wire – most of you will be fine with the wire cutters that are integral to your long-nose (needle-nose) pliers I talked about in the last installment. If you cut a lot of wire – or cut heavier wire like welded fencing wire – you may desire something a little specialized or stronger. Otherwise you’ll probably be good.
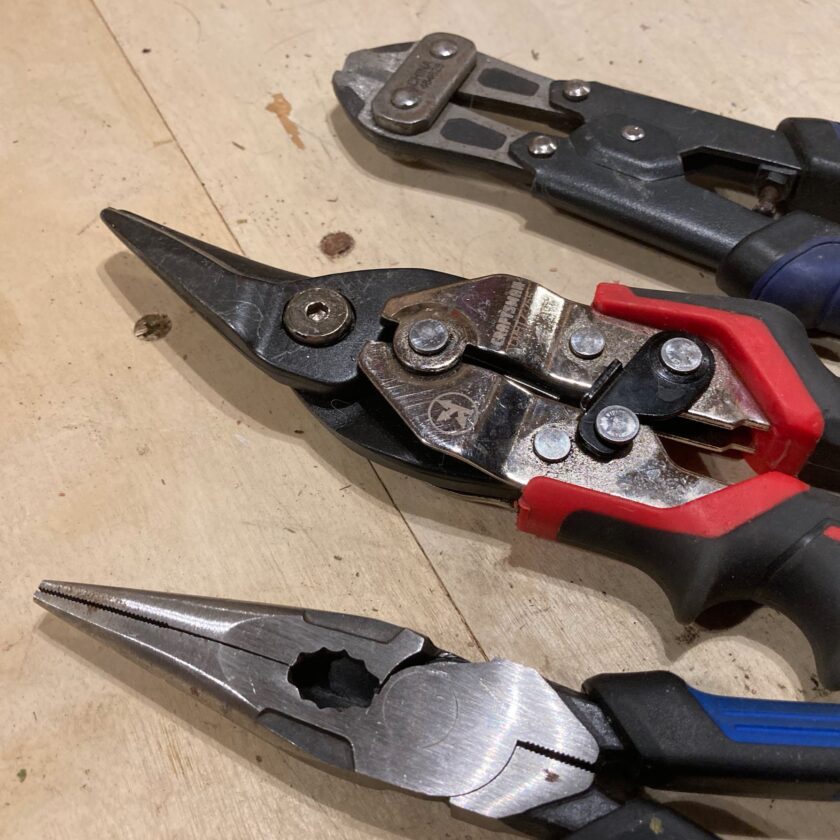
Now, I’m probably going to make someone mad but I think most of you will get by just fine without something to cut metal (as in metal roofing material, sheet metal, etc.). I’ve rarely needed such tools. When you need it you need it, but unless you’re have some metal to cut you can make this a low-priority purchase. I recommend a set of straight-cut aviation snips (as opposed to left- or right-cut snips).
Tool Belt (Optional)
Finally, I recommend that everyone have a tool box, tool bag, or tool belt. Actually, I consider the tool belt slightly different, so I’ll address it first, and separately. I use my tool belt quite often. Here is an awesome example of where quality is really, really important. I bought this tool belt when I was a junior in high school. I was embarrassed to tell my dad how much it cost but I wouldn’t trade it for anything now. It has outlasted many, many other tools and still works perfectly.
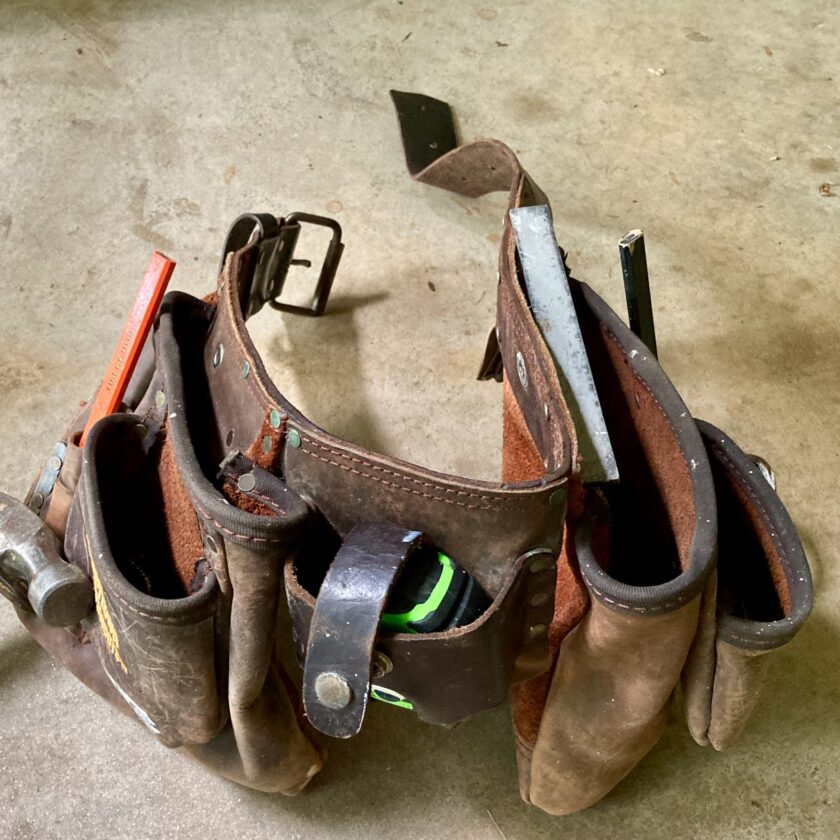
Now, a tool belt isn’t for everyone. If most of your projects are indoor projects at your workbench you may not need a tool belt. Where the tool belt really shines is when you’re working on a “job site.” Building a chicken coop at the far reaches of my property, for instance, was definitely a job for a tool belt. Not only did it help me carry tools down there, it helped me keep them handy and prevent them from getting lost. It also let me keep fasteners (nails and screws) handy without worrying about tipping a box of them over in the yard. Does everyone need a tool belt? Again, no. But if you need one, you need one.
I really like leather for a tool belt. Other stuff might last as well as leather but the truth is, I don’t really know. Leather is also heavy, but I can accept that weight, not being on a job site every day of my life. To be honest I don’t even know if you can buy the same tool belt I own anymore; not to date myself but I bought it Lowes in the late 1990s. Unfortunately I can’t make a great recommendation and will have to leave some investigation up to the reader.
Tool Box or Tool Bag
Finally, the tool box or bag. Even if you have work bench, I am a firm believer that you should have something into which you can pack some tools. If you don’t have work bench I am a firm believer that you should have something to keep your tools organized. There are multiple ways to skin this cat. Personally, I like the tool bag. Mine is a Husky-brand bag that I bought at Lowe’s after being unable to find a suitable “tool box” (my personal history channeled me down the “box” path until my dad was like, “hey, why not one of these bags?” As much as I try to be open minded, all of of us are bound to some extent, by our personal history, experience, views, and opinions. Still, I try to fight the seductive pull of taking the easy, well-worn mental path.). This bag from Amazon looks fairly similar and the reviews seem pretty damn solid, though I can’t vouch for it personally.
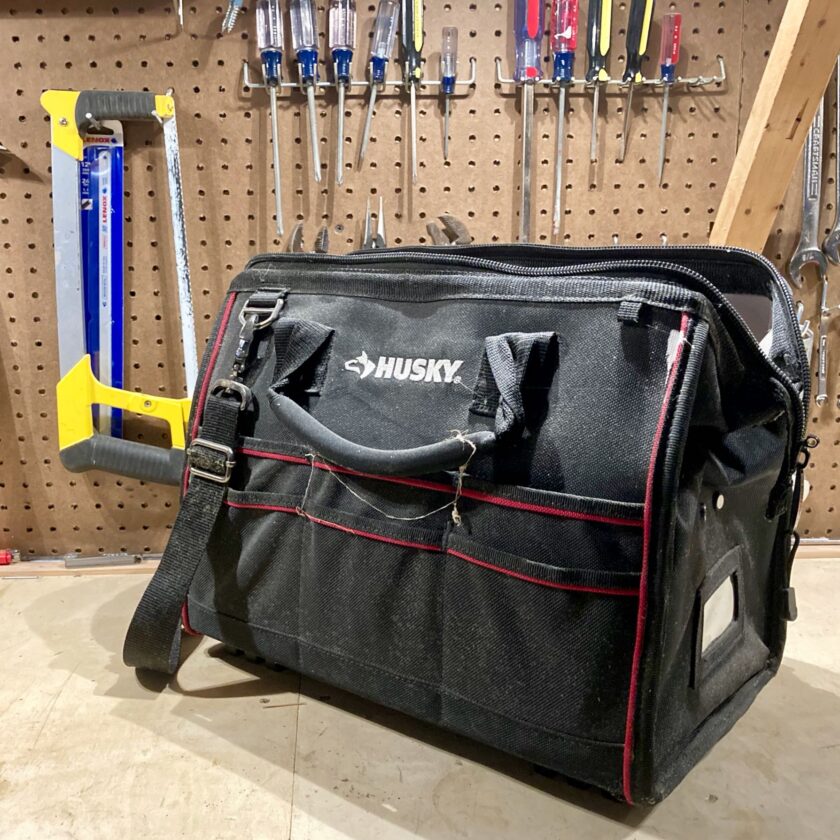
Since going the “bag” route I have given up on tool boxes. I’ve had several plastic ones and all of them have ended up broken. I have a metal, three-drawer Craftsman tool box that isn’t bad, but it got rolled in the back of a truck, the metal bent, and the top has never closed 100% properly again. Again, I’m a big fan of the bag so if you’re dead-set on a toolbox, I don’t have a ton of advice to offer.
Now, there is a third option that I never would have considered had it not been for a reader (dare I say “friend”?) write-in. After last week’s article she wrote in and advised me that she used bucket-top organizers. I have never owned such an organizer but I have used them on job sites as a much younger man (picking up a little construction work on the side – one of the most valuable uses of time a young man can undertake, in my humble opinion) and they are very nice to have. You’ll need a five-gallon bucket to go with them, which can then be used to haul power tools, boxes of nails or screws, larger tools…
Close Out
As far as non-powered hand tools, that’s about it. That will answer the mail for probably 99% of what 99% of people are going to do on their own (again, as far as non-powered tools go). I’m sure I’ll get a few nitpicks here and there asking why I left this or that out, or why I included “x” or “y” in a generalist’s list. That’s OK – I’m sure I forgot something.
Do me a favor and let me know if you enjoyed this article and/or got something out of it. I would love to followup with some (really) basic power tool stuff, but I only will if there is sufficient interest. This article is the direct result of a reader request, so let me know. Thanks!