So far in the Know a Knot! series we have covered one anchoring knot and one joining knot. Today we we are going to cover our first middle-of-the-line knot, the Alpine Butterfly.
The Alpine Butterfly
The Alpine Butterfly is a really elegant, beautiful knot. If you’re familiar with the sheepshank (which isn’t used much nowadays) you’ll see echoes of it in the Alpine Butterfly. The Alpine butterfly places a very strong loop in the middle of a line, perfect for the attachment of another rope, carabiner, etc. This knot can also be used to take the load off of a worn or damaged section of rope.
There are several ways to tie this knot. The method I’m demonstrating is the easiest for me to tie, but maybe not the easiest to explain/demonstrate. If my instructions are hard to follow, I encourage you to check out some other methods; this is a really useful knot to know!
Alpine Butterfly: Step 1
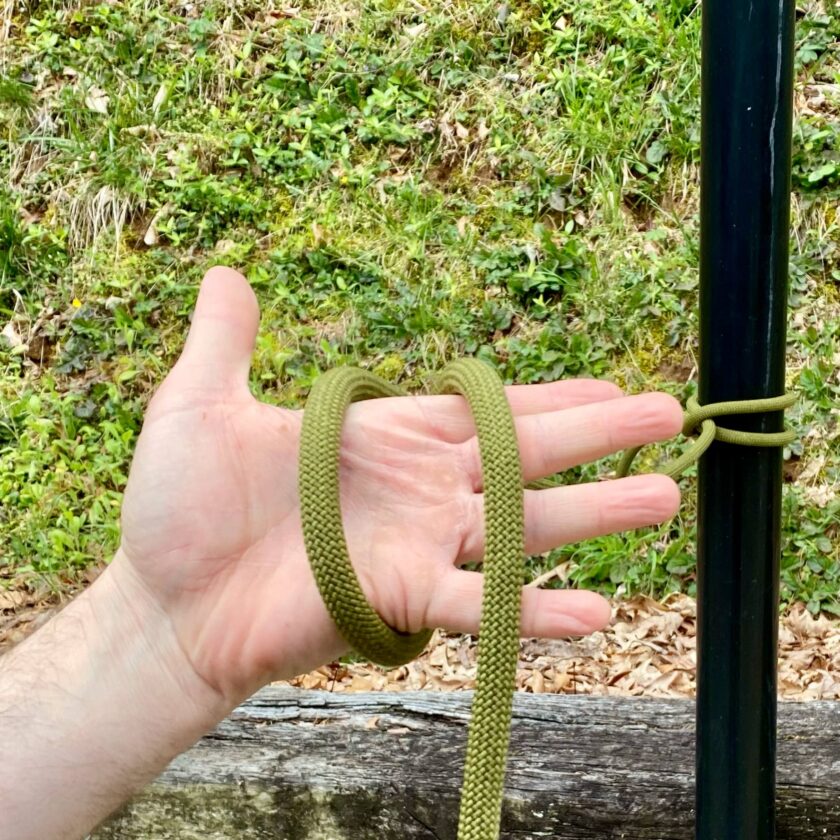
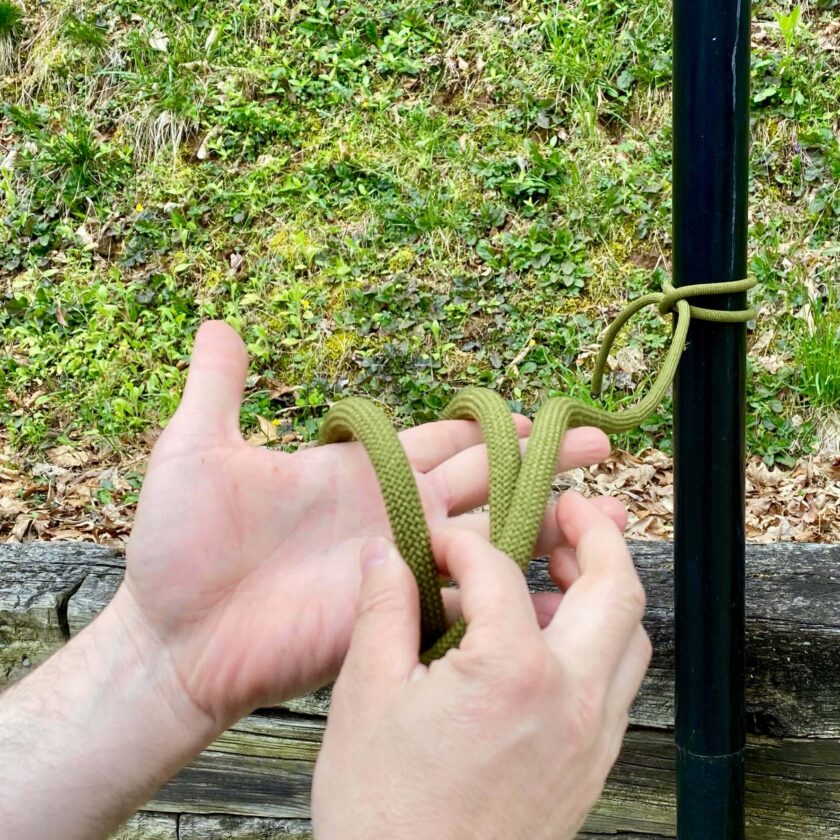
Begin with one end of the line anchored. Here I’m using a clove hitch to anchor the line. Run the line over the palm of your hand.
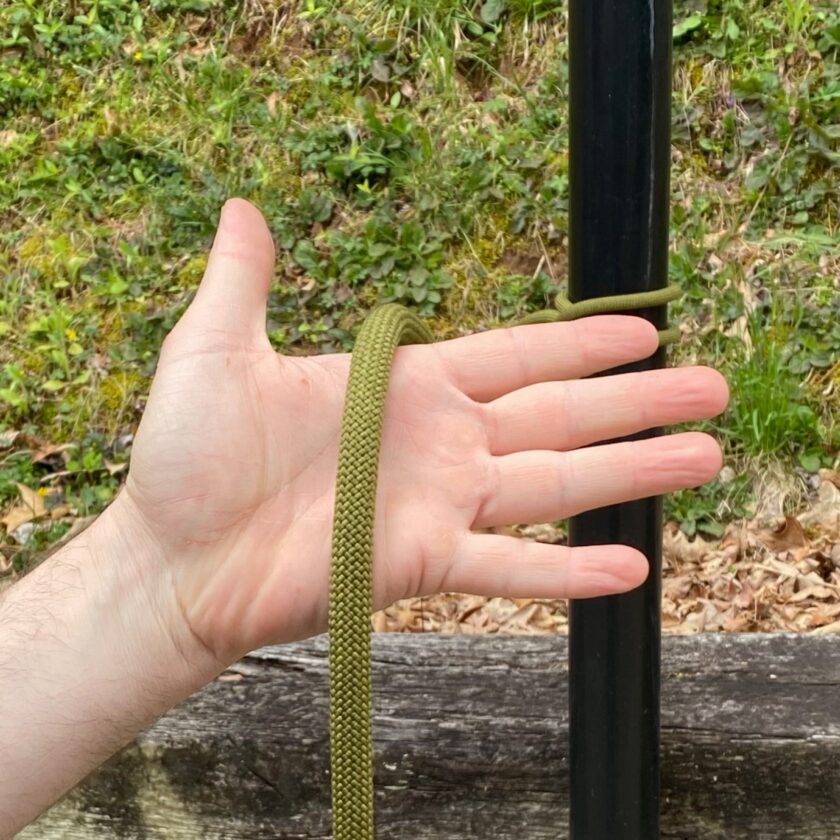
Alpine Butterfly: Step 2
Next, loop the line around your hand so that there are not two sections of line passing over your palm.
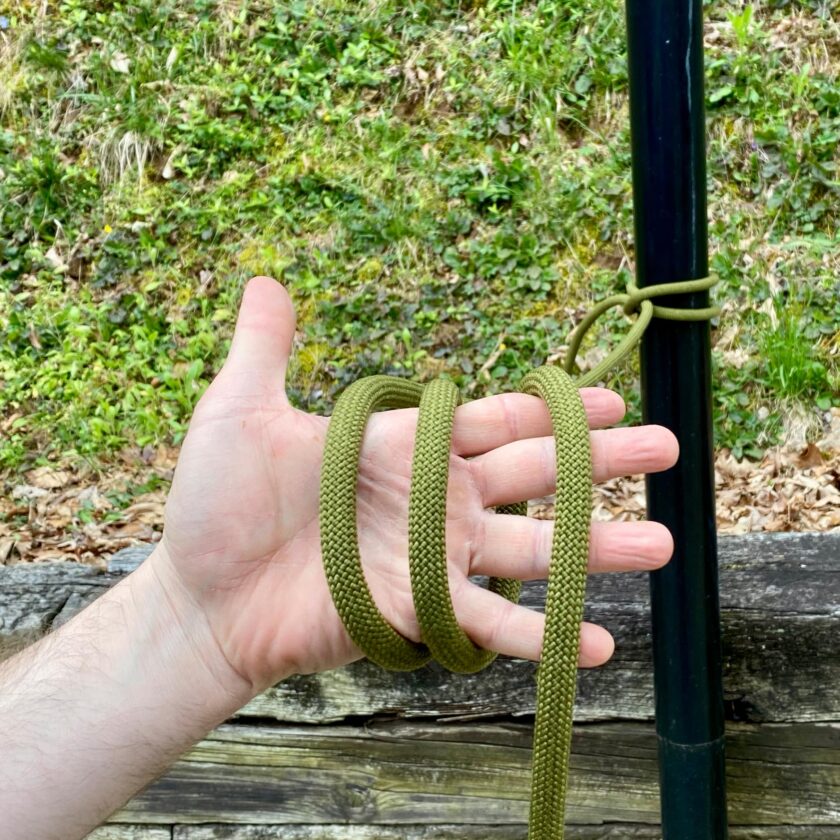
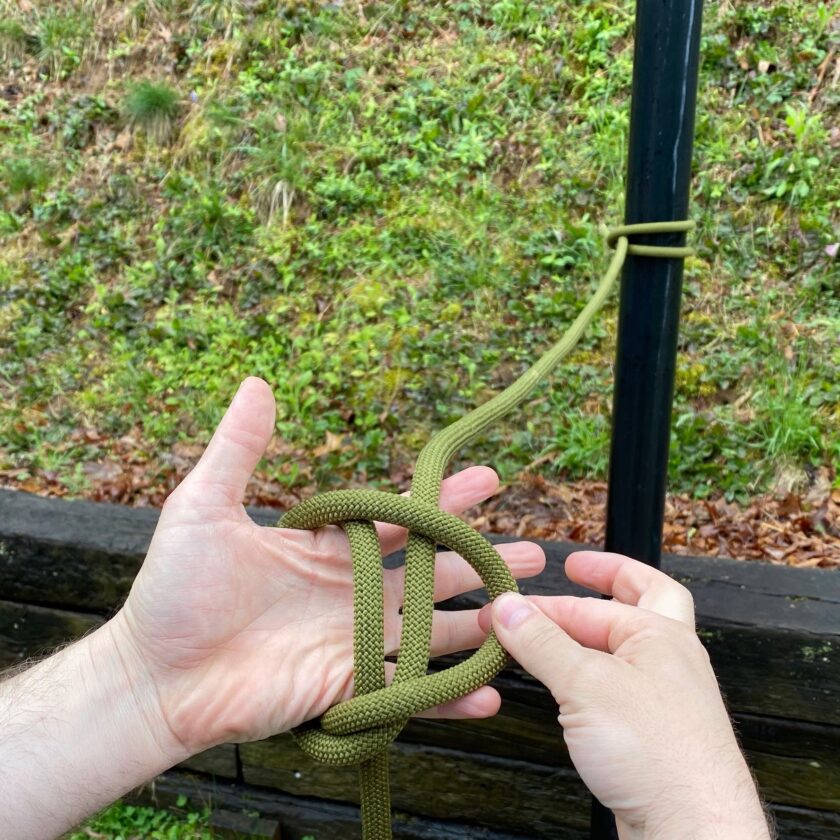
Alpine Butterfly: Step 3
Next, loop the line over your hand again, creating two full loops around your hand. At this point you should see three sections of rope passing across your hand, like the photo below. So far, so good!
Alpine Butterfly: Step 4
This is where it might get a little…complicated to explain. Grasp the left-most section of line.
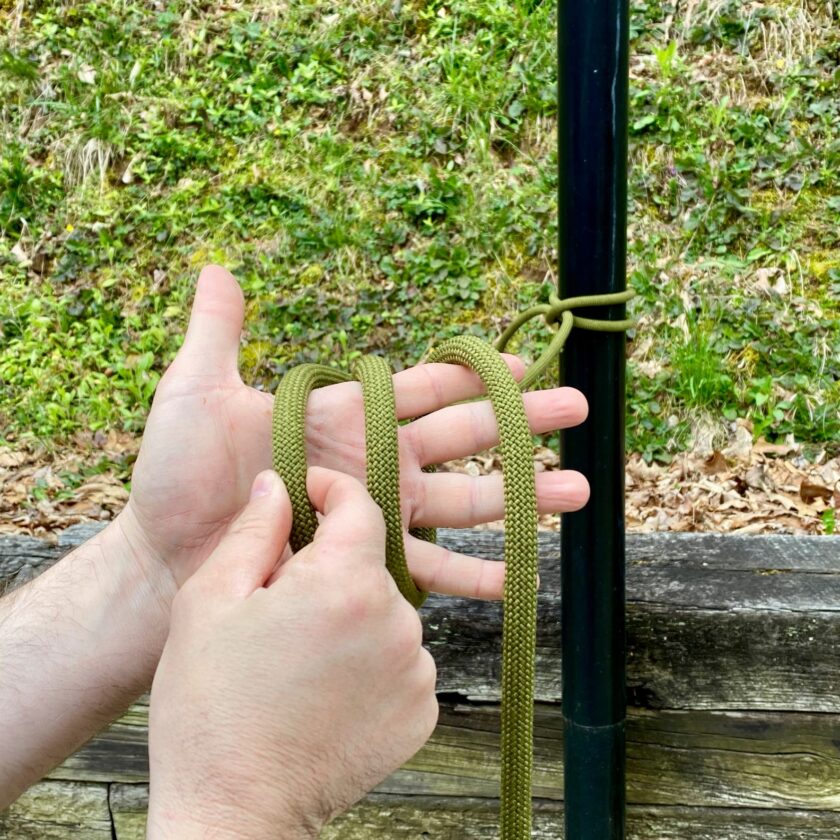
Pass this section of line over the other two.
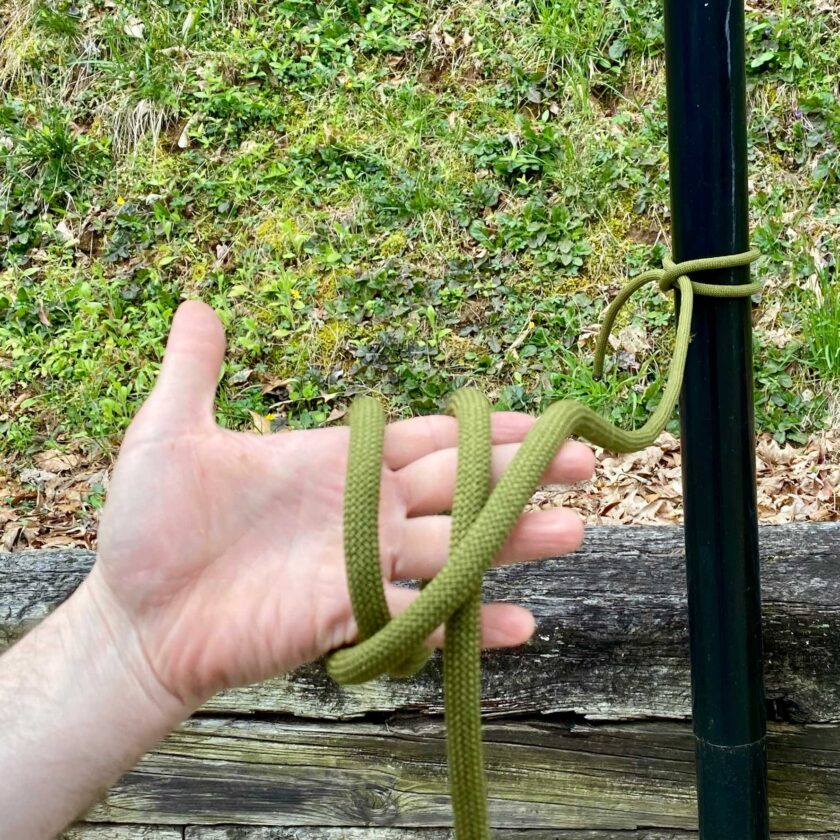
Alpine Butterfly: Step 5
Grasp the left-most section of line (previously the middle section).
Pass it over the other two sections. This is just like what you did in the last step. Be sure to maintain your grasp on this section of line, though!
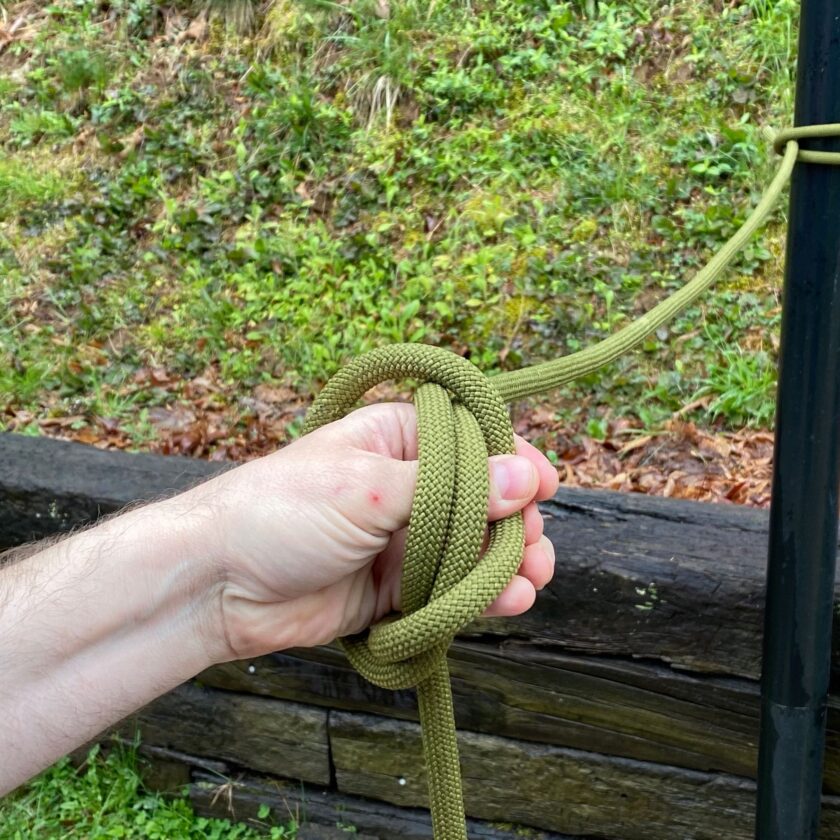
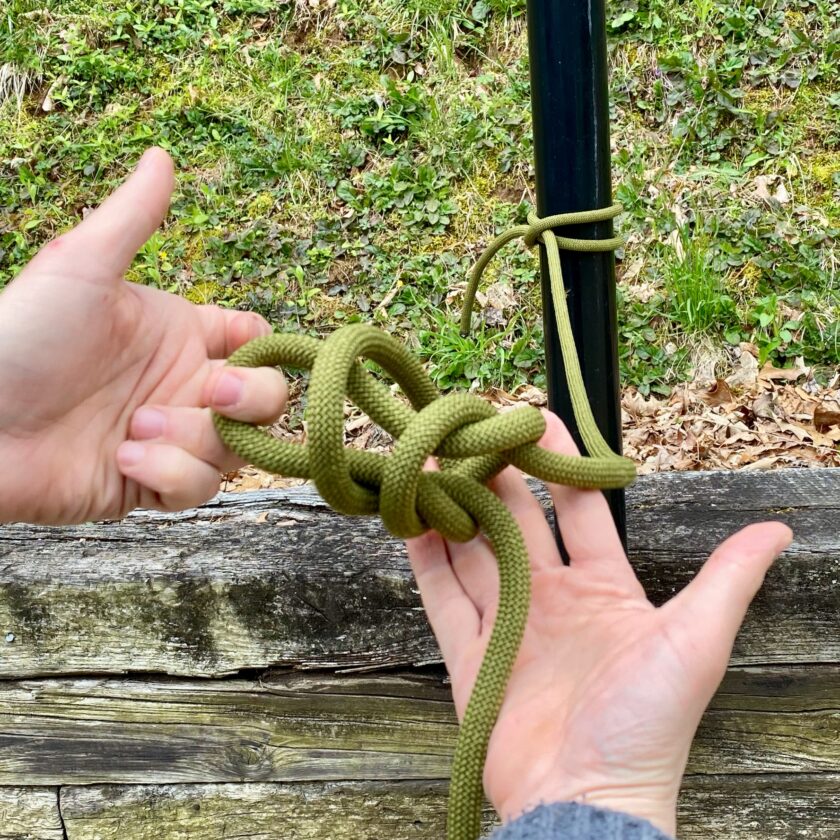
Alpine Butterfly: Step 6
Pass the bight you are holding back through the two loops and tighten it.

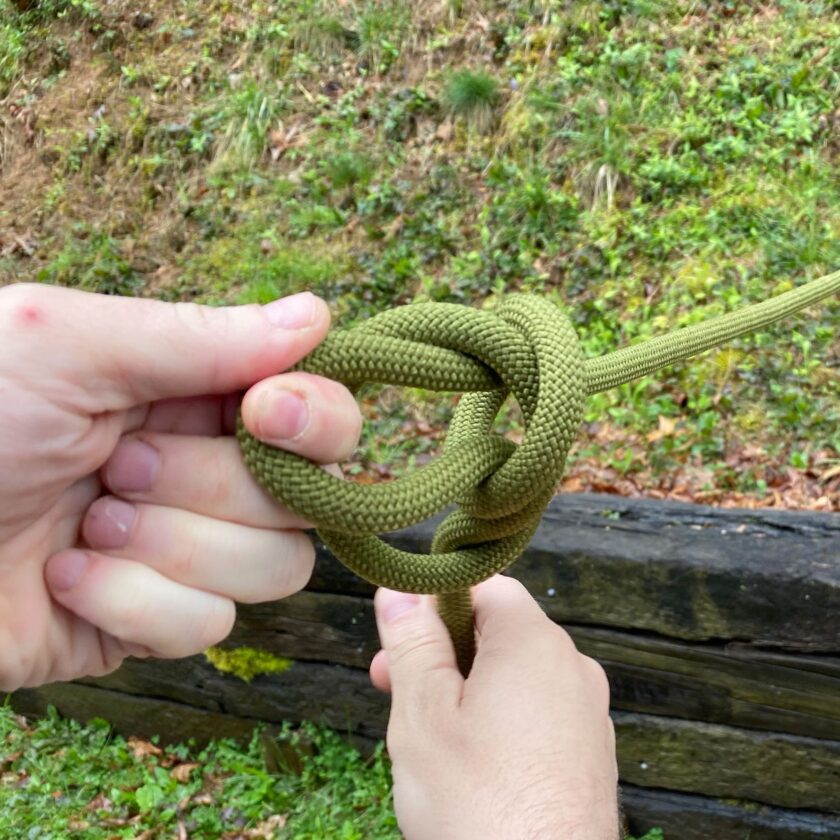
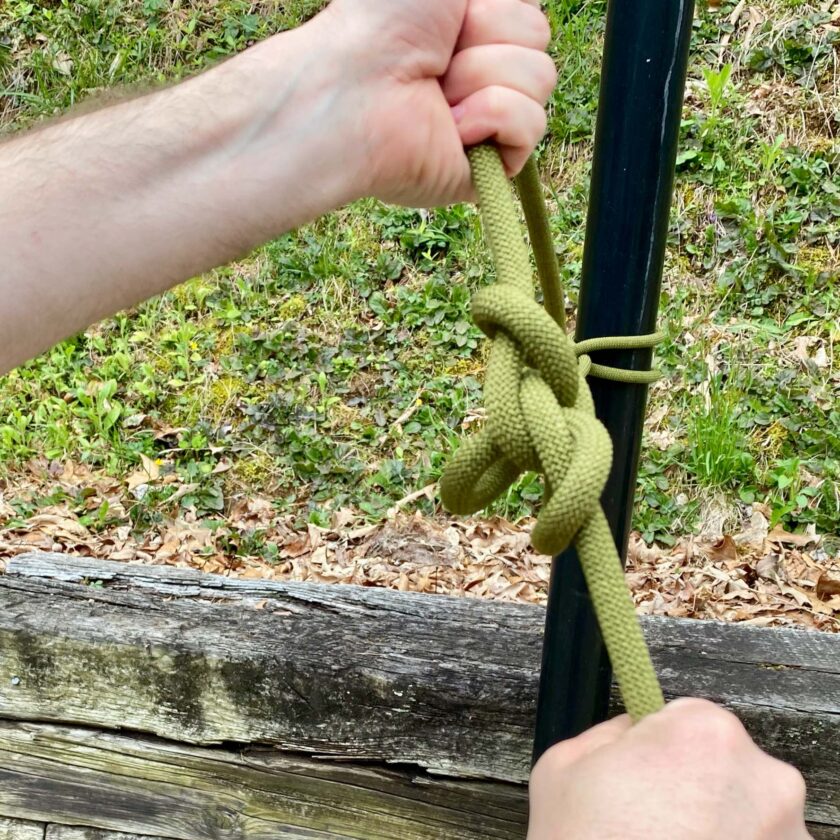
Alpine Butterfly: Step 7
The next step is to “pop” the line by applying a sudden hard jerk to each end. This “sets” the knot. And that’s it!
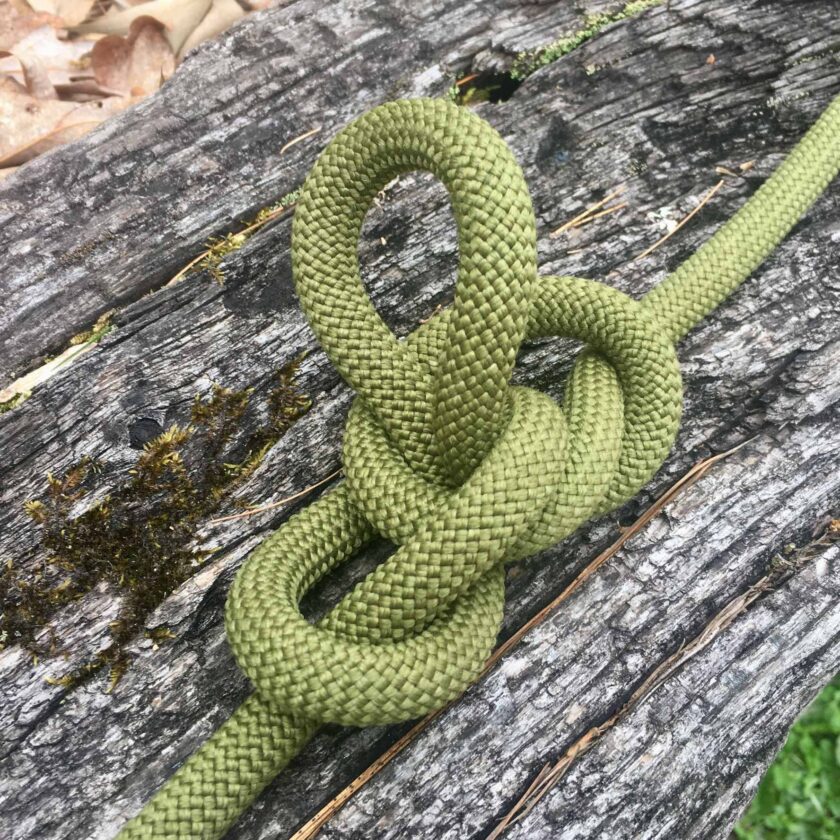
Alpine Butterfly
If you gave the line a good pop the knot should have cleaned itself up nicely.
Stay tuned for the next knot in the Know A Knot! series. There aren’t too many other middle-of-line knots, but I do have at least one more planned. Next week we’ll look at another joining knot, though, this one for ropes of equal diameter.