Know a Knot: The Yosemite Finish
I recently learned a pretty cool knot. Actually it isn't a knot. Rather, it is a way to "finish" a bowline and tying it requires that you first know how to tie a bowline. This one is called the Yosemite Finish or Yosemite Bowline. For simplicity's sake we'll go with Yosemite Finish.
This article contains affiliate links.
The Yosemite Finish
The Yosemite Finish is a really elegant way to finish off a bowline. It makes the knot a bit more secure against loosening when not under a load. It also helps to manage to "pig tail" by getting it up and out of the way of the knot and sending it back along the line. Another big advantage is that this knot is easier to untie after the knot has been loaded.
There are a couple of downsides to the Yosemite Finish, however. Tied correctly it is just as strong as a bowline but if tied incorrectly it will capsize easily. You should use extreme caution if using this knot for life-support purposes. This is a really cool knot. However, I would stick with a good, old-fashioned Figure 8 or scaffold knot for life-safety, and leave this one for general, non-life-support use.
Also be advised: I sometimes make mistakes. This blog should not be your only source of information before climbing, rappelling, or otherwise dangling yourself from a rope. Seek professional instruction, supervision, and proper equipment. Without further ado let's get into it!
Step 1
If you don't already know how to tie a bowline, go get busy. It is a requisite to tying this knot. Once you know how to tie a bowline, tie one, then come back.

When you tie your bowline in preparation for a Yosemite Finish, leave the tail longer than you otherwise would.
Step 2
Pass the tail under the leg of the bowline closest to the knot as shown in the photo above.

Fold the tail back over the leg as shown above. it should double the bight on the inside of the "bottom" of the knot.
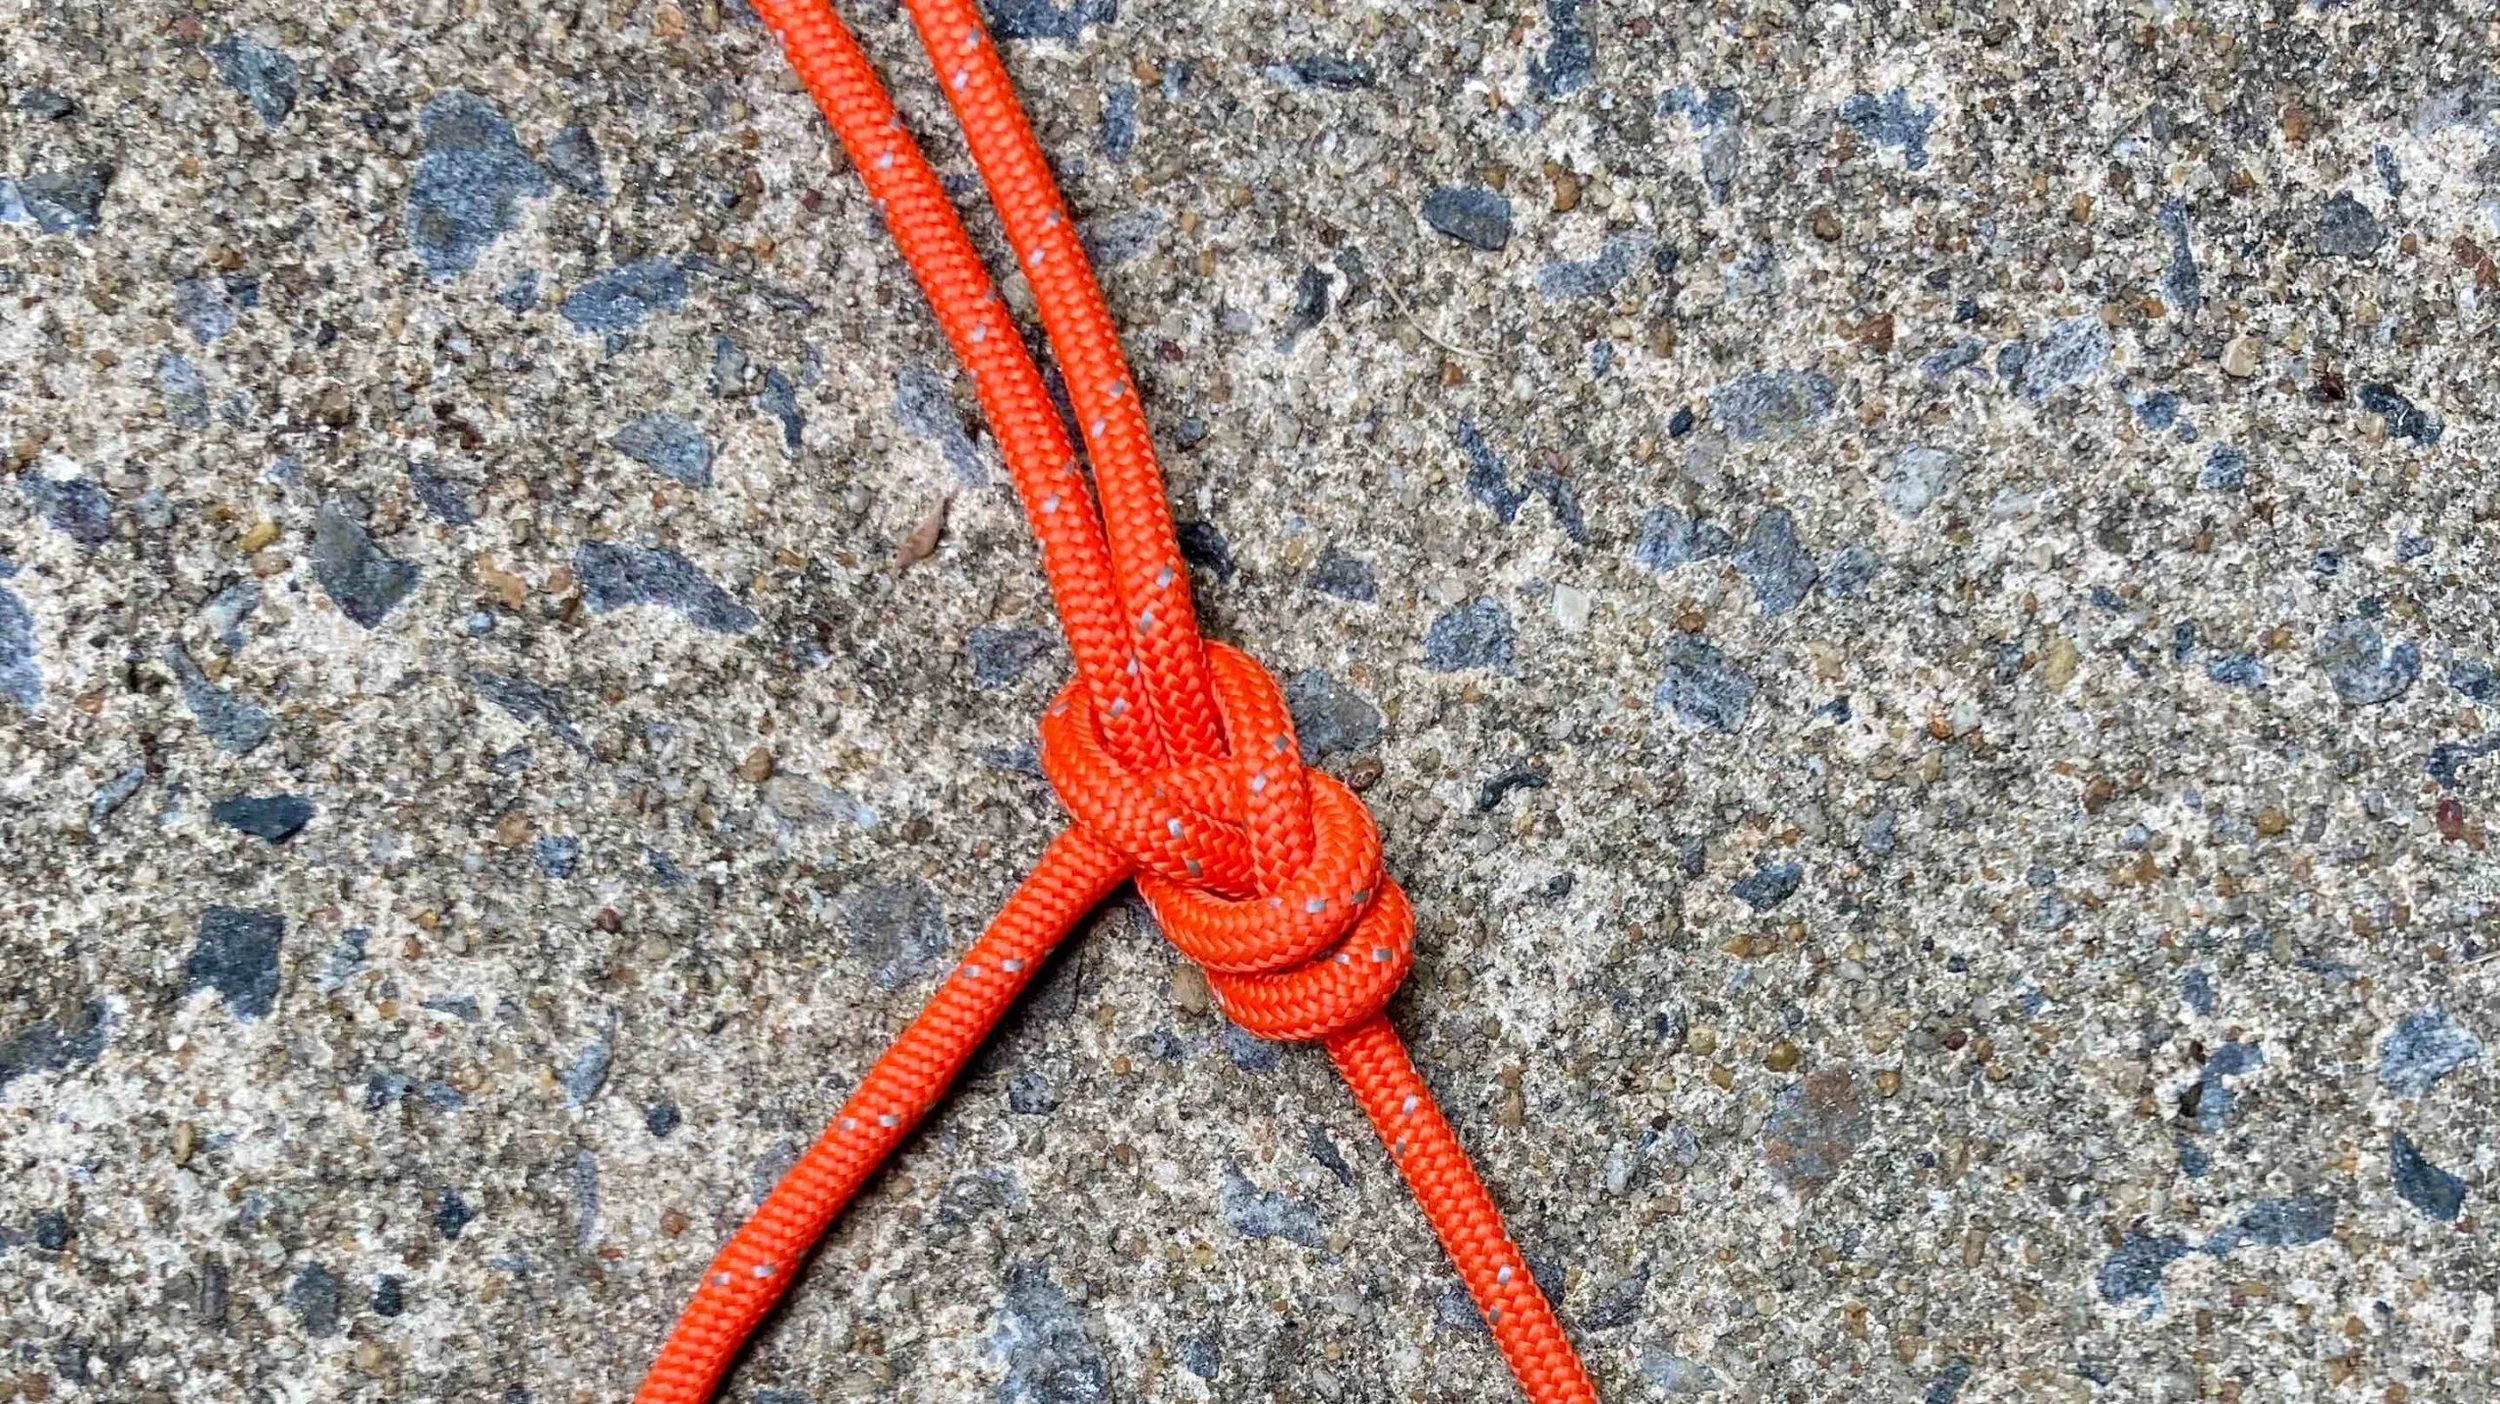
Step 3
Next, follow the same line under the knot.

Pass the end of the line back through the loop, as shown below.

Step 4
Now you have to tighten the Yosemite Finish, and it should be tightened in the correct order. First, grab the standing end of the rope and the loop of the bowline and pull against each other. This tightens the original bowline. Next, hold the loop and pull on the pig tail; this will tighten the Yosemite finish.
Closing Thoughts
The Yosemite Finish is a very cool knot to know. I've started using it just about anyplace I would use a bowline, and especially so on knots that are stored, but not stored under load (like the cords on my tarp). However, again, I don't recommend using this knot for life-support/life-safety purposes. It's just too easy to tie a Figure 8 that is virtually guaranteed not to fail. Keep this one on hand, but reserve it for general use.

