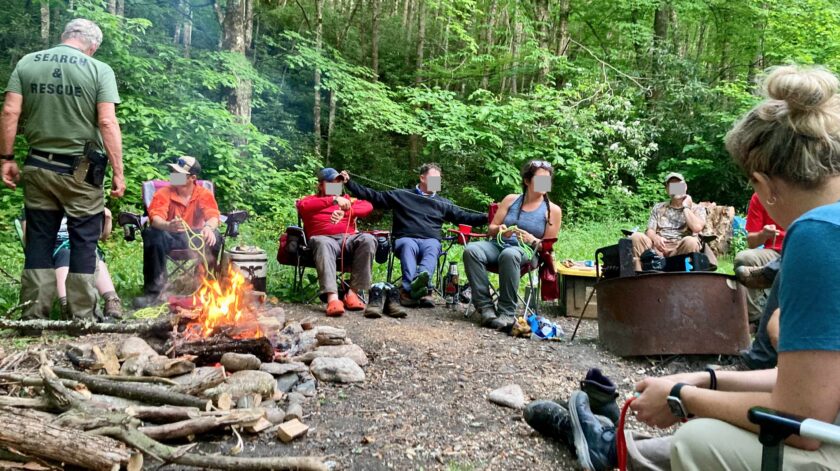
I recently attended a 60-hour, Search and Rescue (SAR) qualifying course. The class is required by both the SAR team I volunteer on, and as a member of the special operations team at my EMS day job. The class spent a couple days (and one night) in the woods. I though I would share a few training observations and campout lessons learned.
This article contains affiliate links.
Campout Lessons Learned
During the campout we had to perform quite a few graded skills. These included fire-starting, shelter-building, knot-tying, and land navigation. Although nothing was brand new to me, it has been a while since I’ve spent significant time performing most of these skills.
If you’re an outdoorsy type you probably know most of this stuff. We all forget stuff, though, and it’s good to get a little reminder. Most of the lessons learned here were actually “lessons validated” for me. Hopefully these campout lessons learned can be useful to some of you. Let’s get into it!
Fire
I haven’t built too many fires since my big Comprehensive Fire Starting article a little over a year ago. It was nice to get out and have the opportunity to do it and under some grading criteria. The task was to build a fire and boil 8 ounces of water. I built my fire entirely from natural materials. I was able to pull birch bark from nearby trees, then add wood collected from pine and birch trees. The birch bark lit with two strikes of my ferro rod and my fire was going in no time.
Tarred Bank Line is not Fireproof
Initially I hung my cooking cup by a piece of tarred bank line. I had my pot at a boil and was about to call the instructor over to verify when disaster struck. The piece of tarred bank line holding up my cup burned in two. The cup fell, not only spilling my hot water, but also dousing my fire.
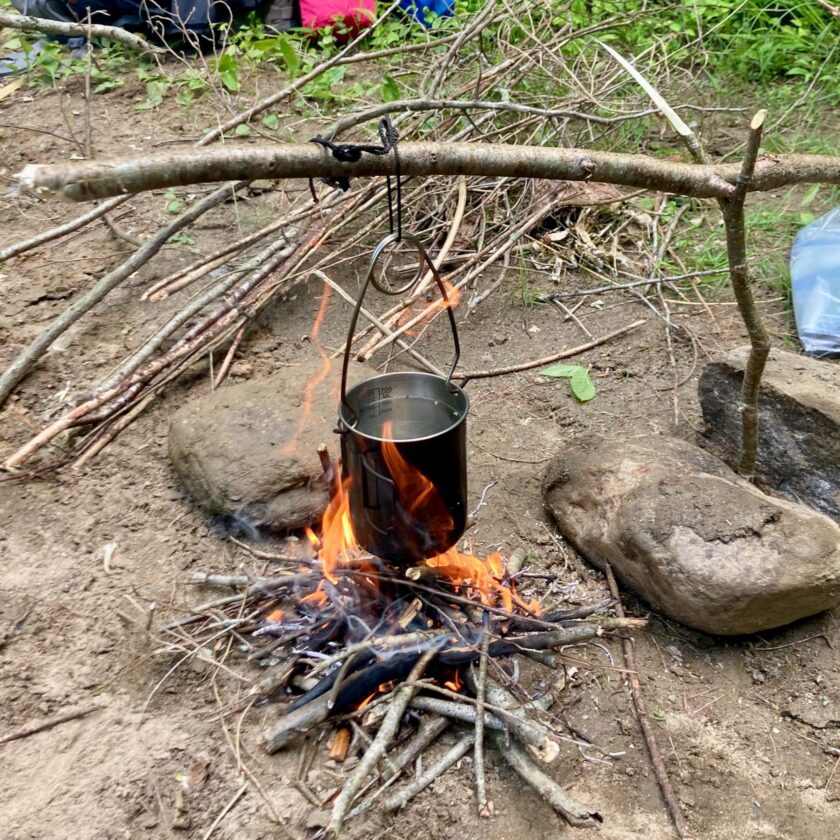
I started again and didn’t have too much trouble. I hung the cup directly off the metal pot support. This necessitated lowering my pot support a bit; the bank line had been used to get the pot closer to the fire. The stainless steel cup and pot support used are both from Self Reliance Outfitters. I highly recommend both.
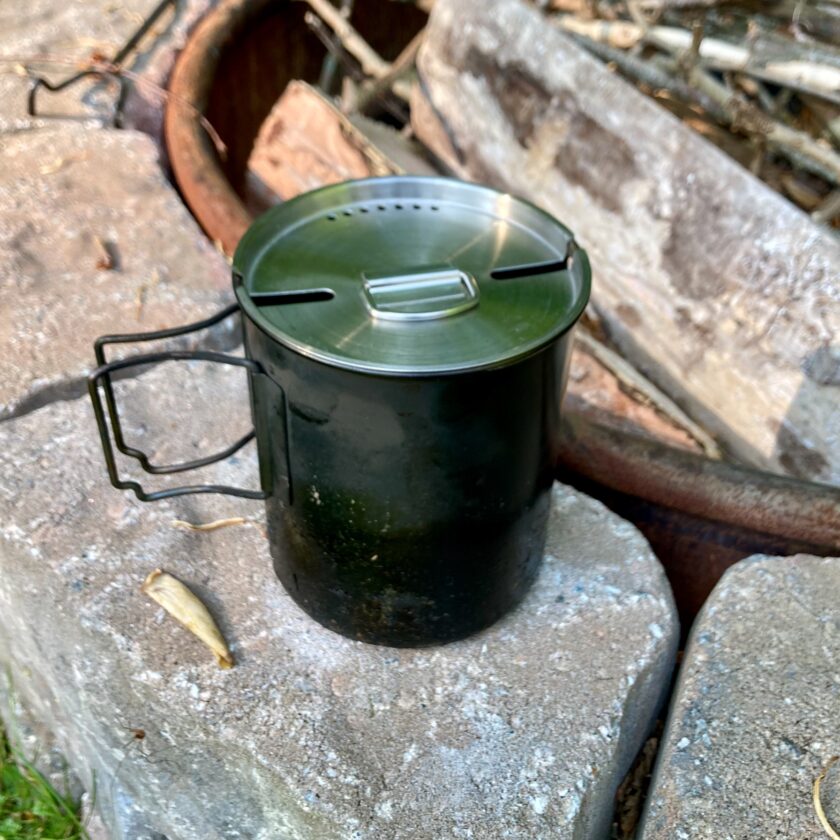
Pots with Lids Boil Faster
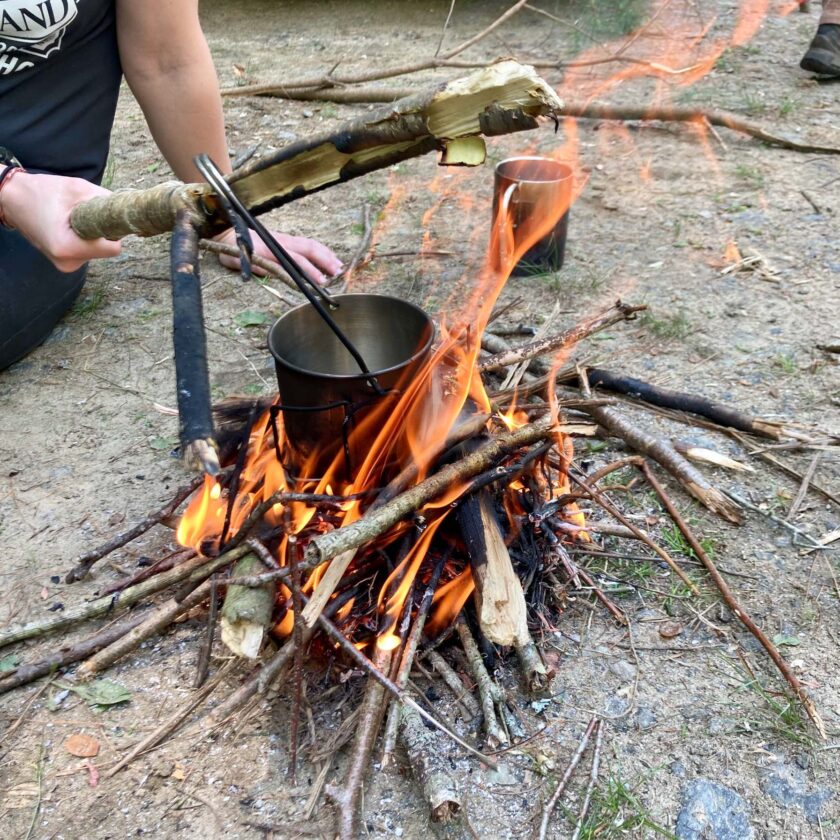
Intellectually I knew that a pot with a lid will boil faster. The pot retains more heat (especially in windy conditions) and a lid increases pressure inside the pot. I put a lid on my pots at home when boiling water. Why wouldn’t I do the same when boiling water outdoors? My Self Reliance Outfitters cup came with a lid; I think I will probably put it in my pack.
A couple other things on cup selection: first, double-walled, steel cups are very hard to boil water in. A couple students learned this the hard way. I loaned my cup to a couple of students so they could finish the test. Also, a cup that can be lifted from the top is easier to use that one with handles on the side. You can lift side-handled cups with a forked branch, but it’s a bit more precarious. If you’re choosing a cup for use on a fire, definitely consider how you will handle it once it’s hot.
Fire Starting Material
Since my fire-building article I have been a huge fan of Vaseline cotton balls backed up by fatwood as tinder. These are what have been in my pack for the past two years. I was very happy to see the instructors in this class recommend these as the fire-starting tools of choice.
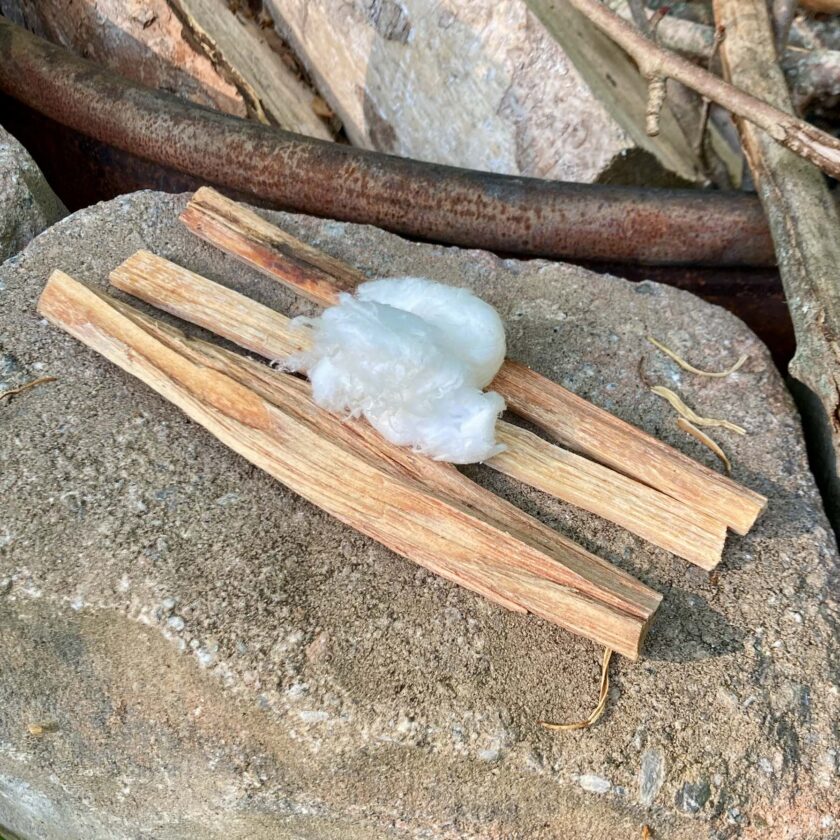
With 16 students in the class there was a variety of tinders and fire-starting potions. Some worked but most didn’t. After most of the class had finished this test and packed up there were still four students who were really struggling. Myself and a couple other students went fire to fire, in two cases completely re-building the student’s fire. Many were struggling with cheap commercial tinders. One vaseline cotton ball and a couple sticks of fatwood had an excellent start to a fire going in just a matter of minutes.
If you’re going against what most experts recommend (in nearly any field) ask yourself, “why?” If you can’t answer it definitively and quantitatively you should probably give the expert recommendation a fair shake.
Shelter
My head has been into shelter lately, so I didn’t learn all that much here. A couple things were validated for me, though.
The Plow Point is Awesome
The plow point shelter is awesome. You don’t need a ridge pole or ridge line. You don’t need anything more than a decently level spot and a single tree from which to anchor it. It’s low to the ground and provides protection on two or three sides (depending on your tarp size and exact configuration). Even better, you can set one up in under five minutes (probably under 3 with practice) with nothing more than a bungee cord, three stakes, and a tarp.
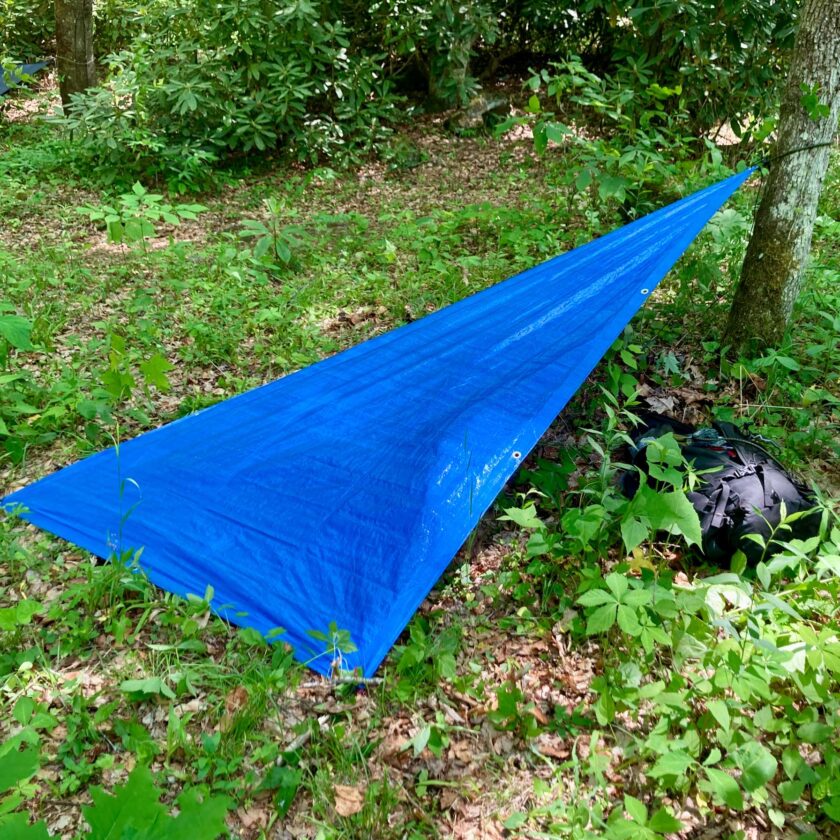
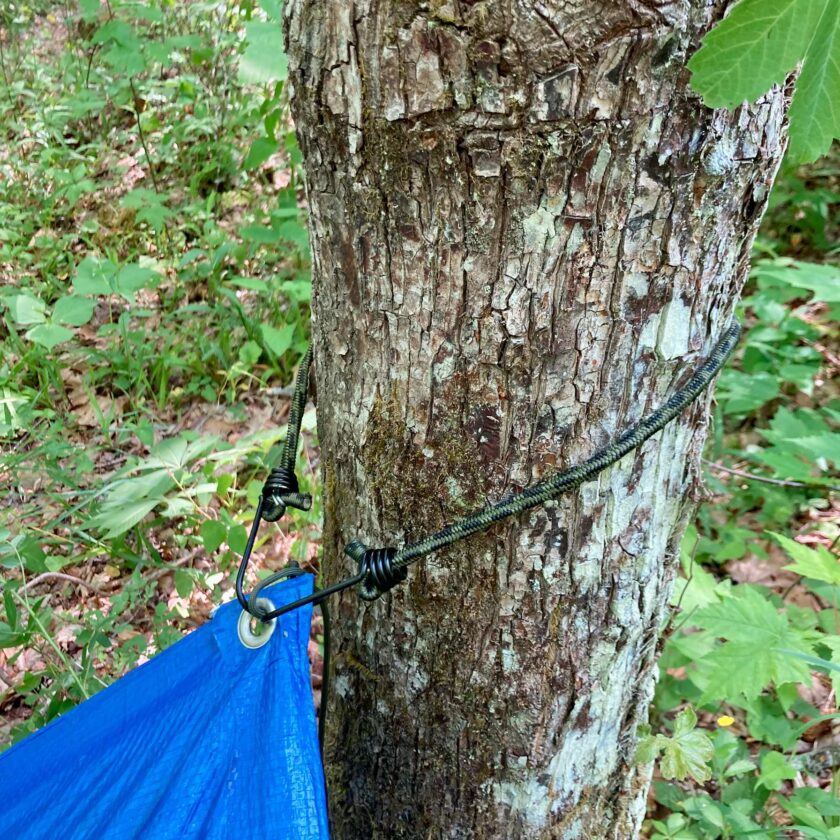
Bungee Cords are Awesome
Setting up my shelter was greatly aided by the addition of a couple 3′ bungee cords in my pack. I mentioned this in my recent shelter article. To set up a plow point simply go corner-to-corner from your anchoring tree. Then pull the tarp back a little further and stake it down. The bungee will provide the necessary tension when applied so you don’t need any complicated knots.
In addition to bungee cords, having a few stakes makes like so, so much easier. I carry four of the MSR Groundhog Mini stakes. They are compact, weight next-to-nothing, and have worked for me every time I’ve set up a shelter in the past year.
Land Navigation
It has been a long time since I’ve done any serious land navigation. This course wasn’t the hardest one I’ve done, but it wasn’t super easy, either. There were five points and each was spaced anywhere from 500 to 1,000M apart. The biggest of my campout lessons learned in relation to land navigation didn’t happen in the field. Instead it happened the first day of class. Warning – if you’re not a map & compass person this probably won’t be super interesting to you.
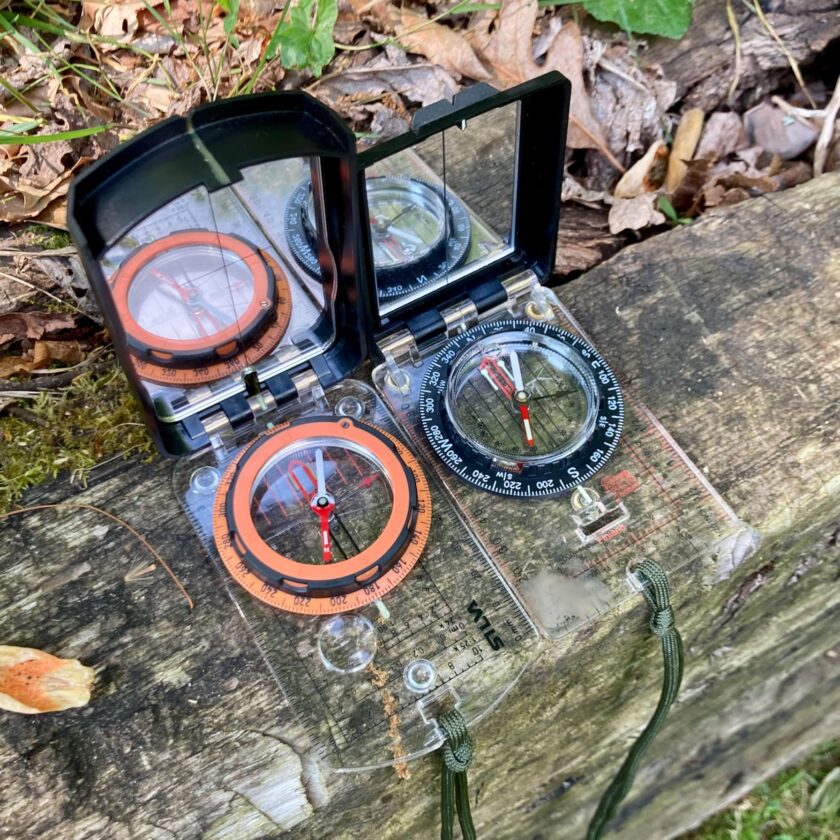
Don’t Adjust Your Compass’s Declination
I used to set my compass’s declination if I was going somewhere for an extended period. This let me put a grid azimuth onto my compass without converting grid to magnetic. This convenience is awesome when you might have to call for fire at a moment’s notice. The problem is that it’s easy to forget what your declination is set to, especially if you haven’t used your compass in a few years.
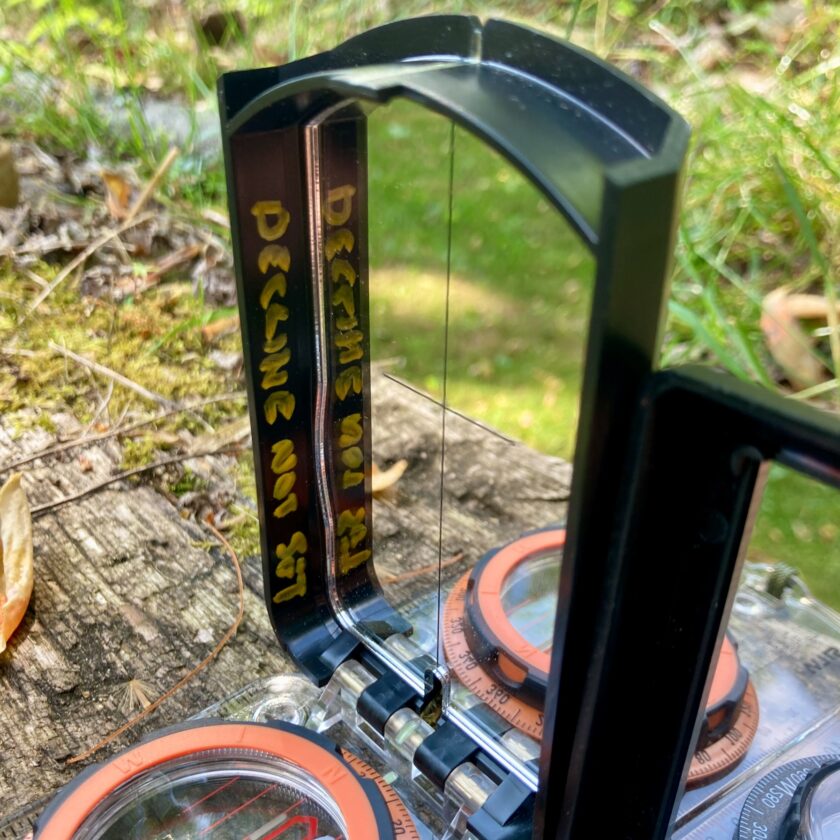
The instructors recommended not adjusting declination on the compass and doing the conversions from grid-to-magnetic north (and vise-versa) manually. The more I thought about this the more I agreed. I won’t be adjusting the declination on my compass anymore. In fact I had to purchase a new compass in this class (my old Silva Ranger has a big bubble in it). Inside the lid I wrote in paint marker: DECLINE NOT SET.
This is the first time I’ve touch land navigation with map and compass in a while. It felt really good to get back to basics. If anyone is interested in some land nav articles (I know I’ve mentioned it a lot in the recce series, too), let me know.
First Aid
Most first aid kits seem geared one way or the other: heavy-duty trauma “blow-out” kits or very minor boo-boo kits. Not many kits are geared to deal with stuff in the middle. Within five minutes of getting out to the camping area I sliced a nice, deep cut into the tip of my left thumb. Being out in the field for 24 hours presents all kinds of opportunities for infection. Fortunately I had a decent first aid kit and was able to keep the wound clean and covered until we got home
Pack Would Care Supplies
You may want to pack a few wound-care supplies, and I don’t just mean dressings. This was a primitive camping area with no running water. I couldn’t just go wash my hands. I really wished for a 10ML syringe in my first aid kit for irrigation purposes. Irrigation with any water clean enough to drink is pretty effective at preventing infection. You can bet this will be in my kit the next time I go out.
Next, I was very glad to have some Steri-Strips. Steri-Strips are inexpensive, take up almost no space, are in waterproof packaging, and last a long time. These kept the wound closed better than anything else I or anyone else had. You should probably keep some of these in any first aid it meant for serious time in the outdoors. In the future I’ll also be packing some Bandaids that fit fingertips to help keep dirt out of wounds in these hard-to-bandage areas.
Closing Thoughts on Lessons Learned
I hope you’ve gotten something from my campout lessons learned. Even though I consider myself a pretty capable outdoorsman this is a great reminder that learning is never finished, and that some reminders are in order. These lessons are nothing ground-breaking, but things that are easy to forget if you aren’t getting out there and doing. Unfortunately this trip also validated some instructorship lessons learned and not in a good way. You’ll probably read about those in the next few weeks.
Make some plans to get out and about and test some of your outdoor skills. Build fires. Make a shelter and sleep in it. Go somewhere for 24 hours where you don’t have phone service. Get your own set of lessons learned – I guarantee they’ll be different than mine. Get outside and have some fun!