In the first part of this series I discussed how to create a virtual machine using VirtualBox and Ubuntu. Today we are going to execute several steps to get Ubuntu installed, updated, and make it just a bit more functional. I we will finish by discussing how to shut down a virtual machine.
Keep in mind: the instructions that follow, and the instructions contained in previous and next tutorial cover how I prefer to install, setup, and manage a virtual machine. Though it may not seem like it now, this building to a comprehensive whole.
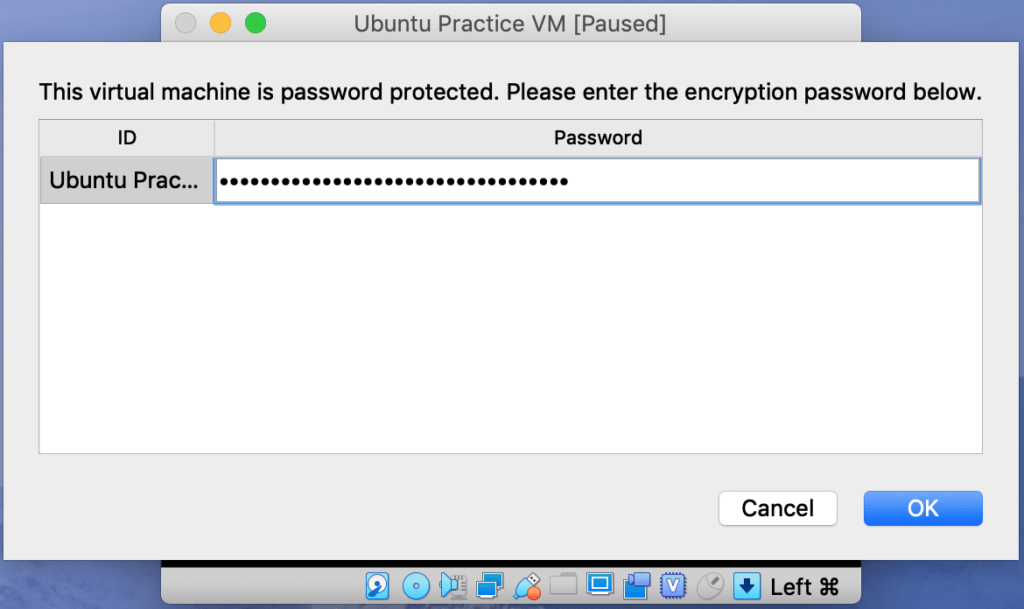
If you encrypted your VM through Virtual Box, launch it and enter the password now.
Installing Ubuntu In a VM
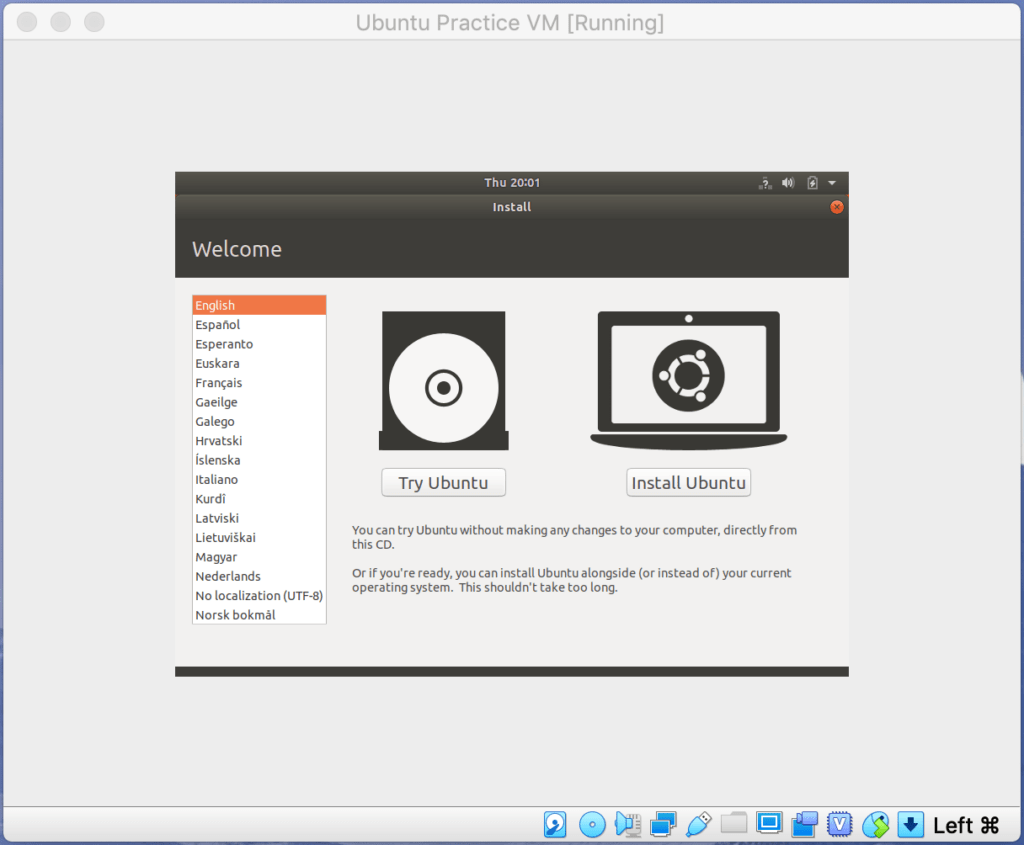
When Ubuntu has booted you will be given a choice to Try Ubuntu or Install Ubuntu. If you are installing Ubuntu permanently on a computer this gives you the opportunity to ensure that it will work with your hardware before committing. Since we are using it in a VM and can simply delete it if it doesn’t work, we will select “Install Ubuntu” without trying it first.
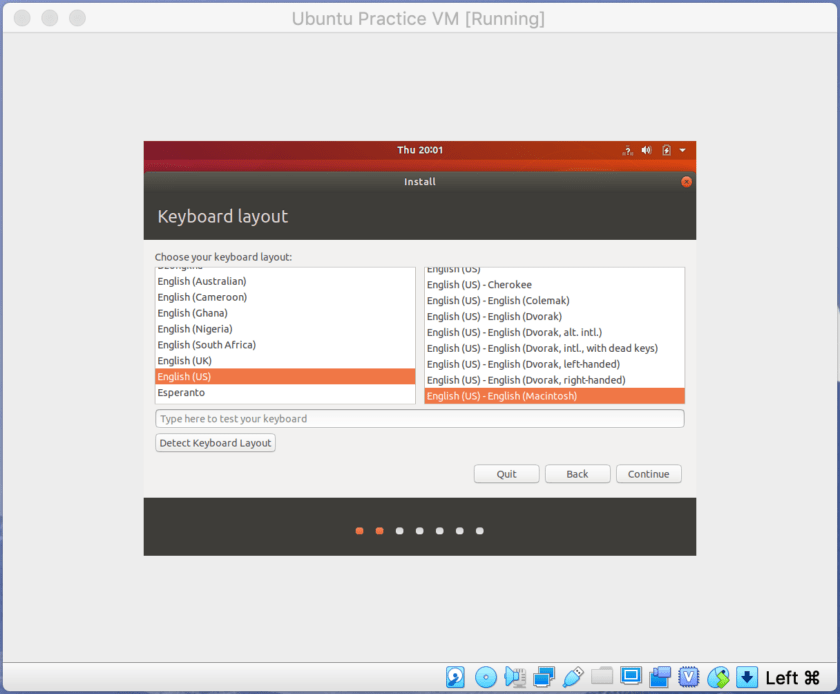
Next, select your keyboard layout of choice.
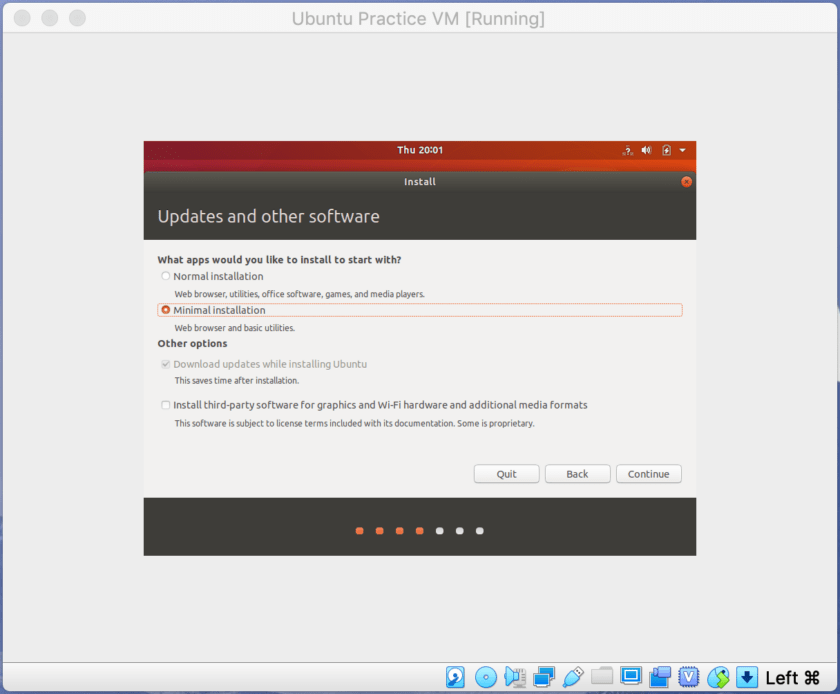
The “Updates and other software menu” will ask you to choose which installation version you’d like to install, and make a decision about updates and drivers. My recommendations are as follows:
Minimal Installation: this will install far less junk software than the normal installation. Technically that is incorrect; it will install it all, then uninstall the everything except basic utilities like the browser. I recommend this rather than the “Normal” installation which clutters Ubuntu will all sorts of unnecessary applications and games.
I also recommend checking the download updates while installing Ubuntu box. This ensures you get your updates as quickly as possible. I do not recommend checking “Install third-party software…” box.
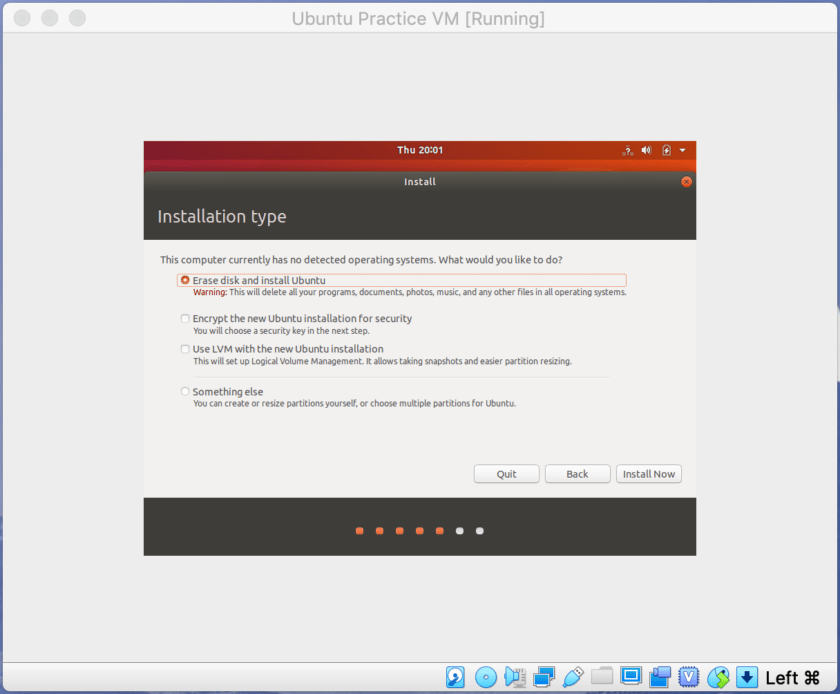
The next screen will ask you if you want to erase the disk and install Ubuntu. This will only erase the 10 GB virtual disk created we created in VirtualBox during the last tutorial. Leave this radio button selected.
There are three other options here, as well. The first is “Encrypt the new Ubuntu installation…” If you are installing Ubuntu as the host OS on hardware, this would be a good idea. Since we have already encrypted the entire virtual machine with VirtualBox, there is no reason to do this here. Leave this radio button unselected. We can also leave the “Use LVM…” and “Something else” radio buttons unselected, as well.
Click “Install Now”.
The next screen will ask you to confirm your decision to install Ubuntu. Click “Continue”.

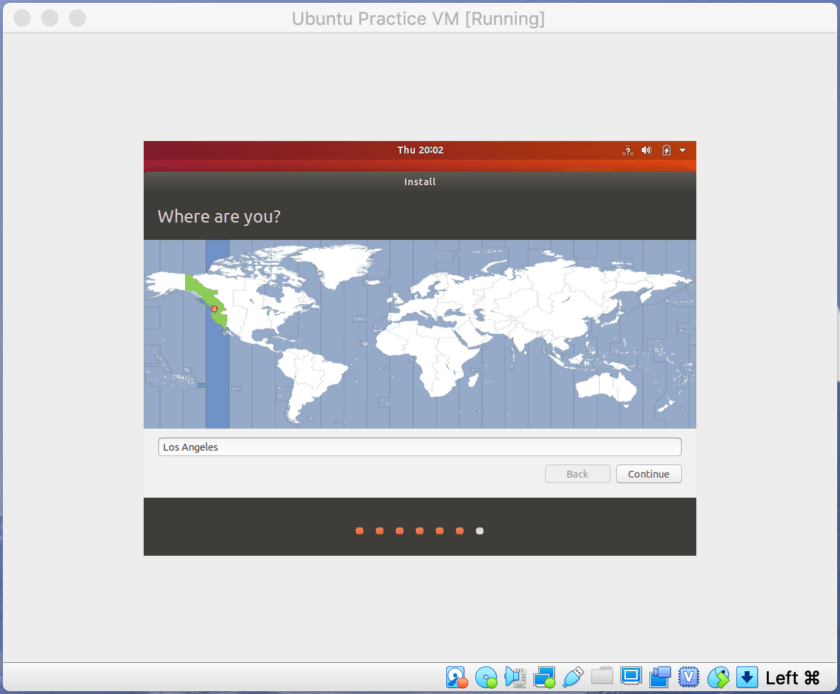
The installation will commence. You will now be asked some basic setup questions. The first is your time zone. Since I am on the West Coast, I chose a West Coast city so that my system time will display correctly.
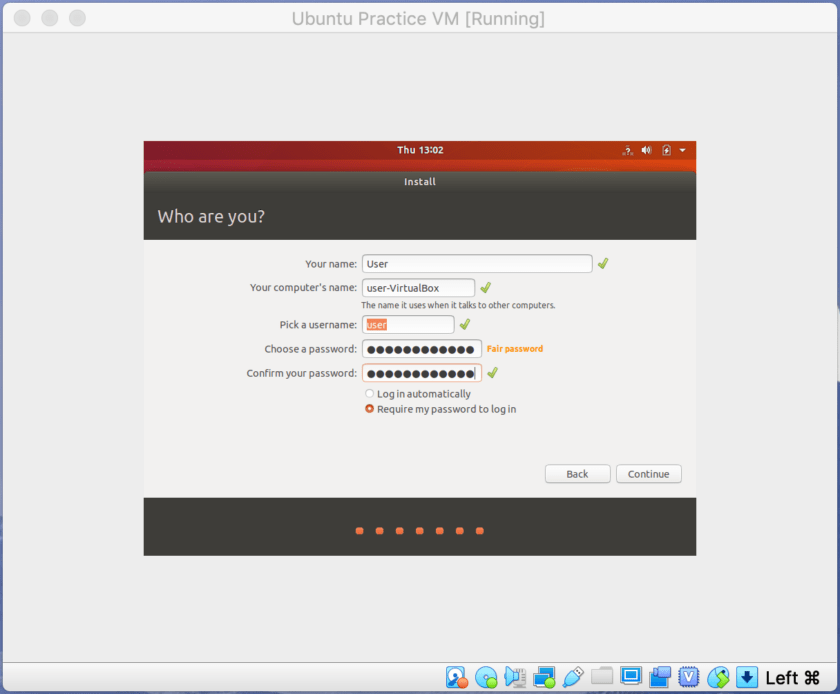
Next, you will be asked to assign a username to your account, and create a password for it.
Username: I recommend keeping this information as nondescript as possible. The username you select may be shared on local networks, is recorded in the metadata of documents you create, and may be otherwise disseminated. I like to use something very basic like “User” or something very common like “John”.
Password: This is one of the very few instances I will tell you that your password should be one that you can easily remember and type. Remember, the entire virtual machine is encrypted through VirtualBox, so this password does not provide us a great deal of additional security. Also, if you have disabled clipboard sharing as I recommended in the previous tutorial, you won’t be able to copy and paste a long password from your host OS to your Ubuntu guest OS.
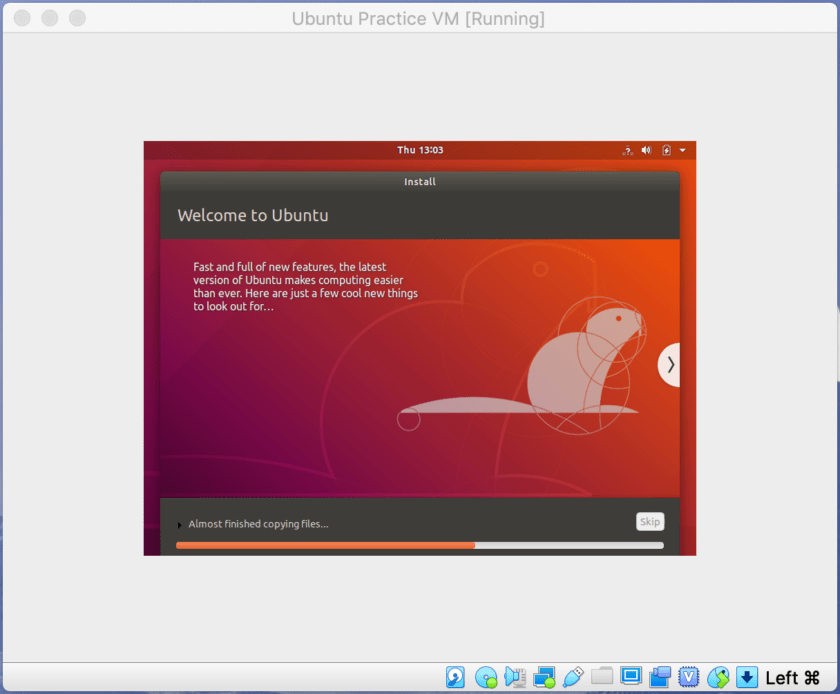
The installation will proceed. You will be treated to some information about features of Ubuntu. This process may take as long as 30 minutes.
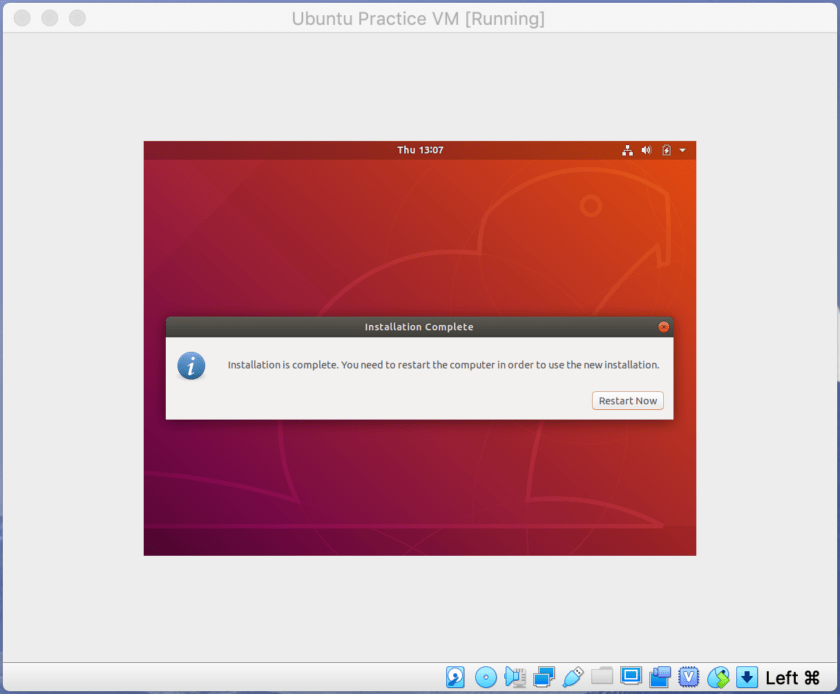
You will be notified when the installation is complete. A notification will appear letting you know that you need to restart the computer. Click “Restart Now”.
Next, you will be told to “remove the installation medium and press return”. I failed to capture a screenshot of this. All you need to do is press Enter, and your virtual machine will reboot.
Basic Ubuntu Setup & (Very) Basic Familiarization
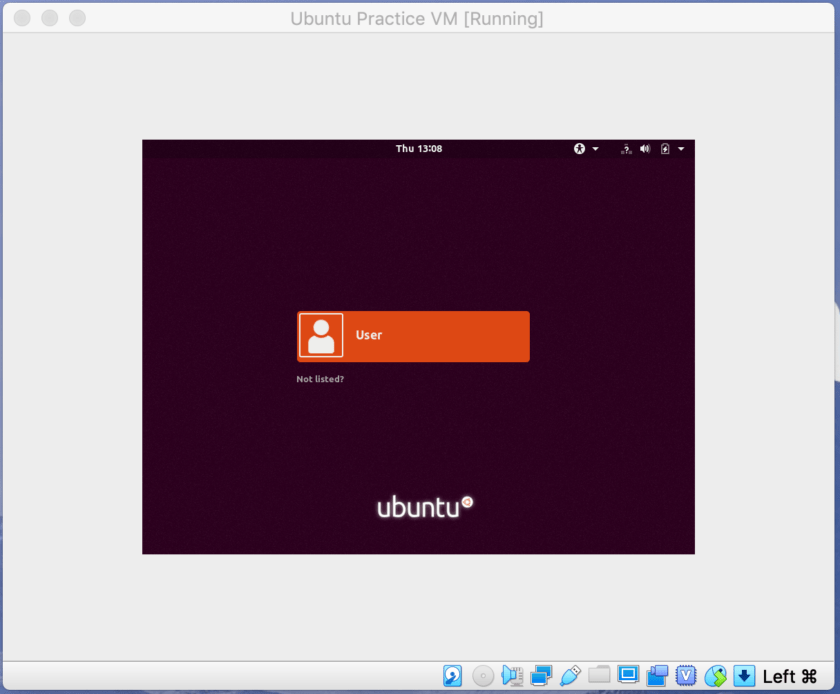
At this point Ubuntu is installed. Now we will look at some very basic setup, updating Ubuntu, and optimizing it to make it just a bit more functional. When it boots up successfully you will be presented with a login screen. Press Enter.
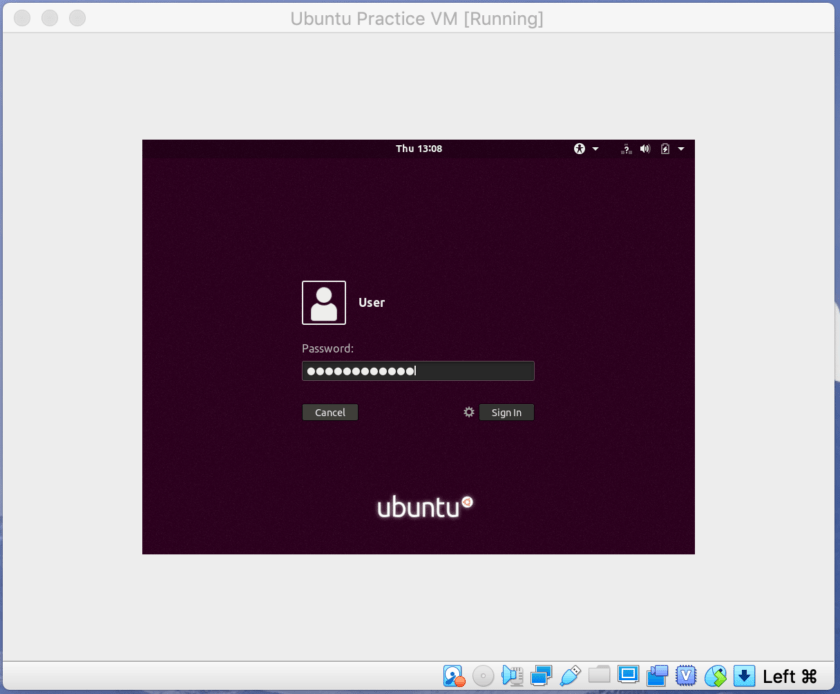
You will now be prompted to login by entering the password you created earlier in this process.
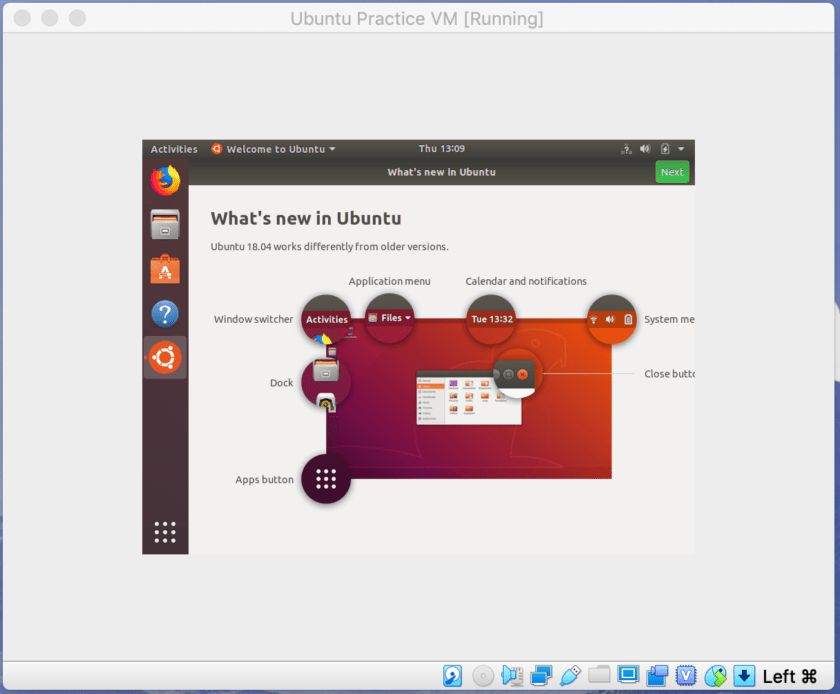
The first time you log in to your new Ubuntu system, you will be guided through a “What’s new in Ubuntu” tutorial. You can simply click through MOST of this, but there are a couple of screens that are pretty important.
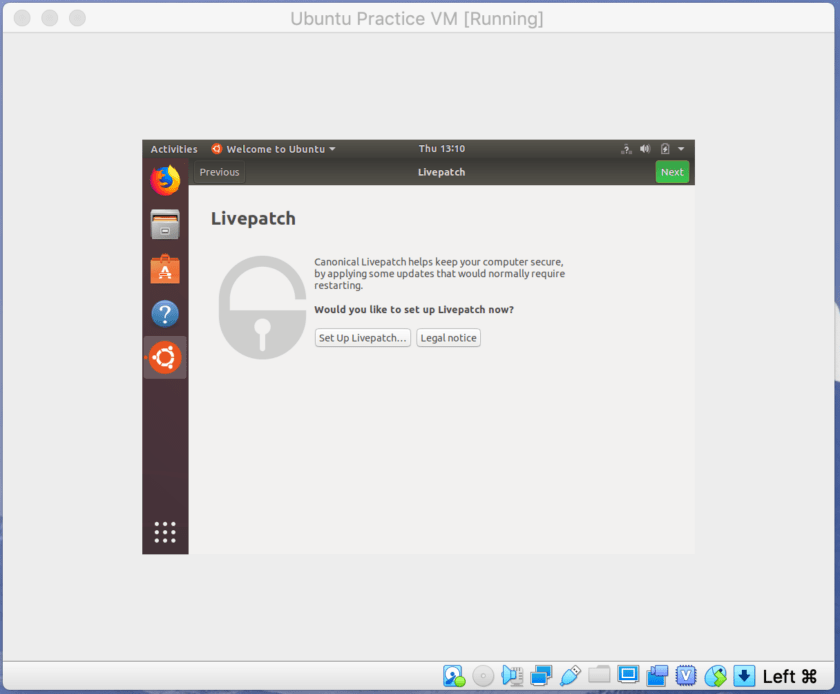
One screen to which you will want to pay attention is Livepatch. Livepatch allows Ubuntu’s kernel to be updated automatically without restarting the machine. For us, using Ubuntu in a limited manner as a virtual machine, this isn’t terribly important, and it requires setting up Ubuntu credentials. I would skip this step.
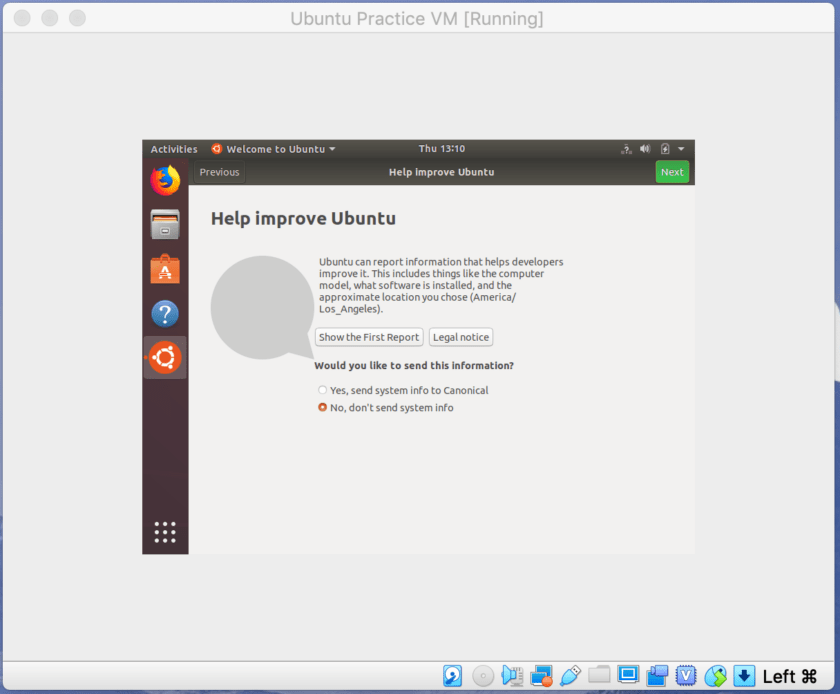
The next screen asks you to share telemetry data with Canonical, the consortium that produces and manages Ubuntu. I view this information sharing as unnecessary and aggressive, and you are opted in by default. I would change this to, “No, don’t send system info”.
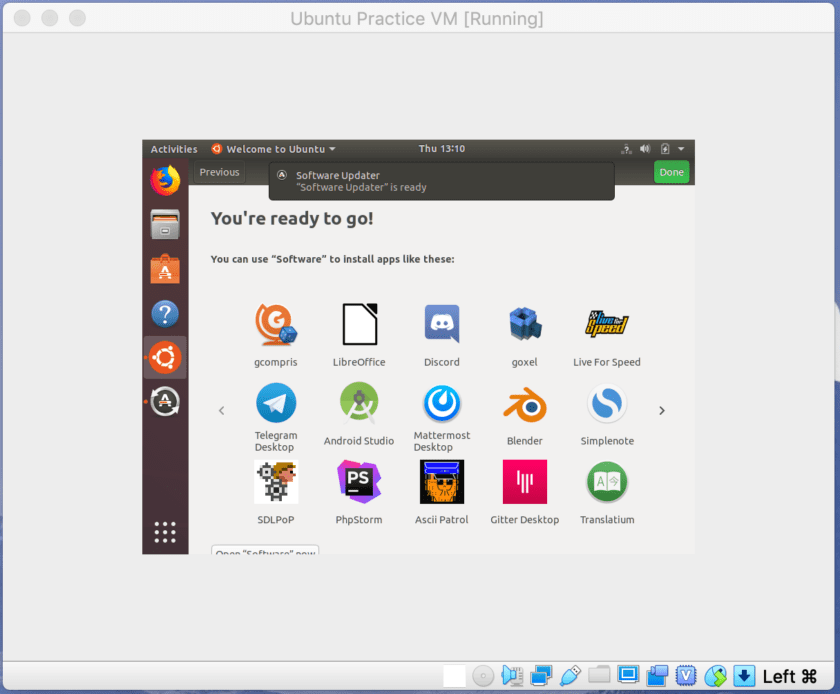
Finally, you see a screen that saying, “You’re ready to go!” Click “Done” and this screen should go away.
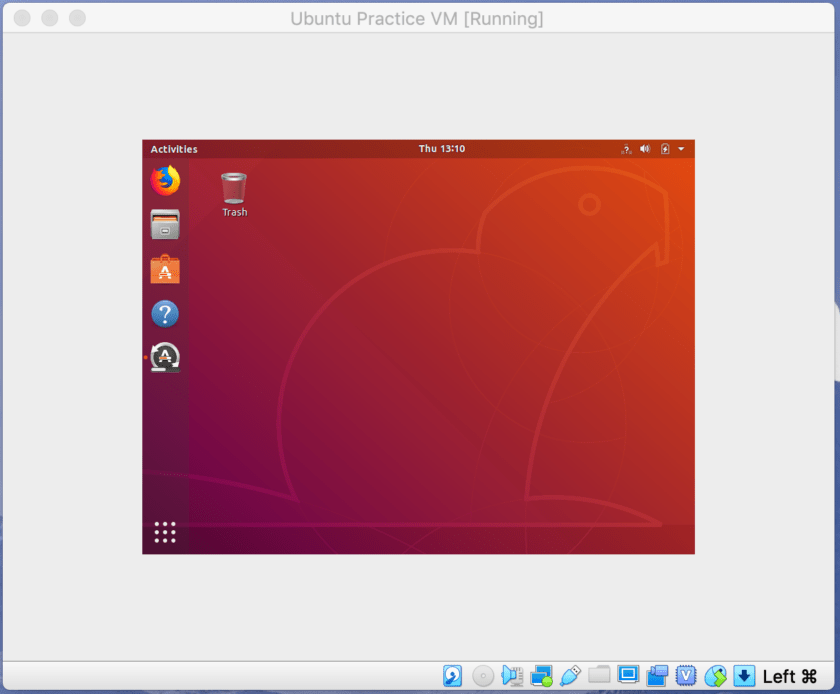
You will now be presented with your brand new, clean Ubuntu desktop.
Updating Ubuntu
Updating is one of the most important security functions in any operating system. It is one of the very first steps we want to take with this new Ubuntu installation.
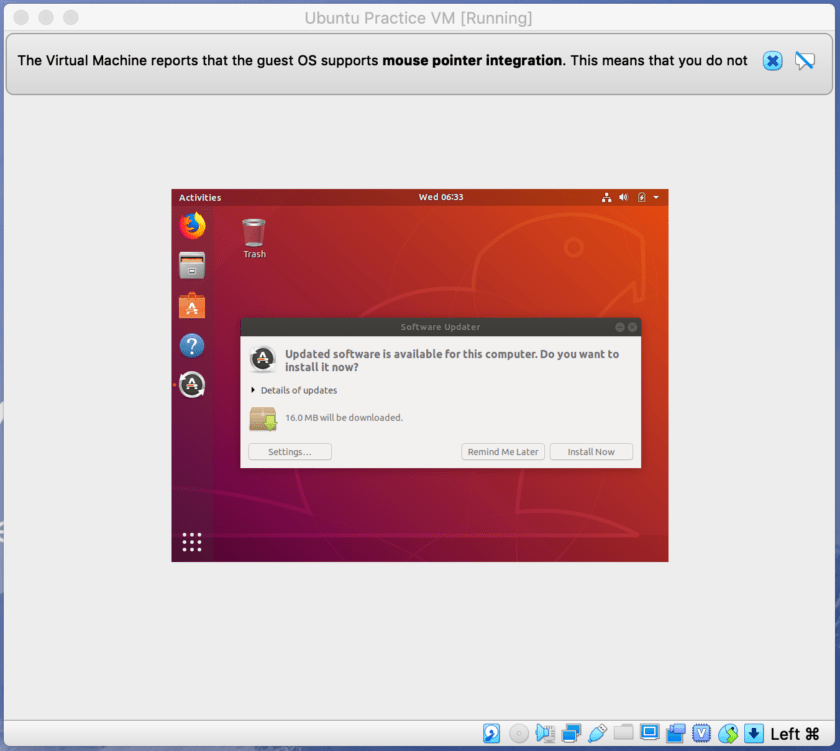
When Ubuntu finishes installing, and on a periodic basis thereafter, you may receive a notification from the Software Updater letting you know that you have updates available. If you wish you can go ahead and click “Install Now”.
If you do not receive a notification from the Software Updater (or even if you do) it is a good idea to go looking for updates on your own. Rather than rely on the software updater, we will use the Terminal to look for updates.
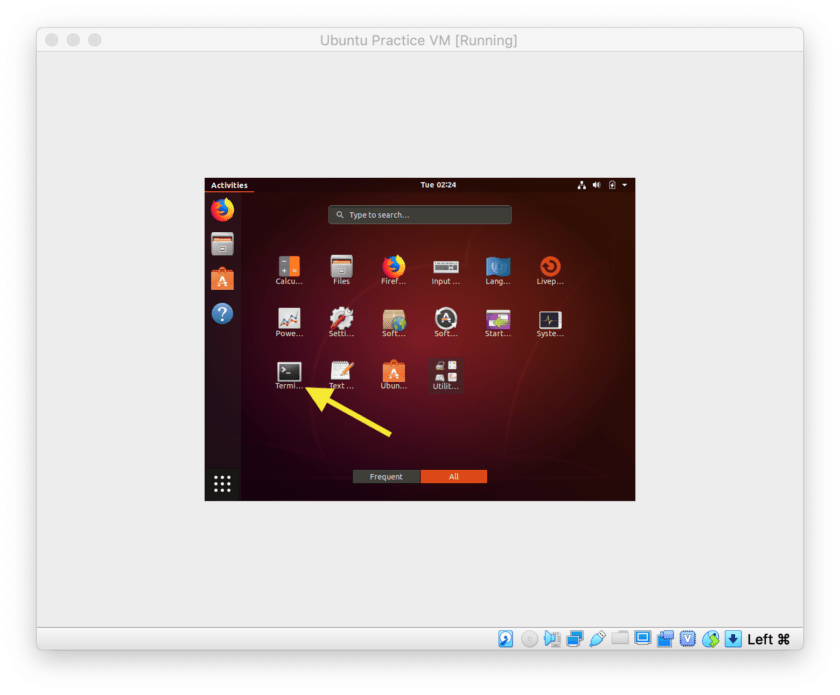
Click on the Applications pad in the lower-left corner of the screen. This will bring up your applications. If you still do not see Terminal here, click on the “All” button at the bottom center of the screen, or begin typing “Terminal” in the search bar.
 When the Terminal opens, you will be required to give it instructions. Type in the following command and press Enter.
sudo apt-get update && sudo apt-get upgrade
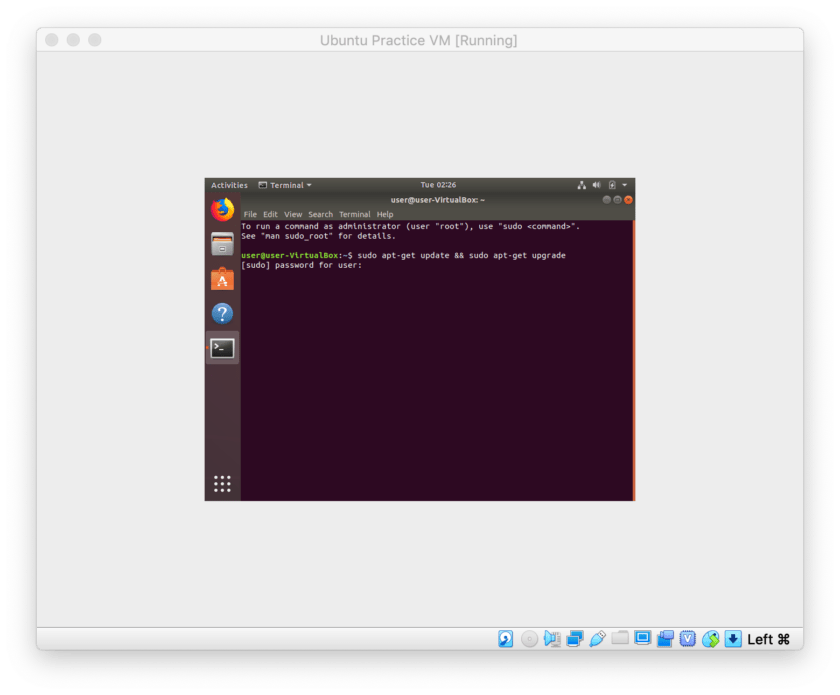
You will now be prompted to enter your password. Note that as you enter the password, you will not see any indication that anything is happening. Neither your password, nor asterisks, nor anything else will appear; you just have to trust that your password is being accepted. After you have entered your password press Enter. The apt process will run, and determine whether or not you have updates available.
If you have updates available, you will see a line of next asking you to type “Y” to continue. This will be several lines below a line indicating how many packages need to be updated or upgraded. Type “y” and press Enter.
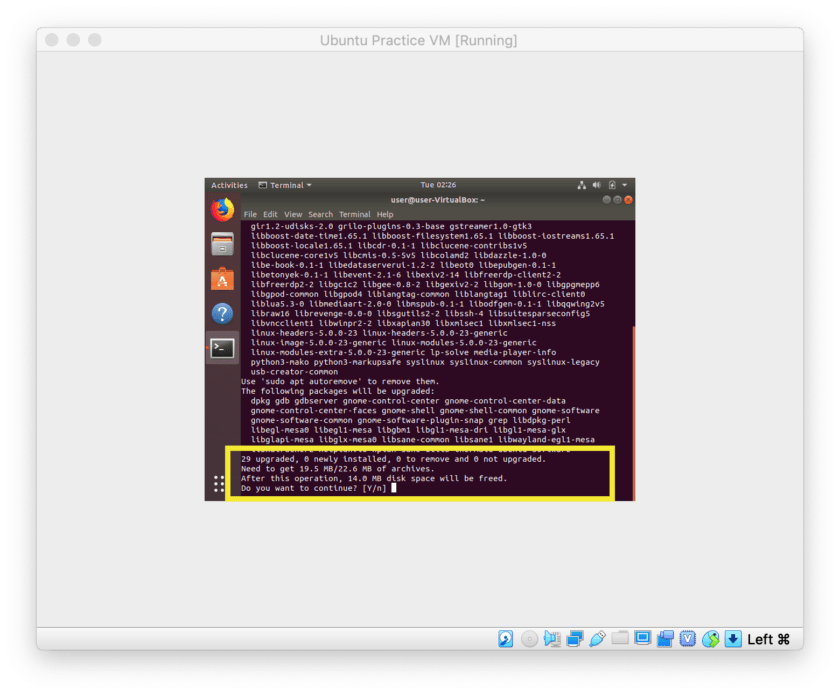
Ubuntu will now begin updating. You will see a lot of text flying across your screen that is probably unintelligible to you. Simply allow this process to complete before closing the Terminal.
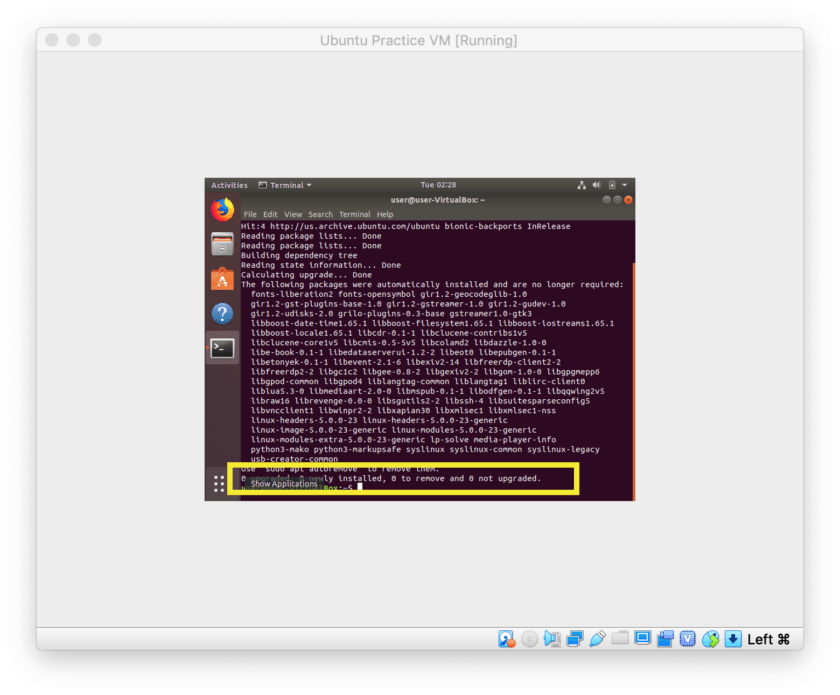
If you do not have updates available you will see a line of text that reads, “0 upgraded, 0 newly installed, 0 to remove, and 0 not upgraded”. You can simply close the Terminal.
Fixing Screen Size with Guest Additions
At this point you probably noticed that Ubuntu’s screen is tiny, and kind of sucks to work in. Before we close out today we will fix the screen size issue. We will do so by inserting the Guest Additions CD into Ubuntu, via VirtualBox. VirtualBox’s website provides an extremely detailed description of exactly what Guest Additions does; in a nutshell it helps with guest OS work on a given system by making it compatible with displays, peripherals, etc.
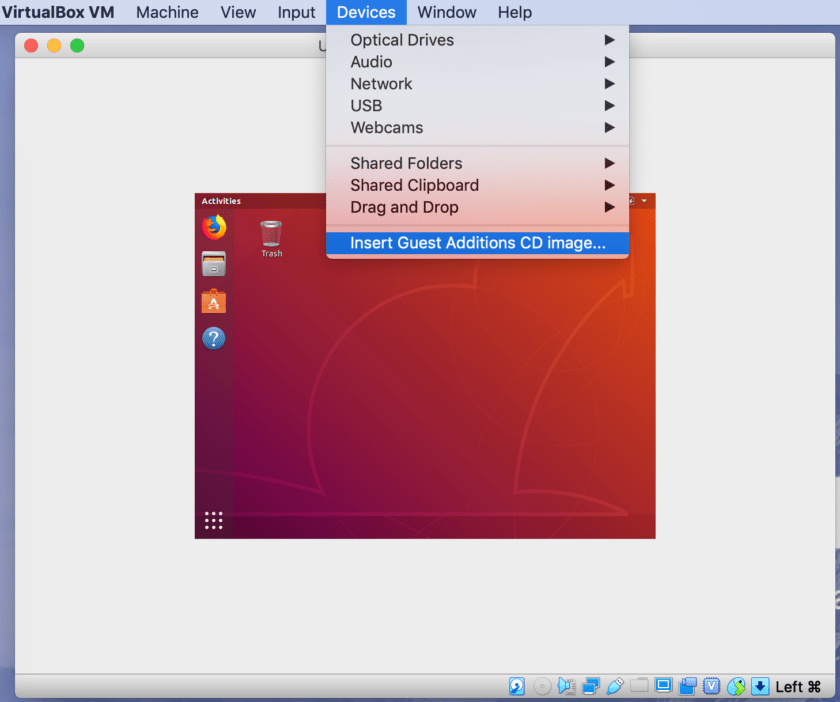
To install it, we will have to use a VirtualBox Setting. At the top of your VirtualBox Window (Windows users) or screen (macOS users), click on the “Devices” drop-down. Select “Insert Guest Additions CD image…”
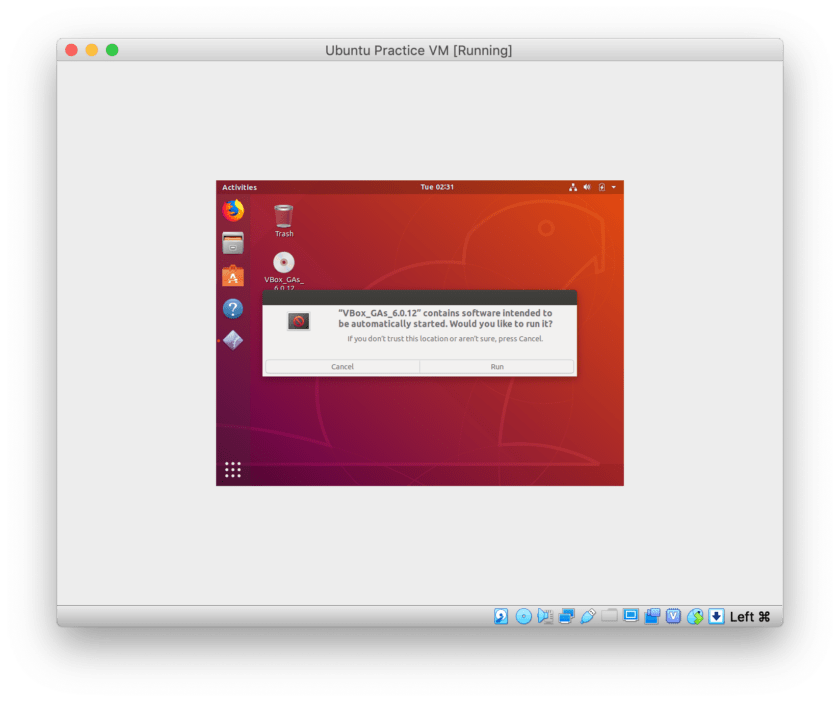
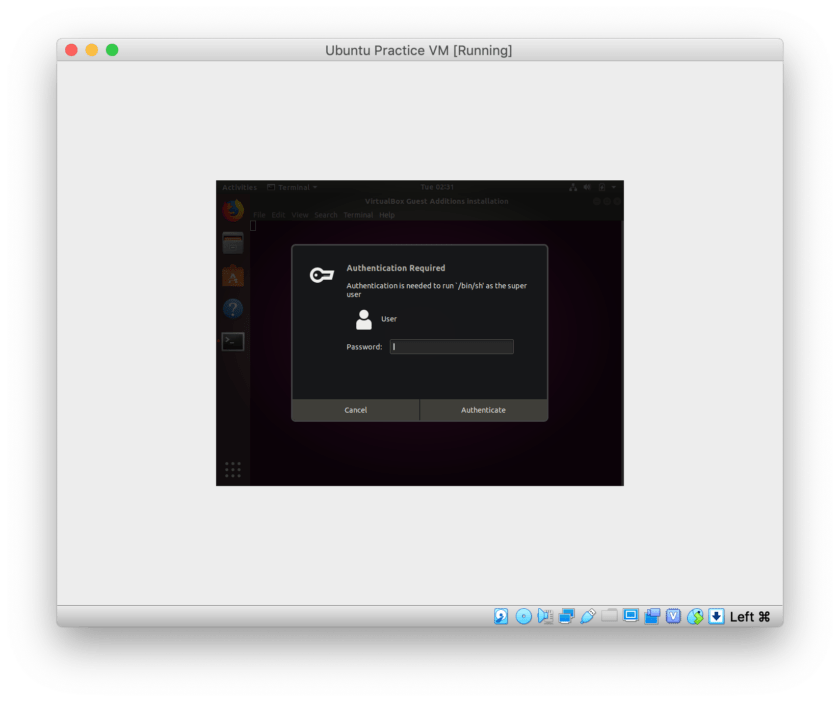
Ubuntu will confirm that you wish to install the Guest Additions CD image.
Next, you will be required to enter your password to proceed.
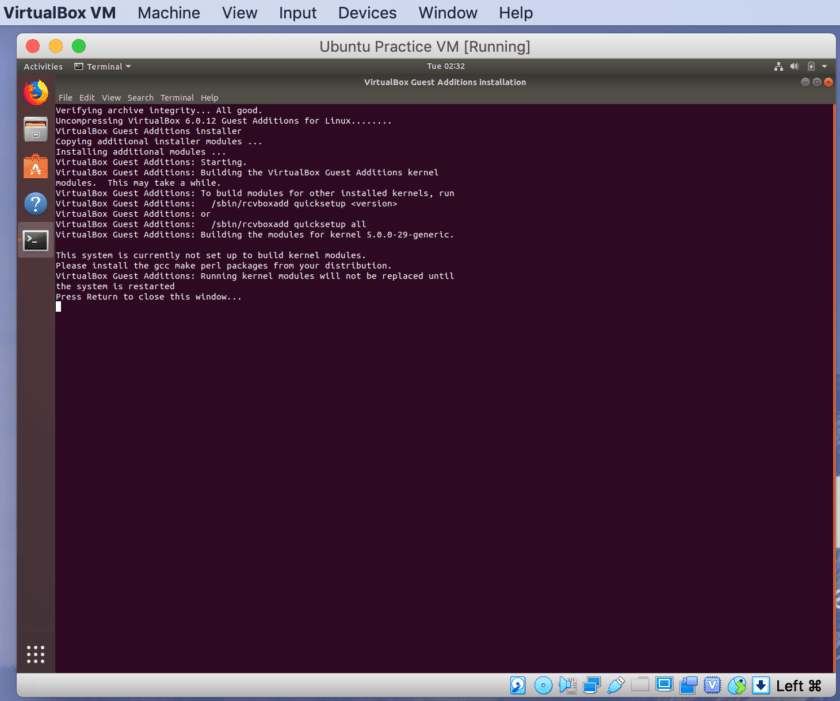
Once the Guest Additions CD has been installed, Ubuntu will typically take the initiative and resize itself to more pleasing dimensions and resolution. If this doesn’t immediately happen a restart of the VM may be required.
Closing Down Ubuntu
At this point we have installed Ubuntu. We have gone through some very basic setup, updated the OS, and inserted the Guest Additions CD. At this point we want to shut the VM down. There are two ways to do this.
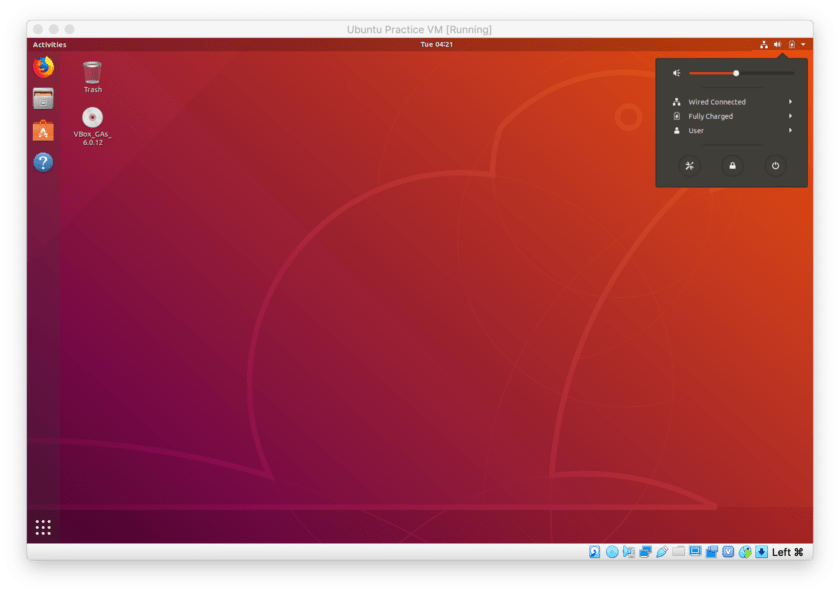
First, we could shut the VM down through the guest OS’s commands. To do this, click on the “down” arrow in the upper-left corner of the screen. A fly-out menu will appear. Click on the power button (the left button on the bottom row).
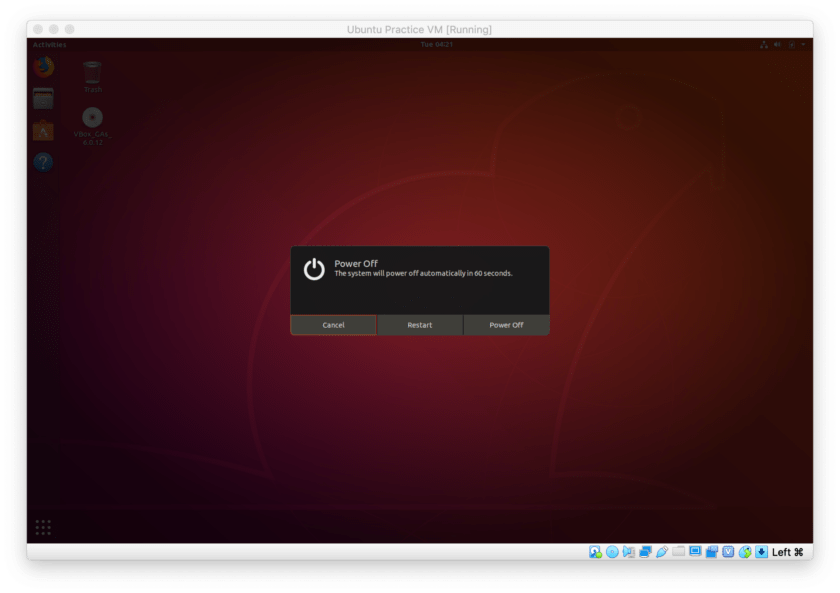
A popup will appear asking what you would like to do. Select “Power Off”.
Alternatively, you can simply close the VirtualBox window. This will prompt a VirtualBox pop-up that will give you three options: Save the machine state, Send the shutdown signal, and Power off the machine. Each of these works slightly differently. For now we will simply Power off the machine.
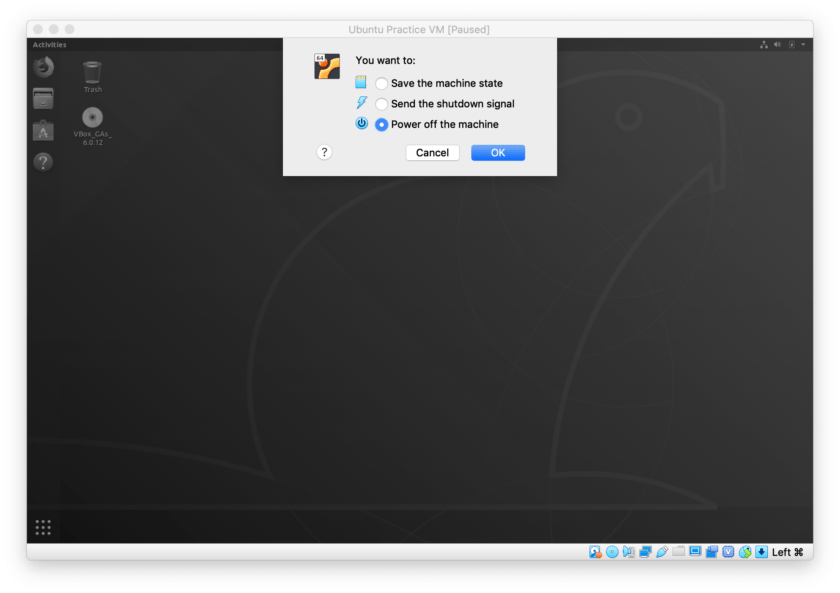
- Power off the machine goes through the guest OS’s normal shutdown procedures and is considered a “graceful shutdown.” Any changes you have made to the OS – including saving files, modifications to the system, installing updates or applications – will be saved.
- Send the shutdown signal is a harder shutdown, and might be considered the equivalent of holding down the power button your computer.
- Save the machine state is similar to hibernating. Everything you are working on will be frozen in place. When you open the VM you will pick up right where you left off. This method definitely has it’s place, and I will discuss that in the future. Keep in mind that when you shut down like this you cannot modify any of the system settings in VirtualBox.
Wrap Up
This went a bit longer than I anticipated. In the next installment we will discuss snapshots in depth. Stay tuned!