The Civilian Battle Belt Setup

The civilian battle belt is a belt containing all the stuff you might need to defend your home. It is a pre-assembled, ready-to-go kit, allowing you to simply stand up, don, and go. It provides a lot more capability than a pistol, rifle, or shotgun alone. I'm not suggesting that having a good pistol or long gun is insufficient, but this is a step above and beyond. This article will primarily focus on battle belt setup, with mine as a point of reference.
This article contains affiliate links. Using these links gives us a small commission but costs you nothing. Please consider using our Amazon link to support this blog.
The battle belt really comes into its own when one has large acreage, livestock, etc., and/or may find himself in an armed confrontation against multiple adversaries. I generally dislike the term "battle belt" - it just doesn't seem like the wisest term - but that seems to be what has taken the popular imagination, so I'm going with it. This article will go into detail about my battle belt setup. More importantly I intend to give some advice and recommendations around setting up your own civilian battle belt.
Military Vs. Civilian Battle Belt
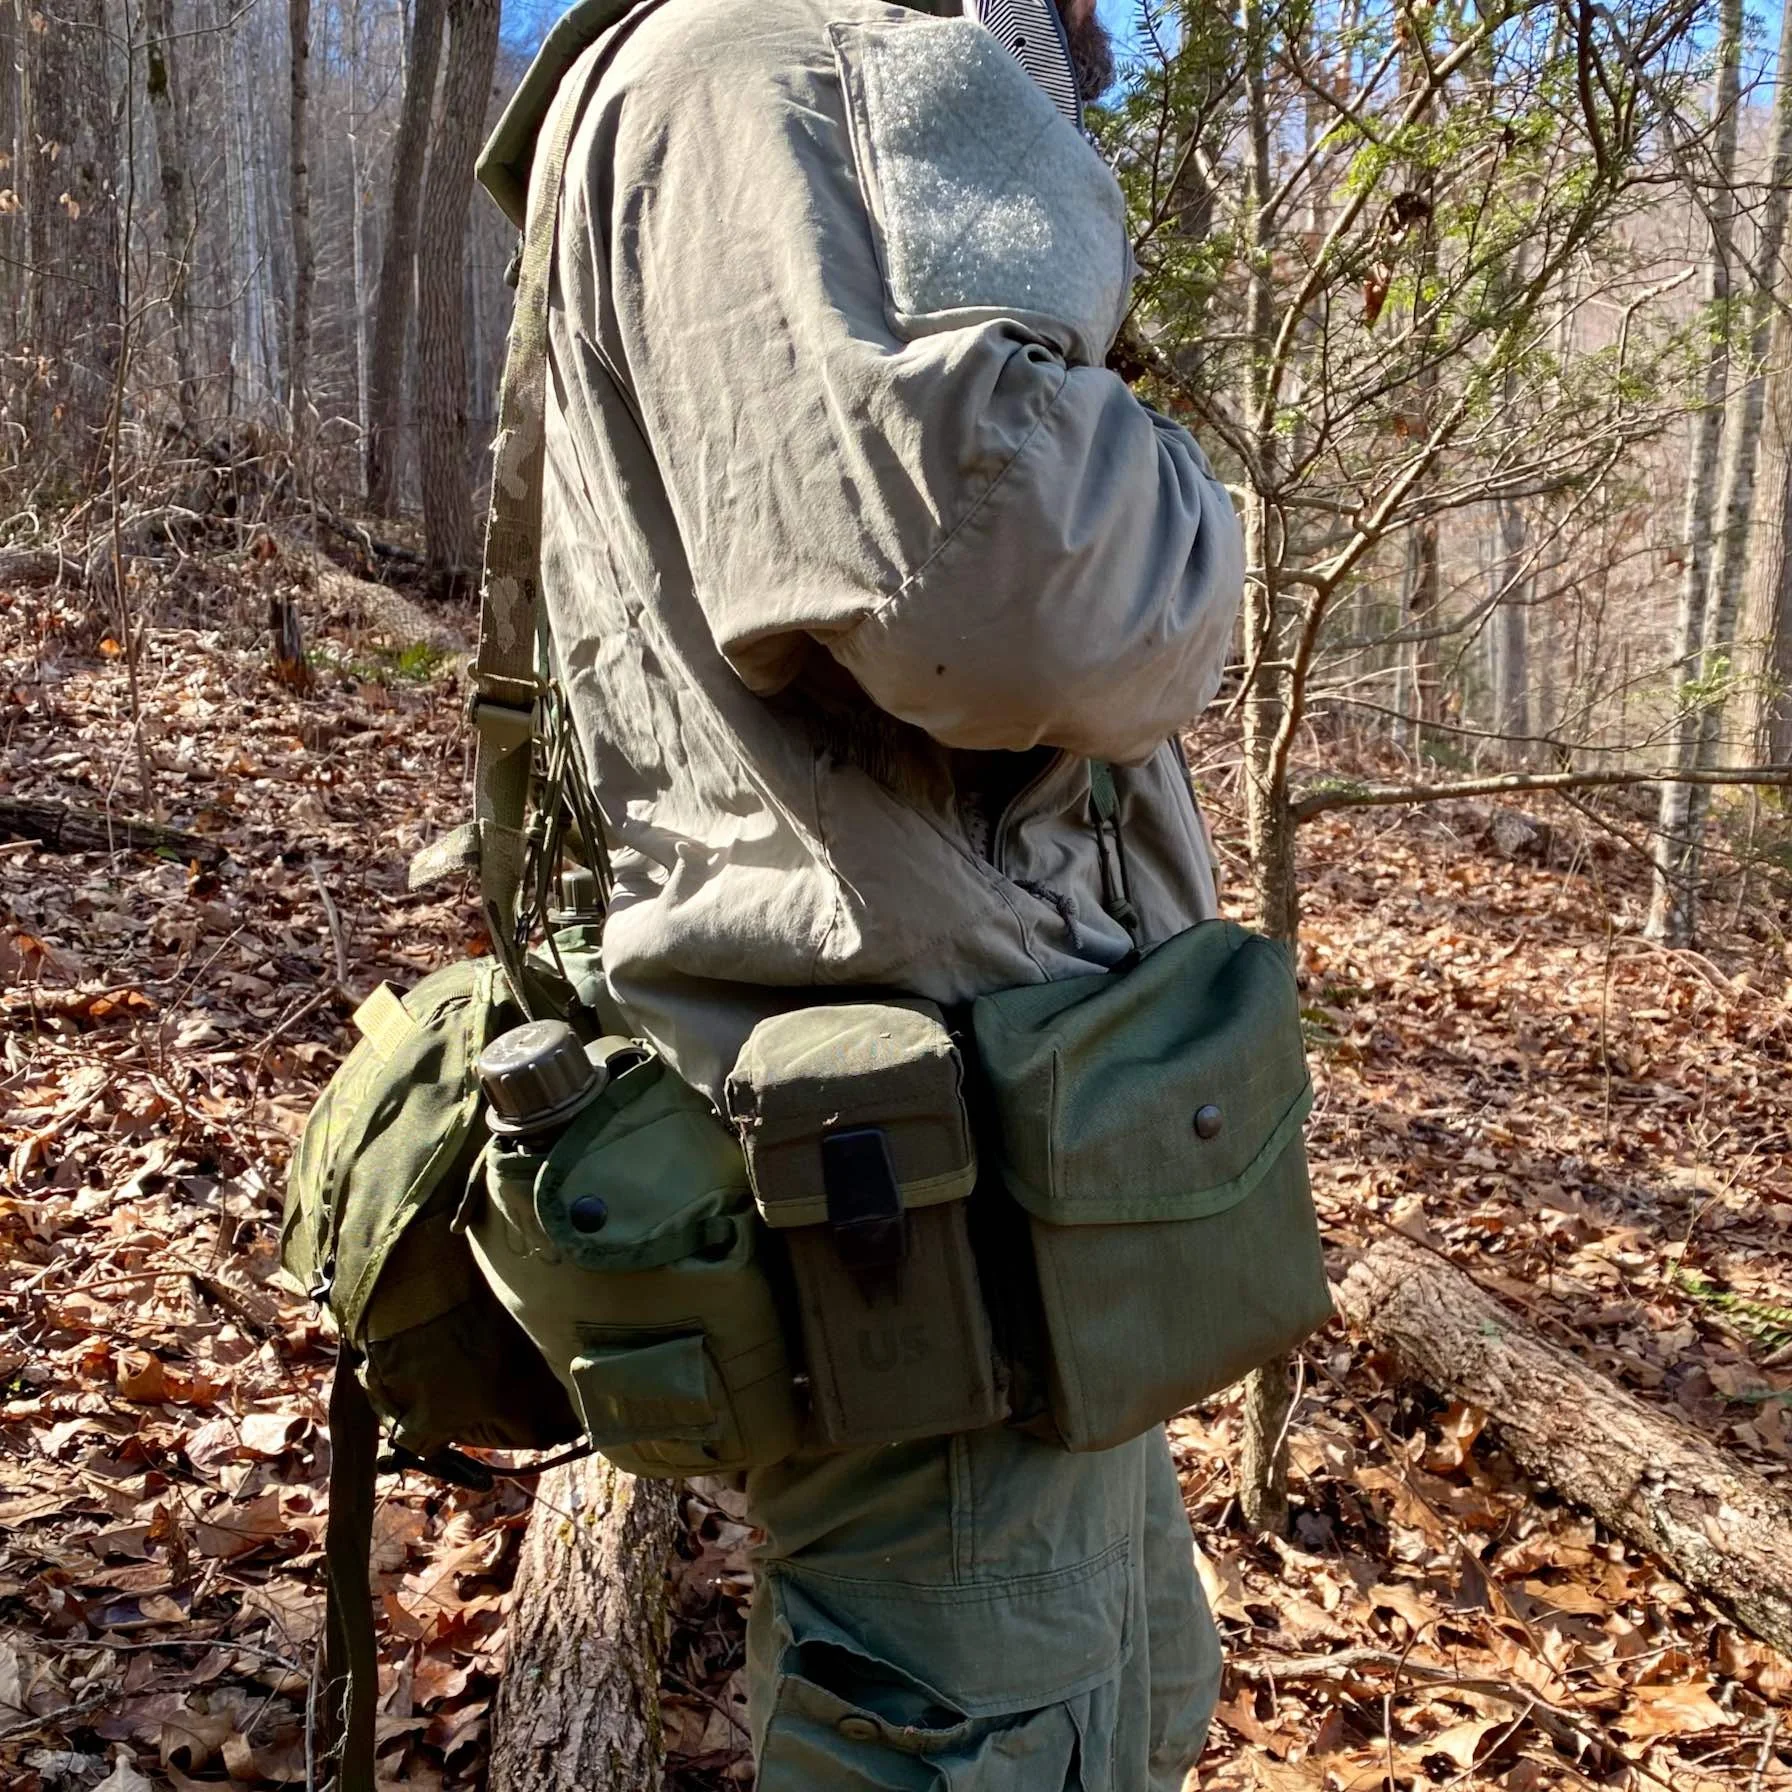
I started out using ALICE gear in the military. I wrote about this in detail when I described (and recreated) my military recce rig. This is a belt-based system with suspenders, but it doesn't meet the definition of a battle belt. It didn't carry a pistol, and was meant for patrolling for days and combat in longer range, outdoor environs. It was never intended for CQB and the like.
After that, most of my military time was spent in a vest. I still wore a belt to support a drop-leg holster and a breacher pouch, but that's about all. Again, this wasn't quite a battle belt. It didn't function as a "sub-load," a light, belt-based fighting load to be retained in the event the vest was cut away.
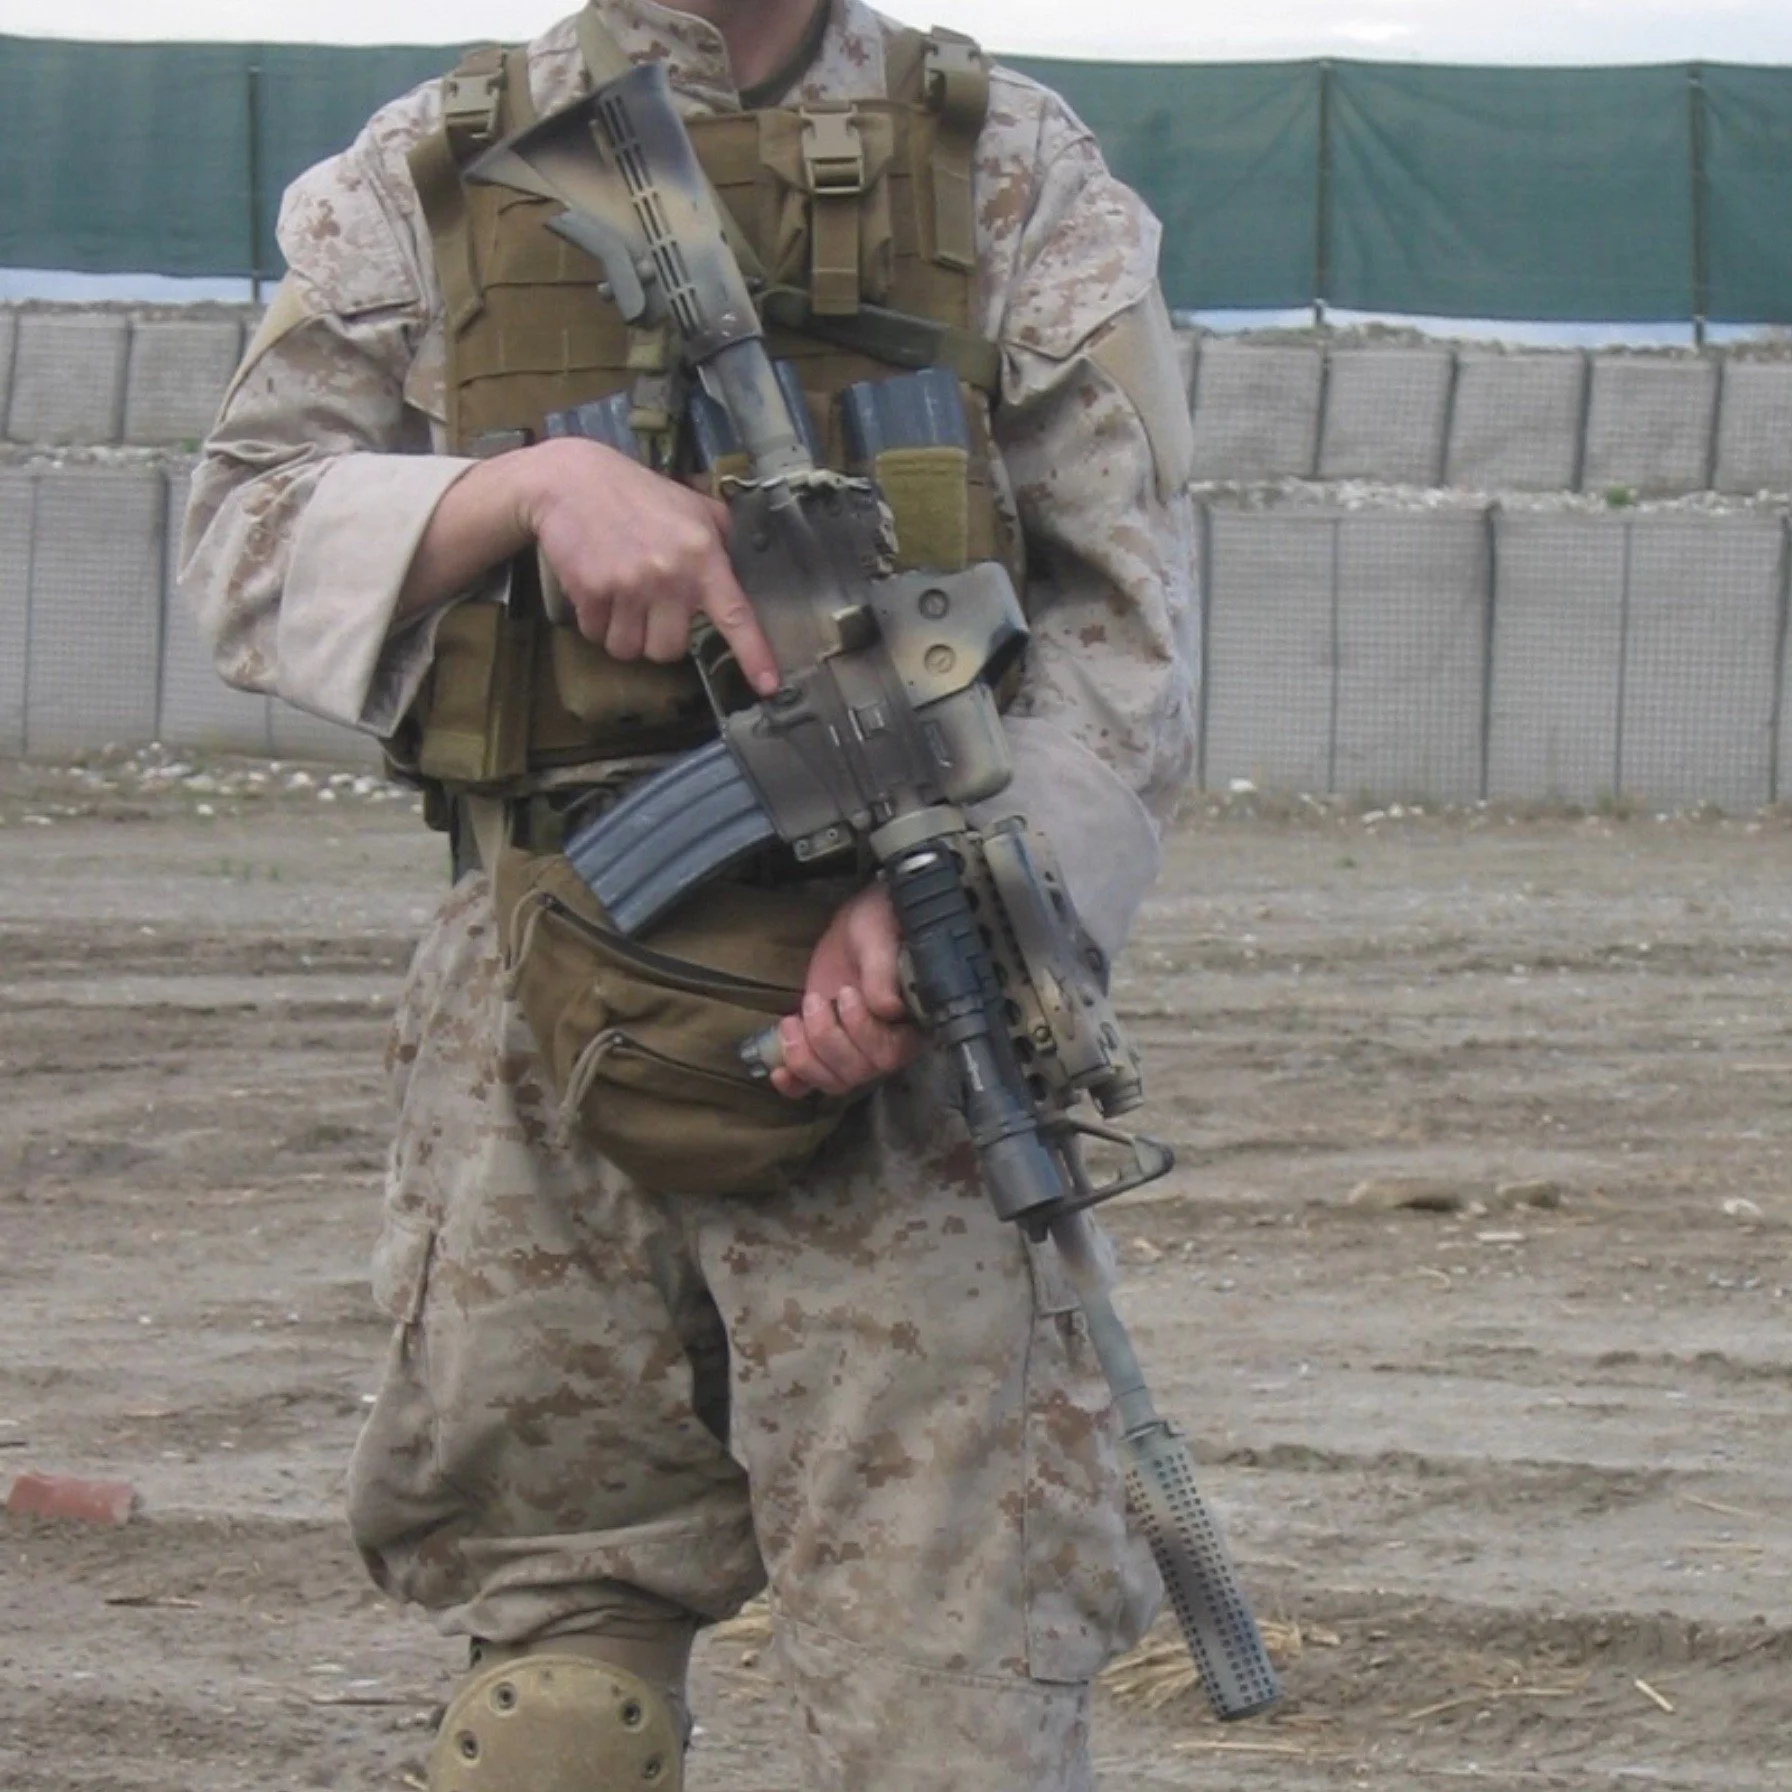
After I left the military I began contracting overseas. On some low-profile operations it was desirable to have a decent combat load, but not appear to be an "operator" through the vehicle's windows. The idea of the battle belt became very popular among some of my coworkers and me.
The battle belt I used back then (shown above) had a lot of stuff on it. In no particular order it had pouches for: a tourniquet, pistol with white-light, multi-tool, radio, smoke grenade, IR strobe, 2x M4 magazines, handheld light, and 3x pistol magazines. There was also a medical pouch, but it was a drop-leg pouch, attached via a Fastex buckle. I used some variation of a battle belt for about eighteen months in Central Asia.
The Civilian Battle Belt
Enter the civilian battle belt. The battle belt concept has a ton of utility for civilian home defenders. Should something "go wrong" in the night, it contains all the stuff you need to defend your home. I decided to adapt my (para)military battle belt to become a civilian battle belt. There's a lot of stuff on the military belt that is superfluous in a civilian context. The military setup also misses a thing or two that are really nice to have in civilian situations.
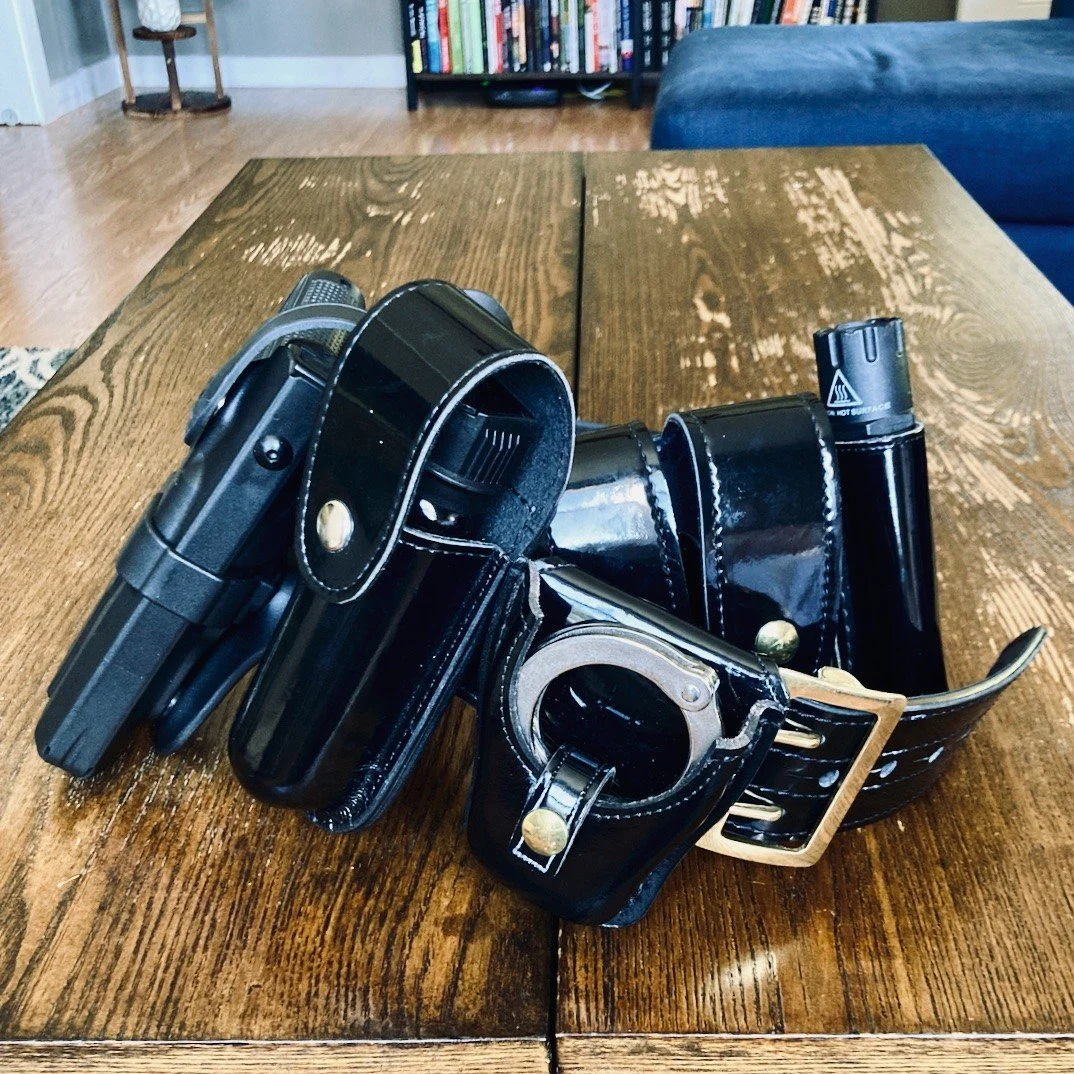
The law enforcement duty belt comes close, but also misses a few key things. Again, cops carry radios (not applicable to civilian defenders) and they carry handcuffs. Handcuffs are also not applicable, and probably not a great idea; if memory serves there's some law against detaining someone against their will. The retention holster is also mandatory for law enforcement, while just a really good idea for civilian battle belts.
Let's look at some desirable elements of a civilian battle belt. First I'll discuss the belt itself, then get into the items carried on the belt. I attempt to address the items on the belt by order of importance rather than the order in which they appear on the belt. If you are planning a battle belt setup from scratch, this is roughly the order in which I'd recommend purchasing items.
The Belt
The belt doesn't have to be super tactical, but it should support the gear you want it to carry. There are a number of belts at every price-point. This includes cheap, Amazon stuff to high-end, premium products from the likes of High Speed Gear, Crye Precision, and Viking Tactics. A high-quality but affordable option at the time of this writing is Tactical Tailor's Fight Light panels. The padded MOLLE panels fit over an existing belt. Get them quickly, however - they are on clearance and probably discontinued!
Personally, I don't like the two-piece, inner/outer belt setups, where the two Velcro together. These are outstanding for the range or all-day duty wear. When you have to whip a belt on in the middle of the night, however, you probably won't have time to first put on the inner belt. I recommend a standalone belt that is fairly rigid. When you get heavy items on it, like a pistol and loaded magazines, you don't want to get twisted as you attempt to put it on. The belt should also have two or three rows of MOLLE webbing. I like three, as it makes the belt thicker and more comfortable, but comfort probably isn't a huge concern in this context.
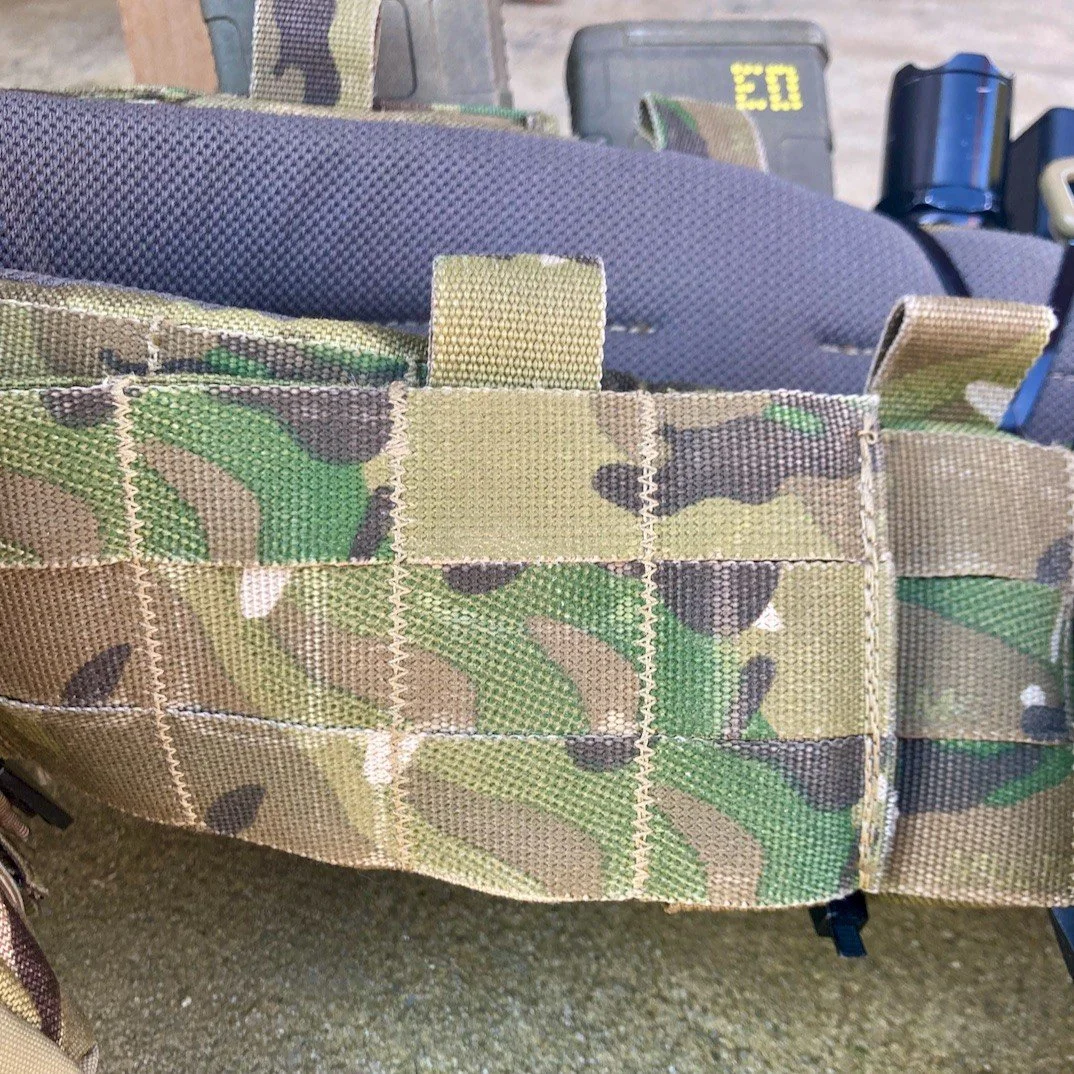
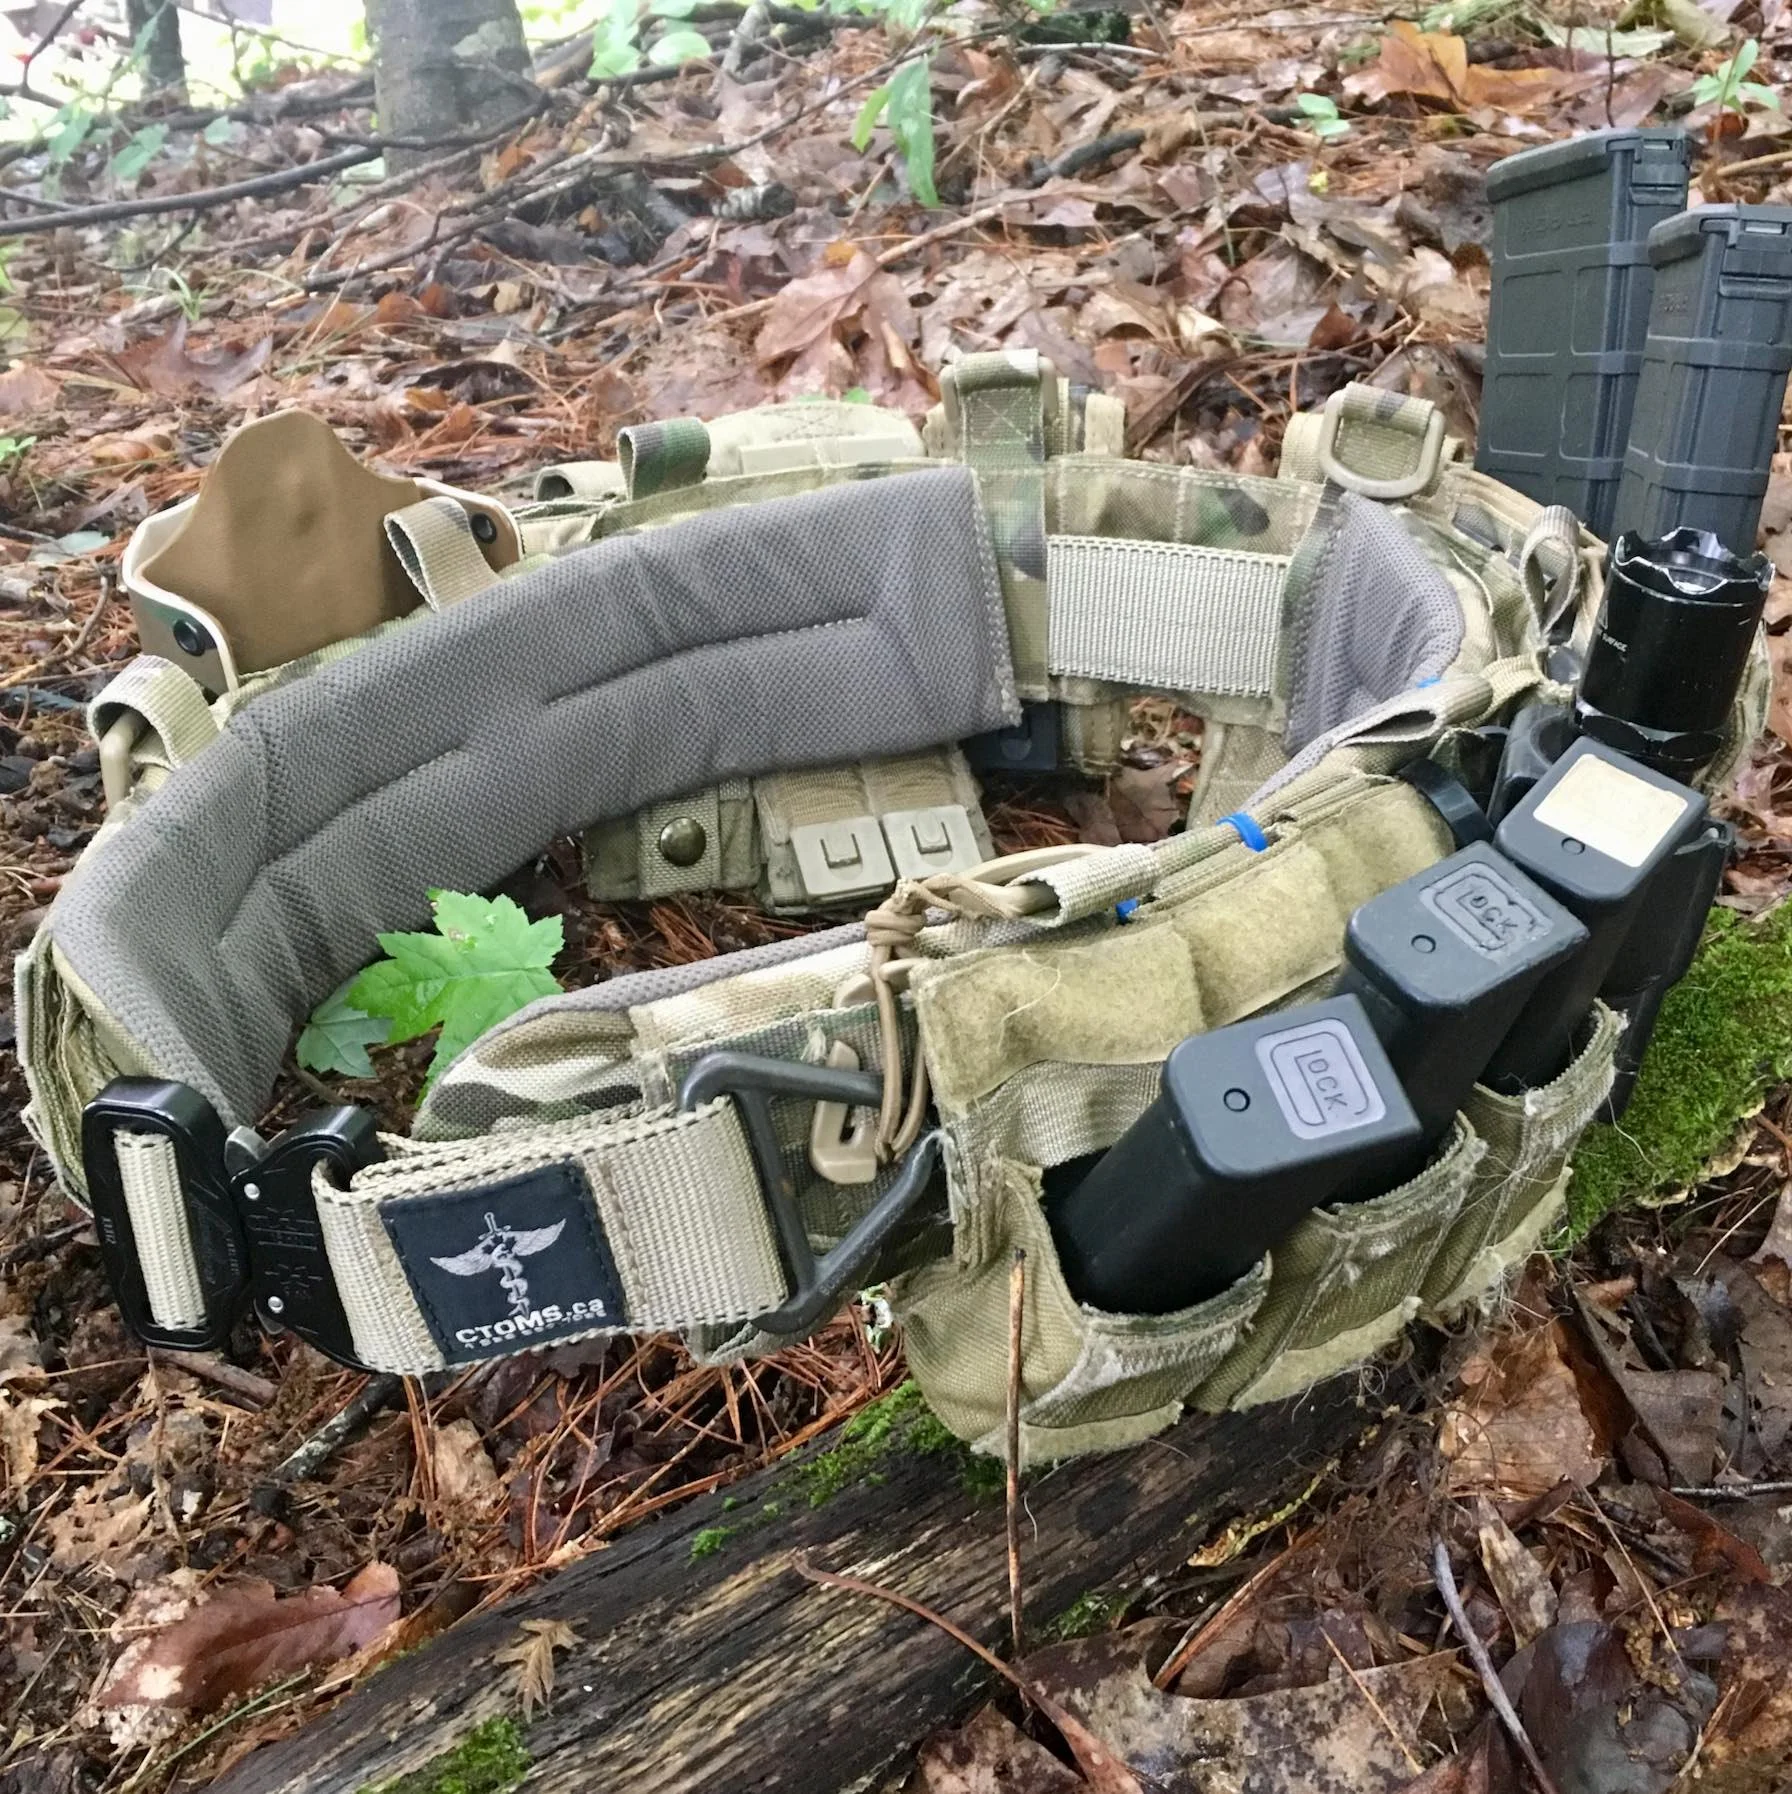
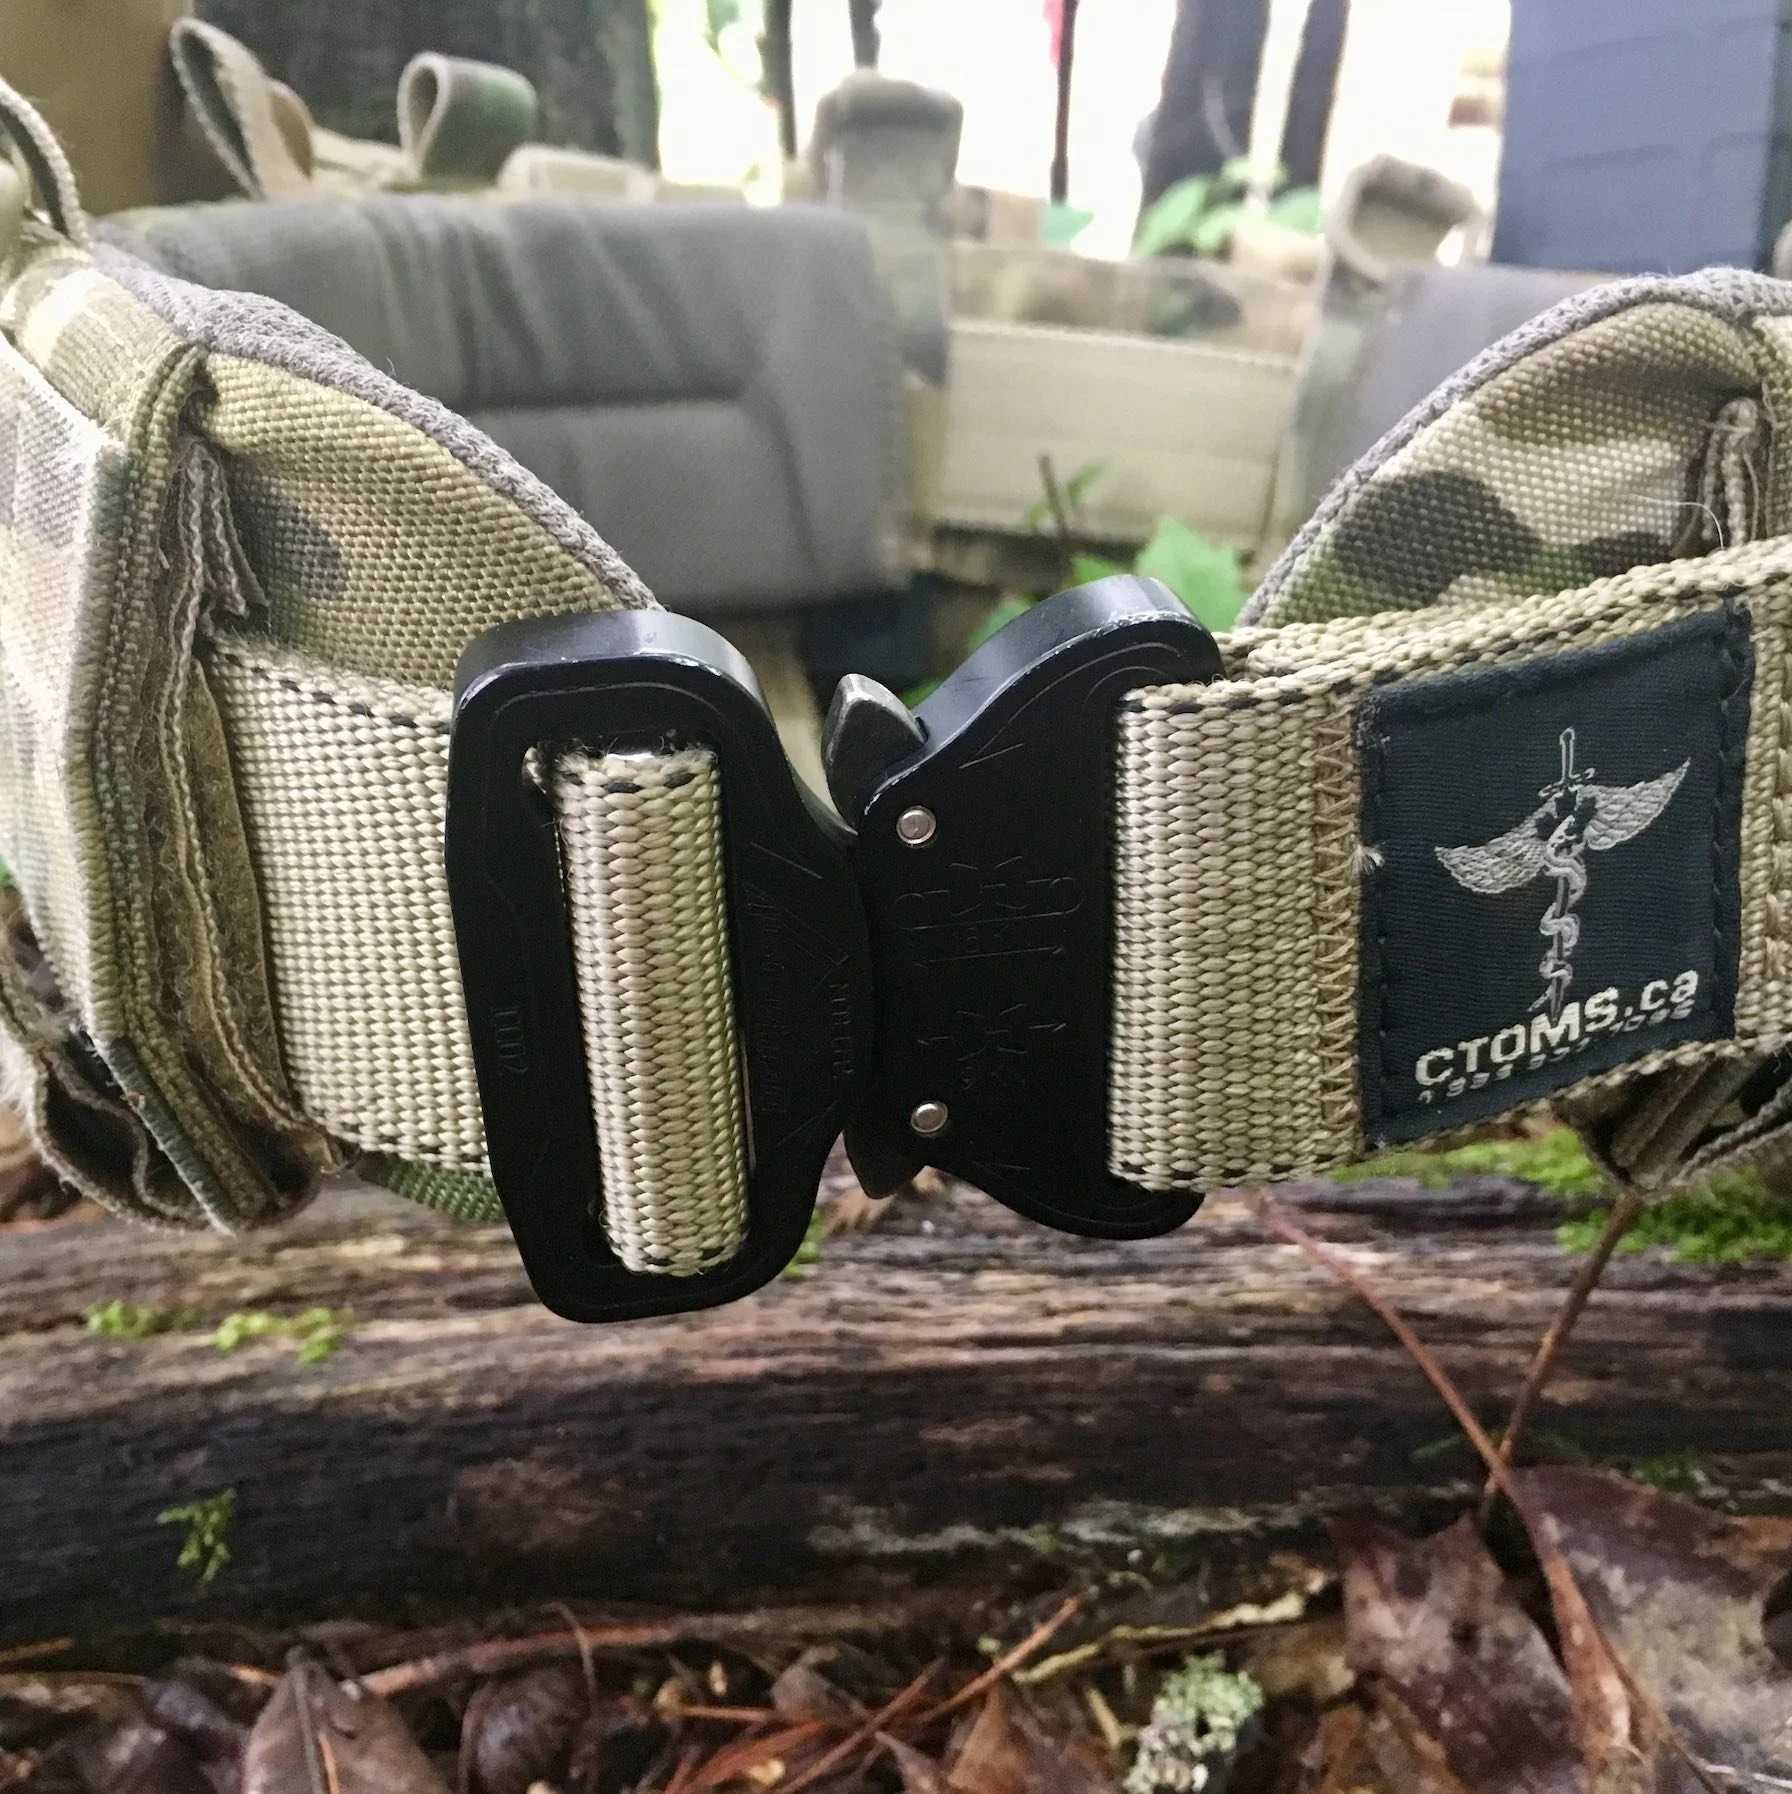
My belt is made my CTOMS, a Canadian military medical-supply company. This exact one isn't made any longer, but it is a variation of the Gen III X-Belt. You definitely do not need a belt that is this expensive! The first thing I did was break the belt completely down from its former, overseas-use configuration. I let it out a little (OK, a lot - ouch) and began to set it up as a civilian battle belt. Be sure to size the belt to fit first.
Highly Recommended: Holster
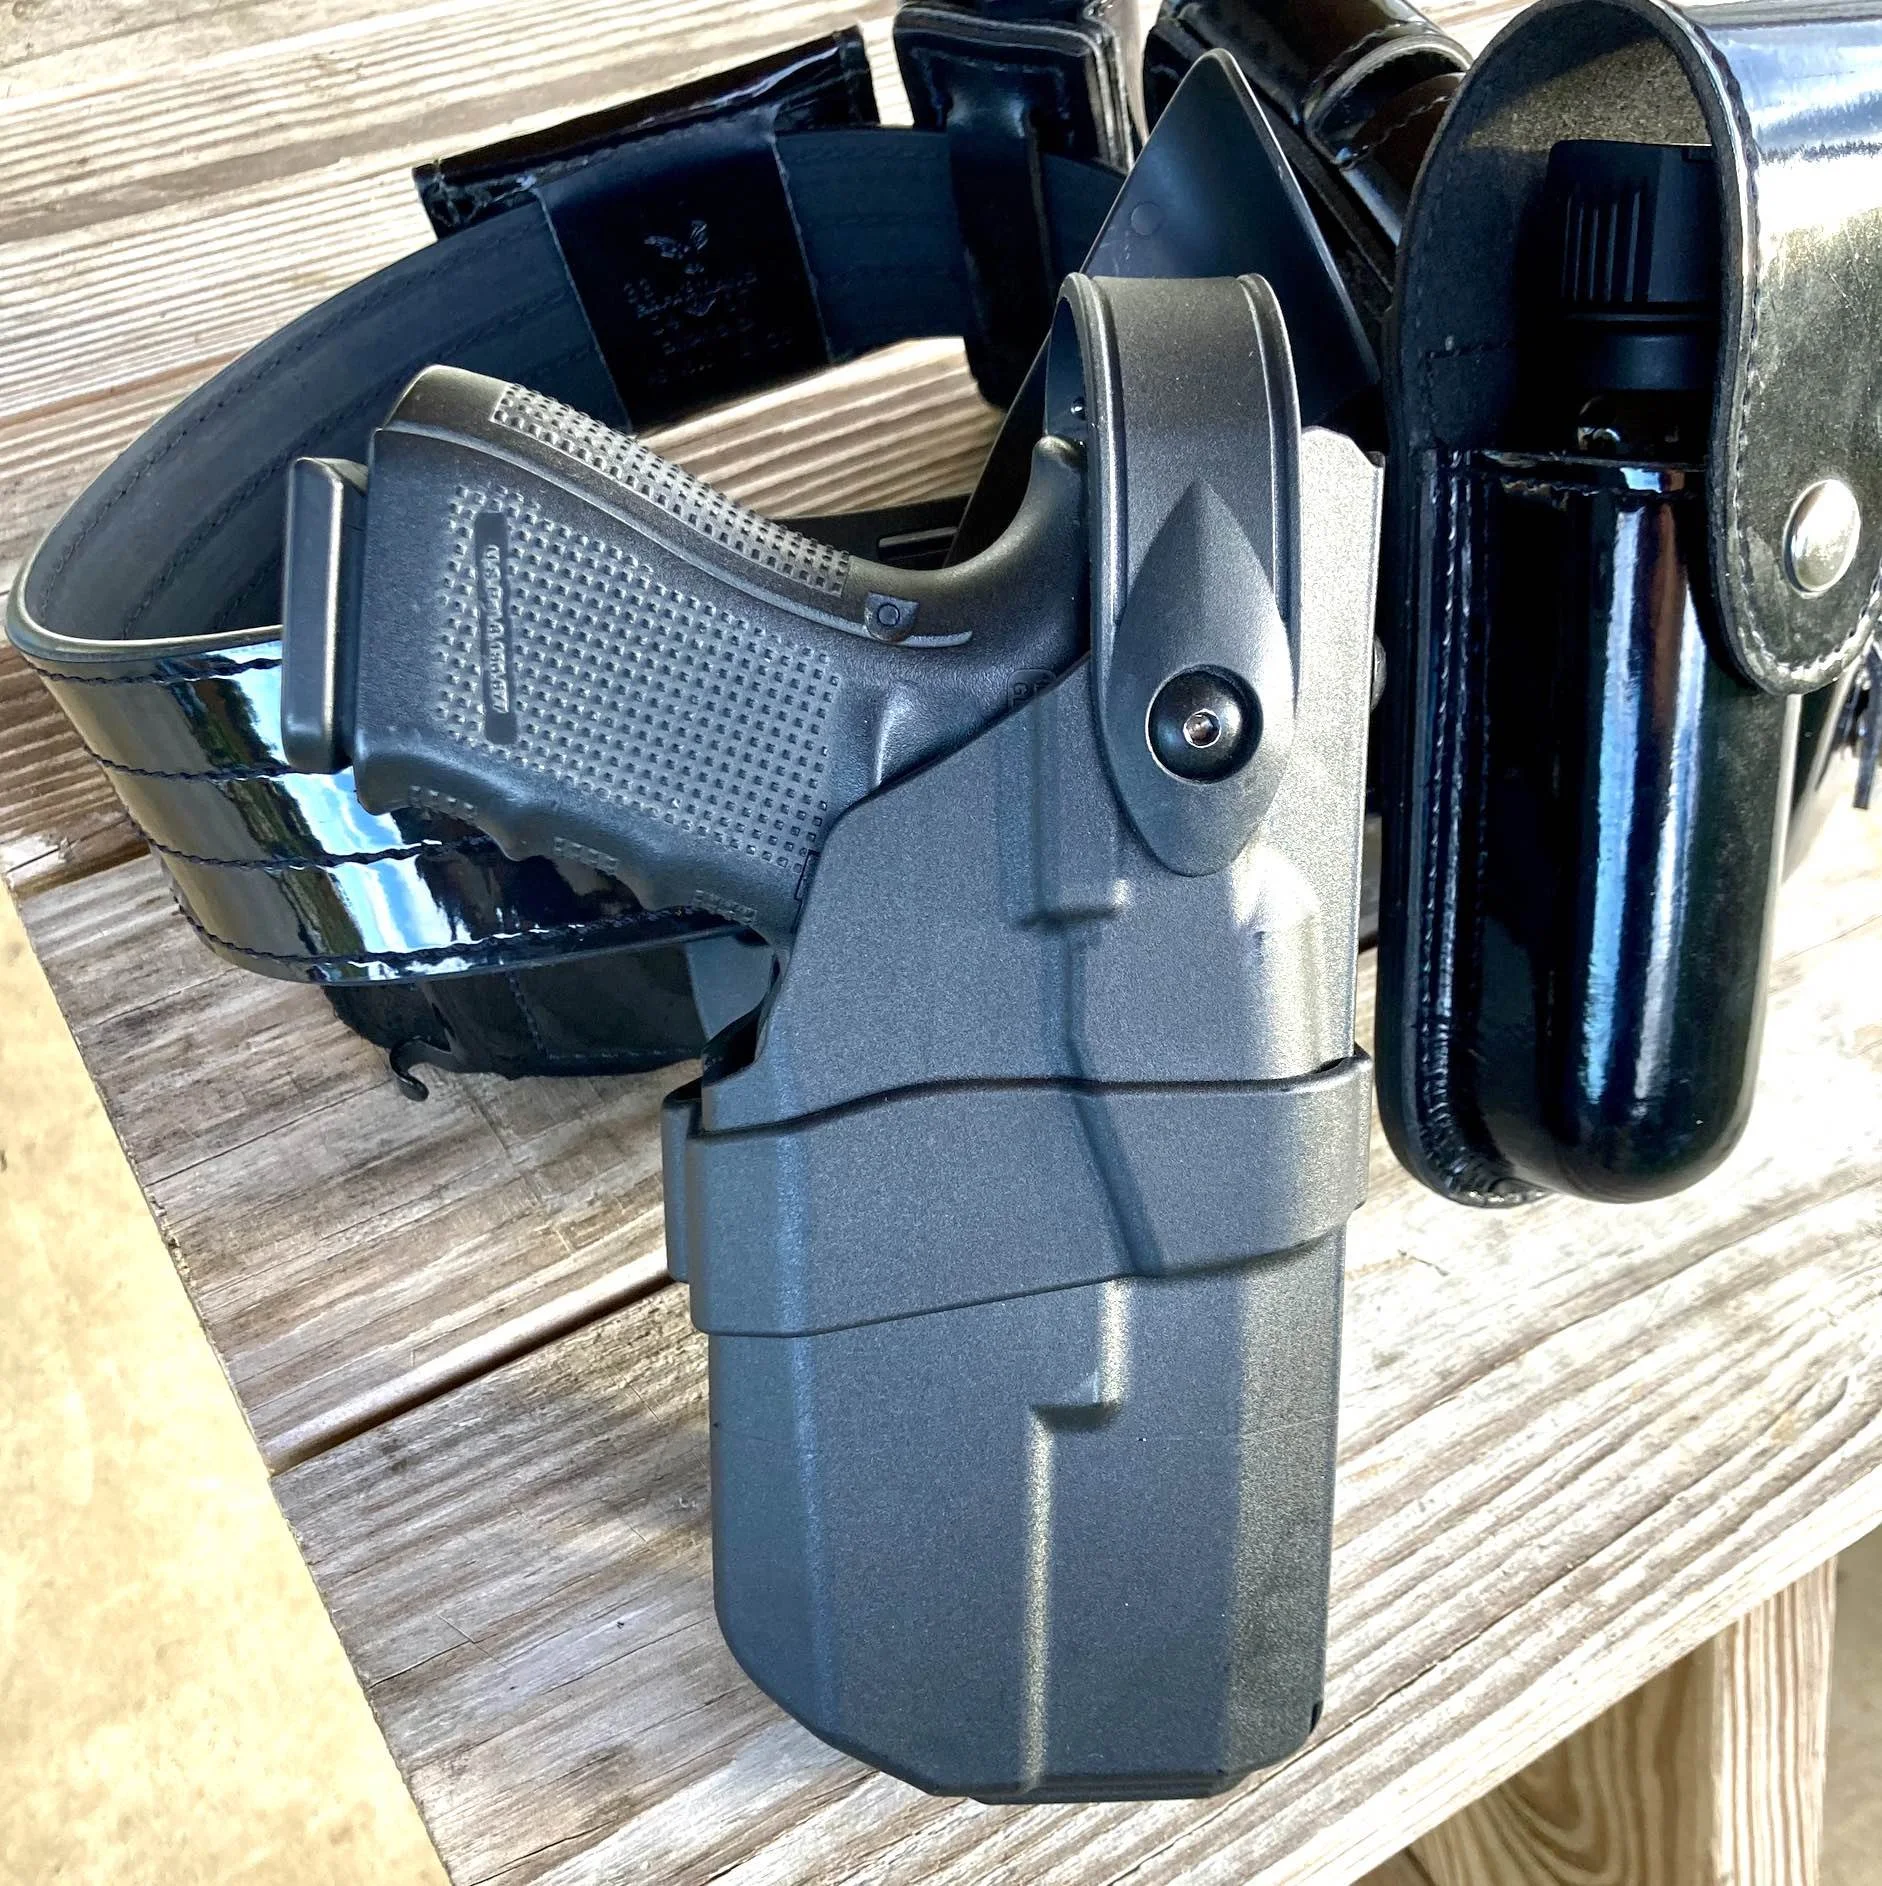
Obviously the civilian battle belt should hold your handgun with a high-quality holster. Since there is a good chance any confrontation could go hands-on, a retention holster, like those made by Safariland is a really good idea. A Level II retention holster will go a a long way to ensuring your gun doesn't get grabbed in a physical confrontation and used against you. When assembling your battle belt setup, the holster should be installed first, and everything else should be installed around it.
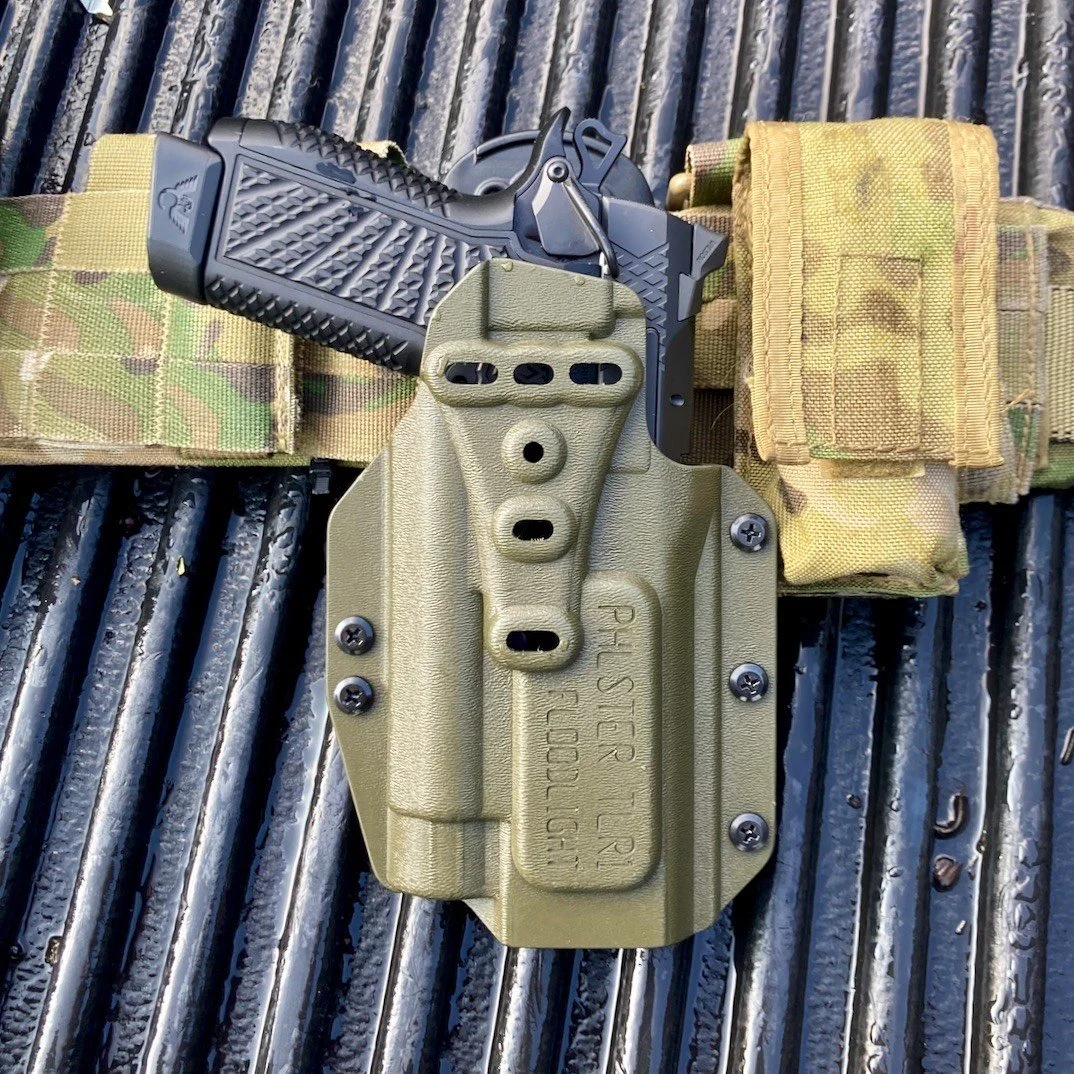
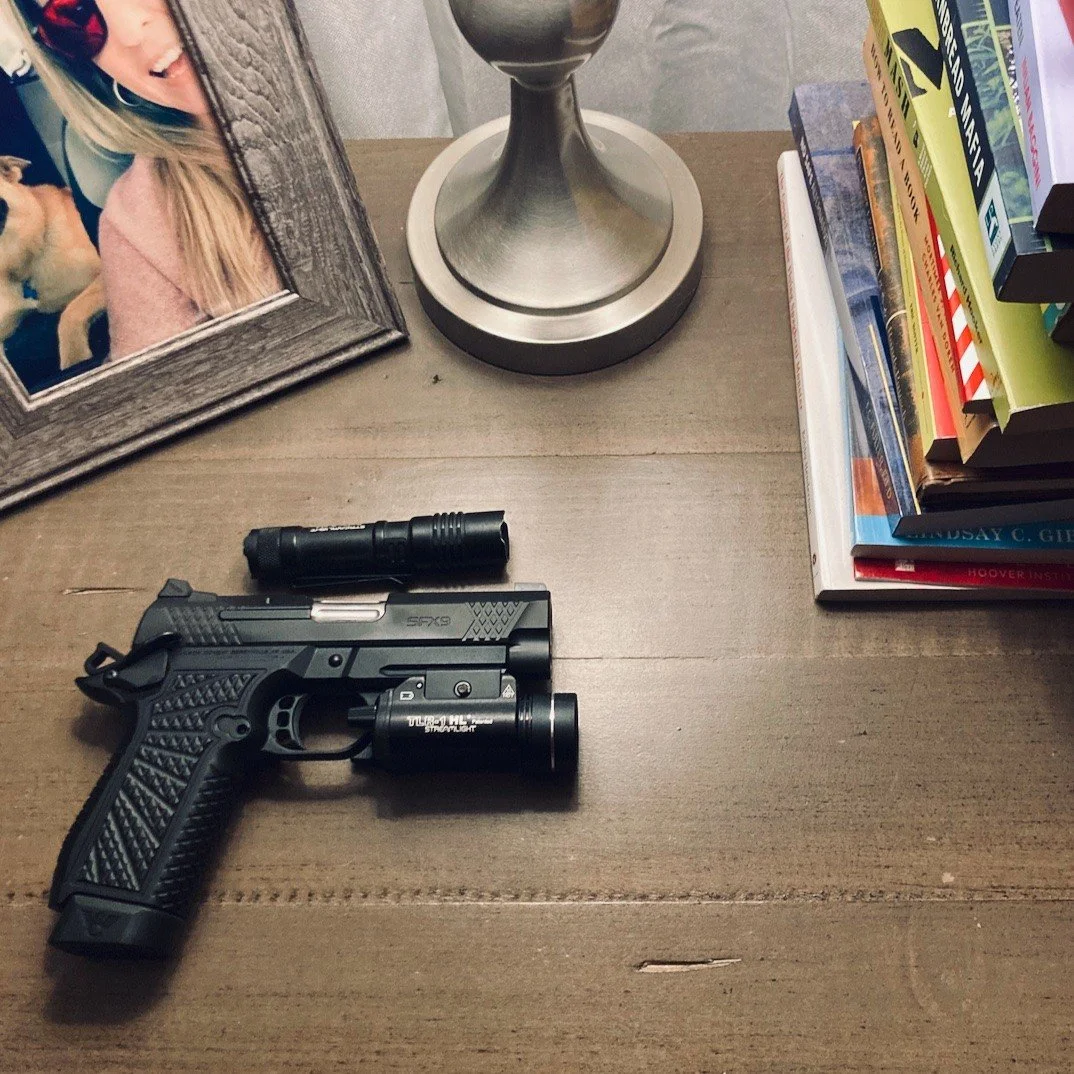
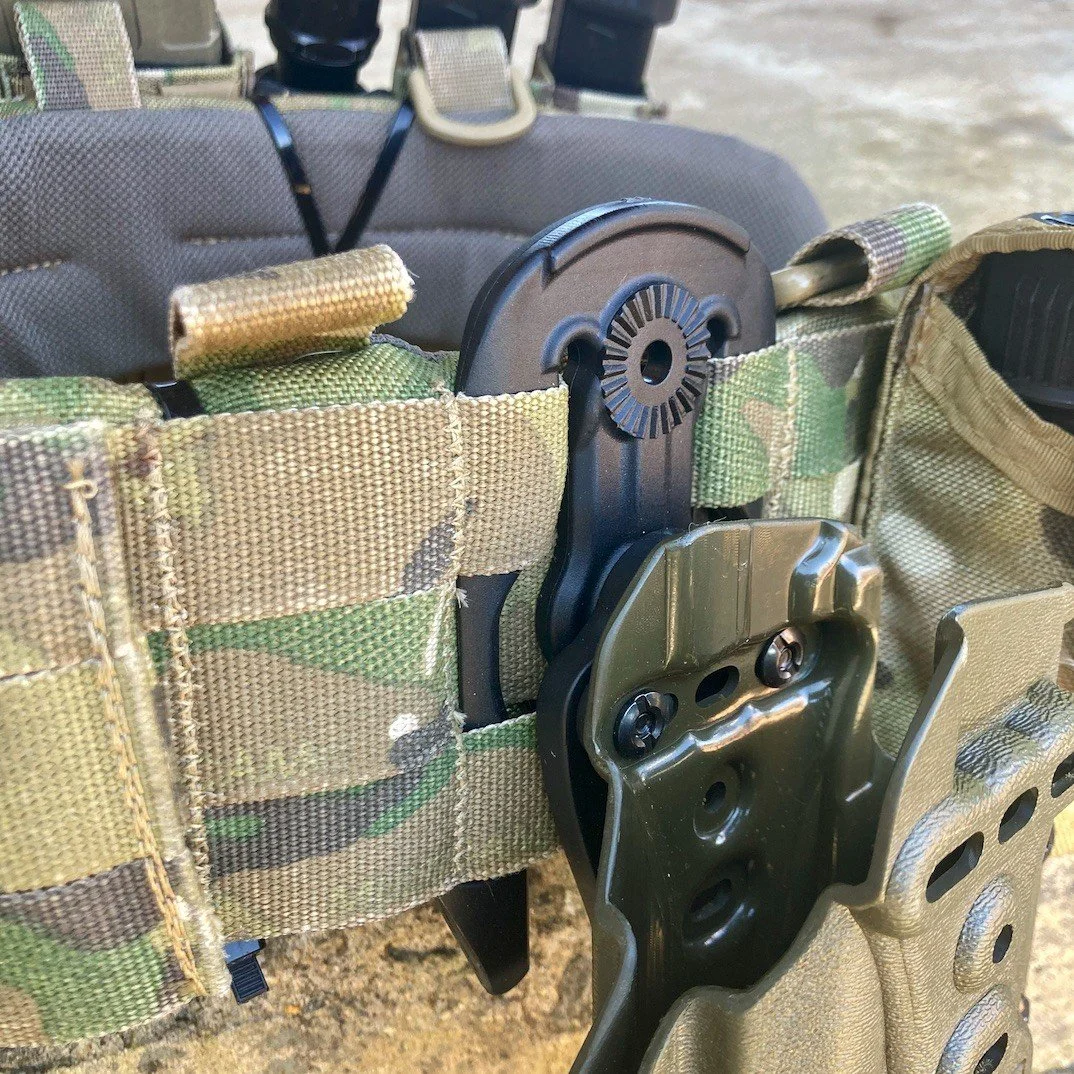
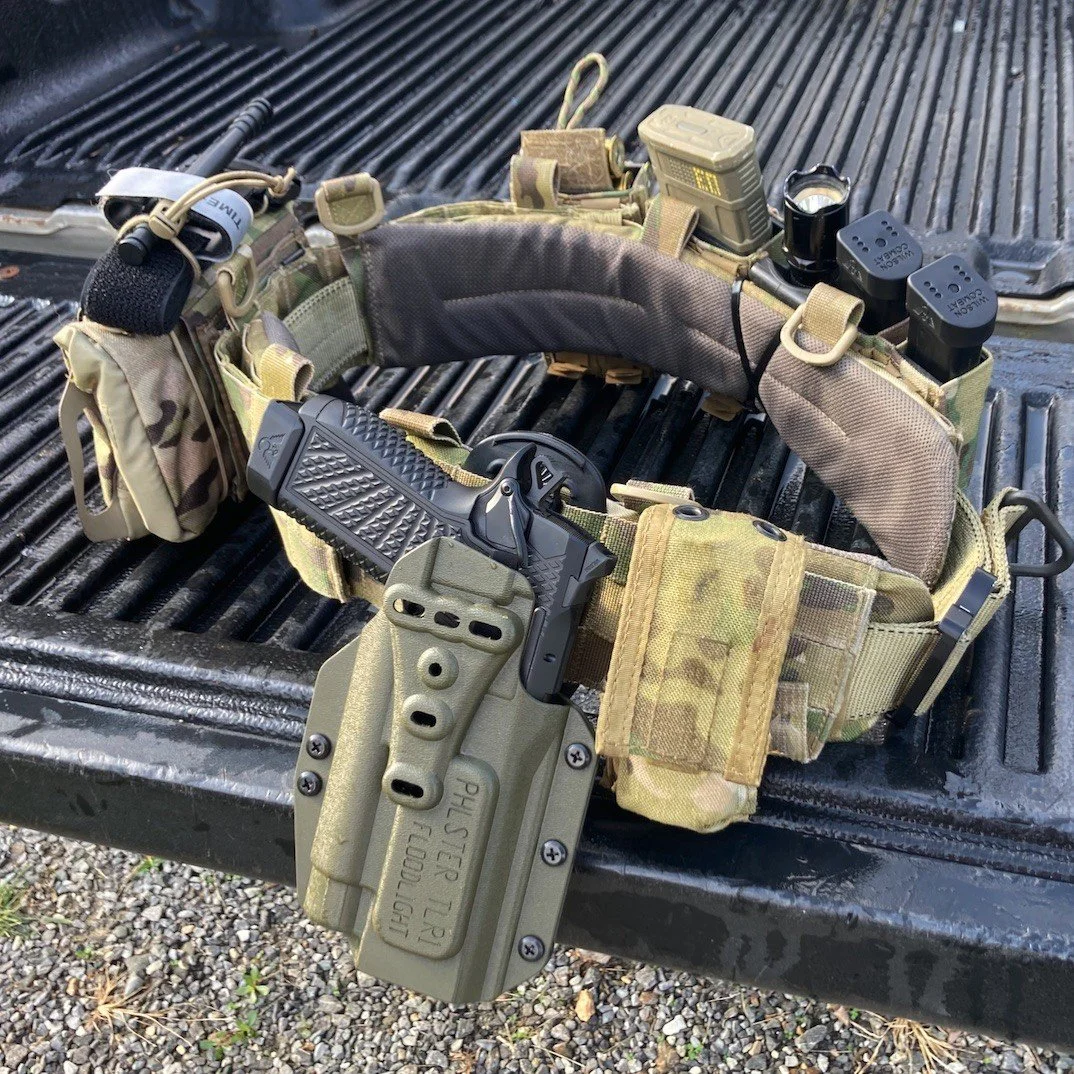
Unfortunately, I don't heed my own advice here. I review quite a few guns, so I have a PHLster Floodlight OWB. This allows me to work from the holster with any pistol that will fit a Streamlight TLR-1. The Floodlight is one of the very few universal holsters that's worth a crap. It retains the gun by clamping onto the light and does an excellent job. Again, unfortunately, it's not a retention holster, so I have to be mindful of that. The holster is attached to the belt via a Safariland Tactical MOLLE Adapter (TMA). This includes a mounting plate to interface with Safariland-compatible holsters, and the MOLLE "fork" that attaches to the webbing.
The pistol (currently) is a 4" Wilson Combat SFX-9 (review coming soon) with a Streamlight TLR-1HL. While I don't carry a weapon-mounted light in my EDC, a WML is extremely desirable for home defense. If you are setting up a civilian battle belt, I highly recommend setting it up around a gun with a WML.
Highly Recommended: Pepper Spray
Some may scoff at the idea of pepper spray on a "battle" belt. Pepper spray gives you options, and options are a good thing, especially when deadly force is on the table. I want to do everything in my power to avoid the legal, moral, and financial ramifications of shooting someone. I've written about these things before, but I'll quickly recap. I don't want to open myself up to a wrongful death suit, a murder charge, nor do I want the emotional turmoil of having taken a life. Even in a WROL situation, you may want the ability to put stop aggressive behavior without having to kill someone.
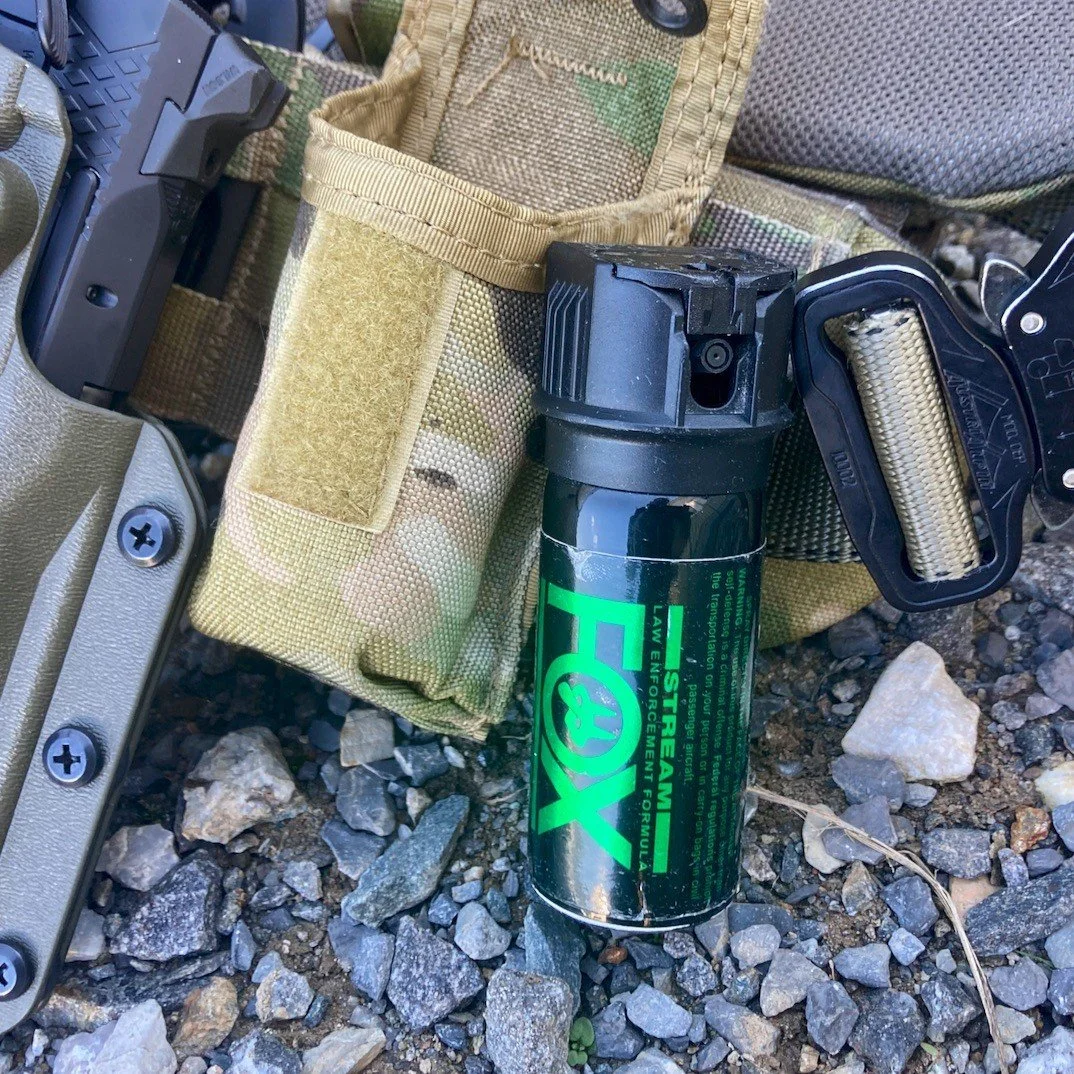
I've also written about pepper spray, and I'm a big fan. I've been sprayed and can attest to its effectiveness. I stand by the recommendations for choosing pepper spray that I laid out in this article. Get something with a MCC (Maximum Capcaisinoid Content, the most accurate measure of a pepper spray's potency) of 1.3 or higher. Until recently I carried Fox Labs' Mean Green for my EDC and swapped out cans every two years. I now carry Fox One Point Four (indicating a MCC of 1.4) because it is the same spray carried by my local law enforcement agency. One my old cans of Mean Green took up battle belt duty. It is carried in an old smoke grenade pouch.
Highly Recommended: Handheld Light
It may be necessary to illuminate an area or person without putting a muzzle on it/them. I absolutely recommend a white light on your pistol and long gun, but a handheld is every bit as important. My handheld is an old, repurposed Surefire 6P Defender. I upgraded this flashlight a few years ago with a Malkoff Conversion LED. A full review of this light conversion is available here. These drop-in units take old lights and turn them into modern, powerhouse handhelds.
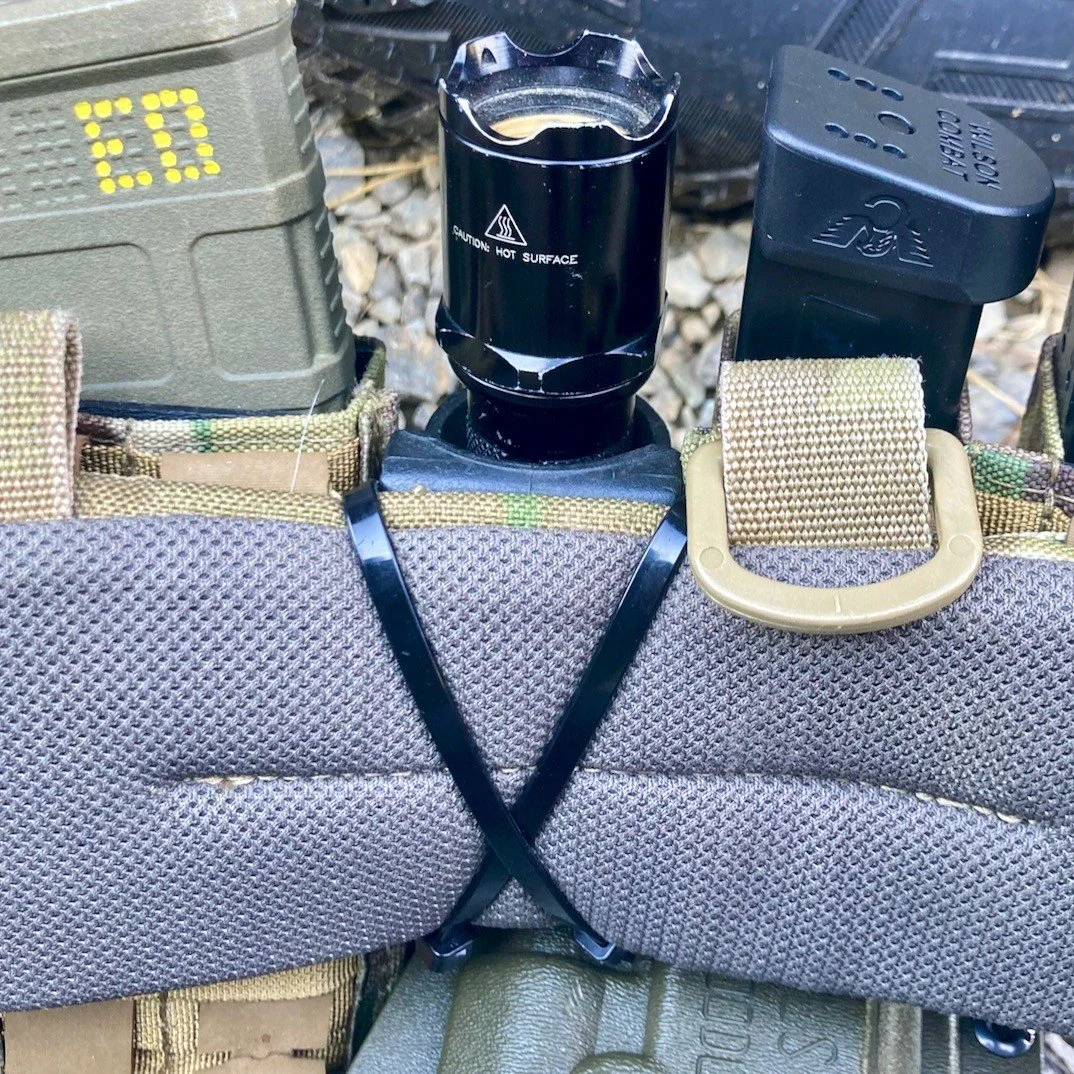
My light is carried in one of the Surefire V70 holster. Since this holster doesn't have a MOLLE attachment, I had to get creative with the zip ties. This holster is very cool; it allows the light to be carried handle-down for more security, or head down for easier access. Obviously you will have to choose a light/holster combo that works for you. Alternatively, a light with a pocket clip can be clipped directly to the belt. The light is carried on my support-hand side, behind the pistol mags.
Highly Recommended: Medical Gear
If a situation is serious enough that you're wearing a belt like this, then bullets might be flying. It is a very, very good idea to have some medical kit in your person. It should be accessible with either hand and contain TCCC-approved medical equipment.
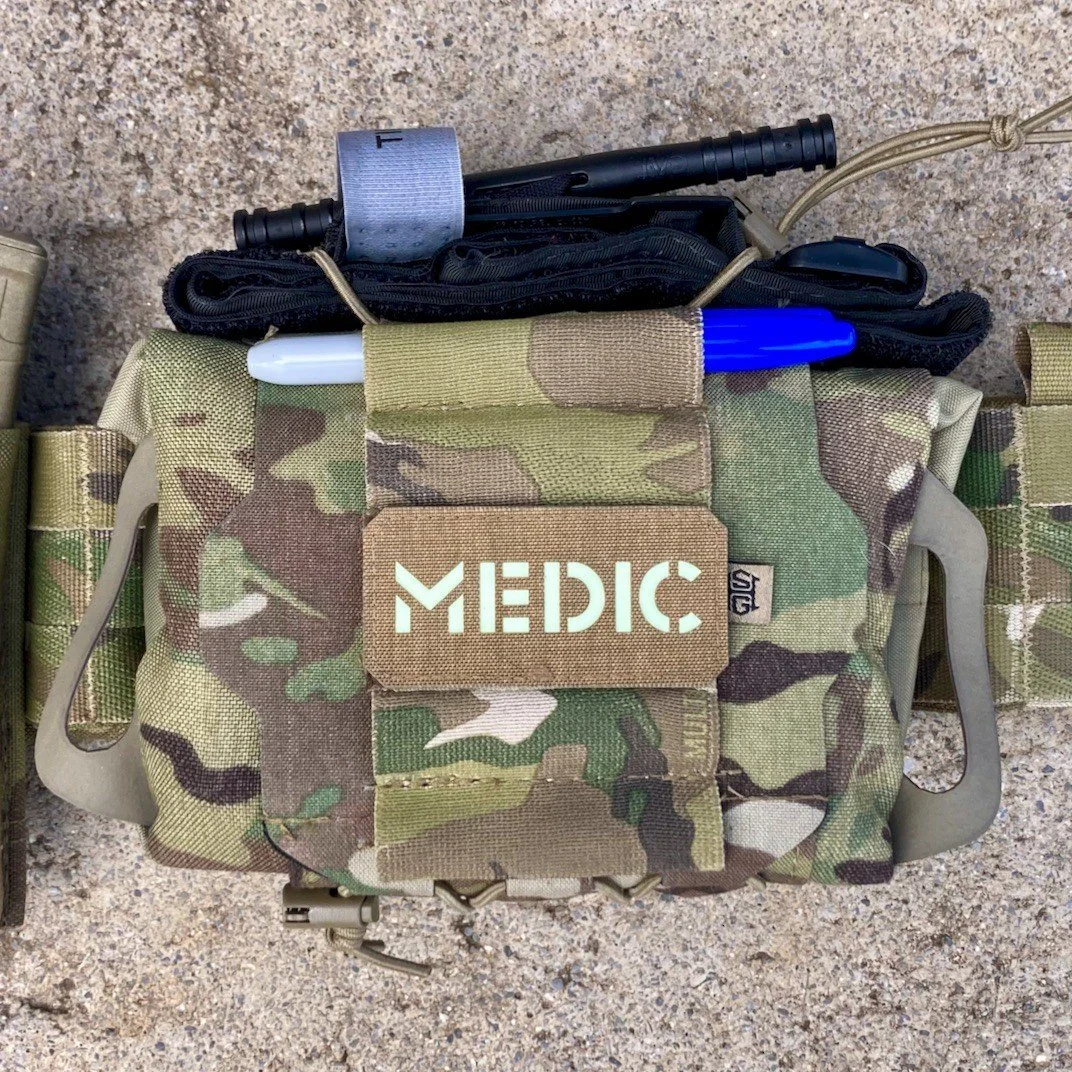
I recently reviewed the HSGI ReFlex IFAK, and this is the medical kit that I carry. Since I don't sit in a cruiser with this belt on (and need the back to be flat), it is in the small of my back. It allows either-hand access to both the tourniquet and the medical roll. If you don't like the HSGI product, the Blue Force Gear MTKN+ is reportedly another good option (I am working on getting one for review).
Recommended: Spare Pistol Mags
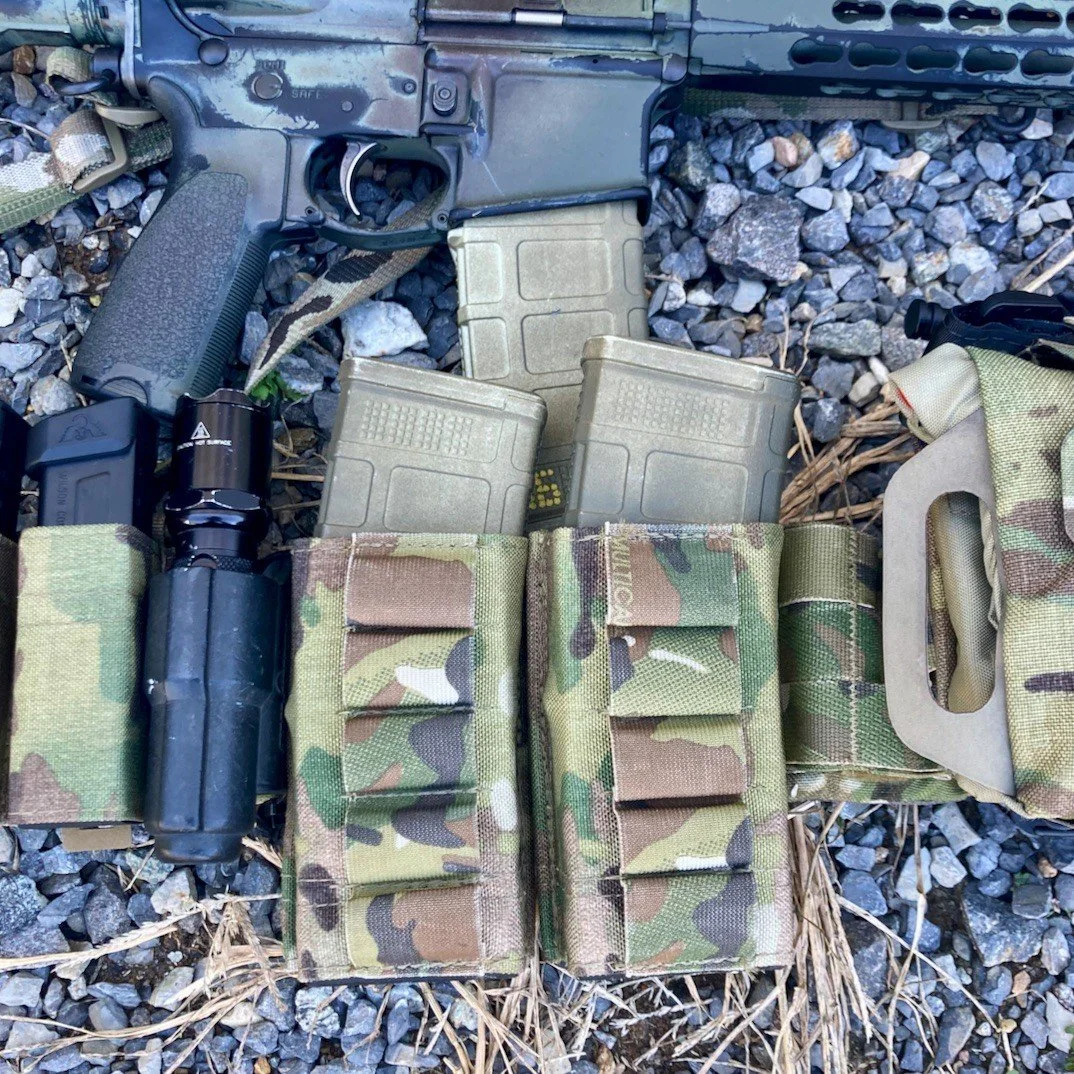
If you're going to carry a pistol, it doesn't hurt to have a couple of spare magazines ready to go for it. I don't think this is strictly necessary, especially when carrying a gun with decent capacity, but it surely doesn't hurt anything. I carry two magazines on my civilian battle belt. This is a reduction by one magazine from my previous combat loadout, and more than adequate for civilian purposes. Since these are life-support equipment, they are at the front of the belt, left side, with nothing in front of them to interfere with them.
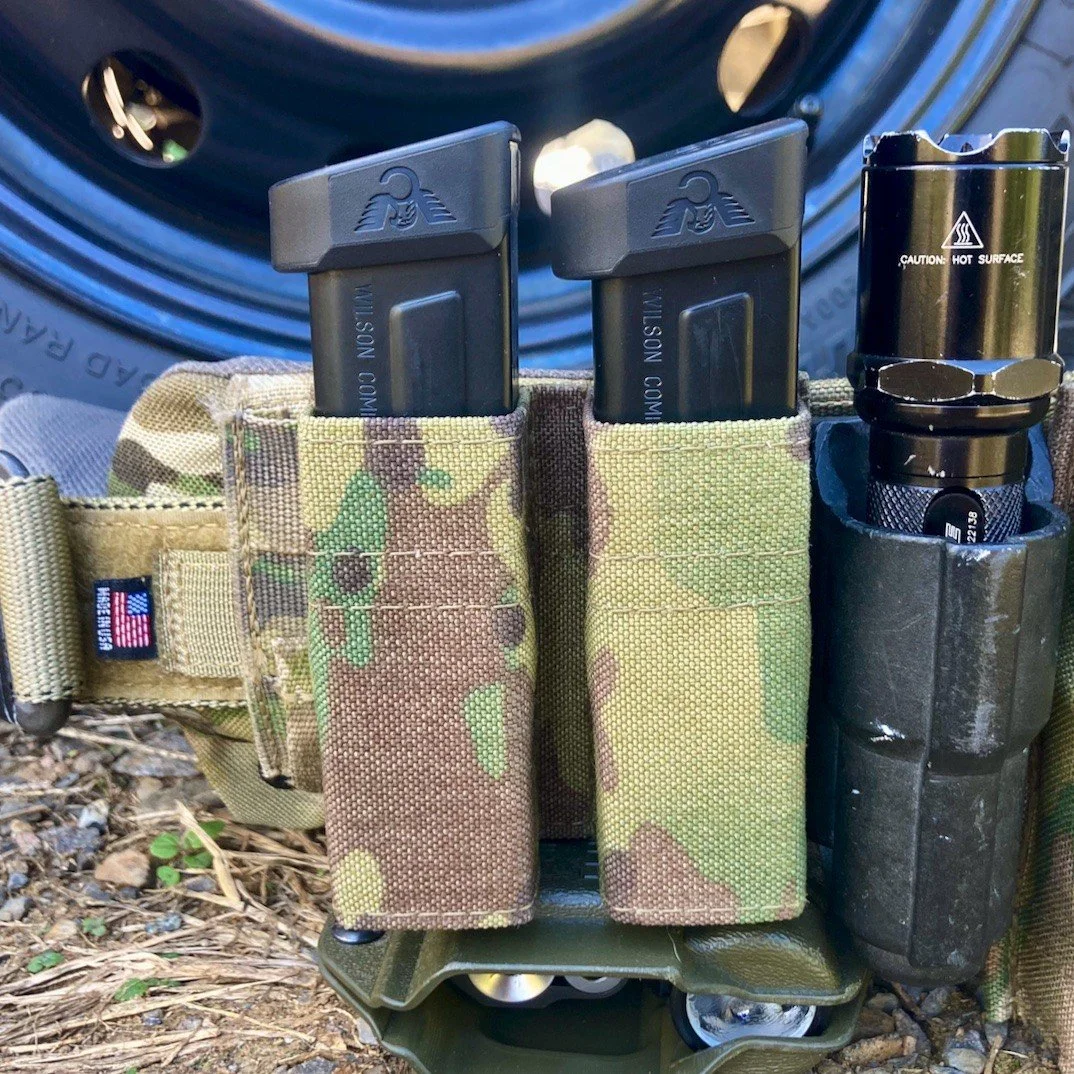
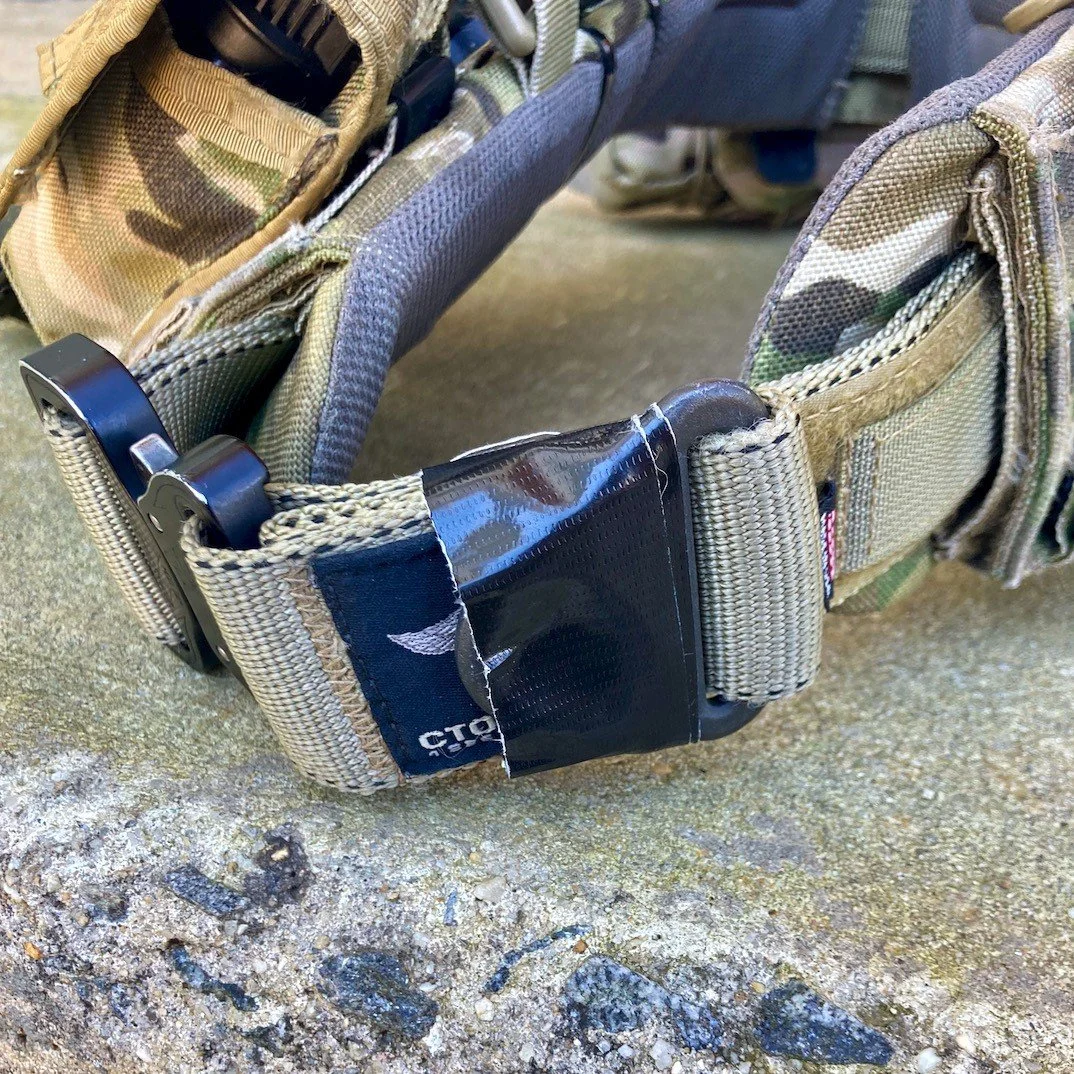
The pouch is the ESSTAC KYWI double pistol "gap" mag pouch. The KYWI pouches are affordable, robust, and do an outstanding job holding onto mags securely, while releasing them smoothly when needed. I would highly recommend ordering MALICE clips to attach these pouches with. I ordered the "WTF" straps and upon installing these pouches, I completely understand why they are called that.
Situation Dependent: Long Gun Ammo
If you intend to deploy a long gun (rifle, shotgun, or PCC) in defense of your home, it makes sense to have the ability to support it, as well. At the very least I would recommend a little bit of spare ammunition.
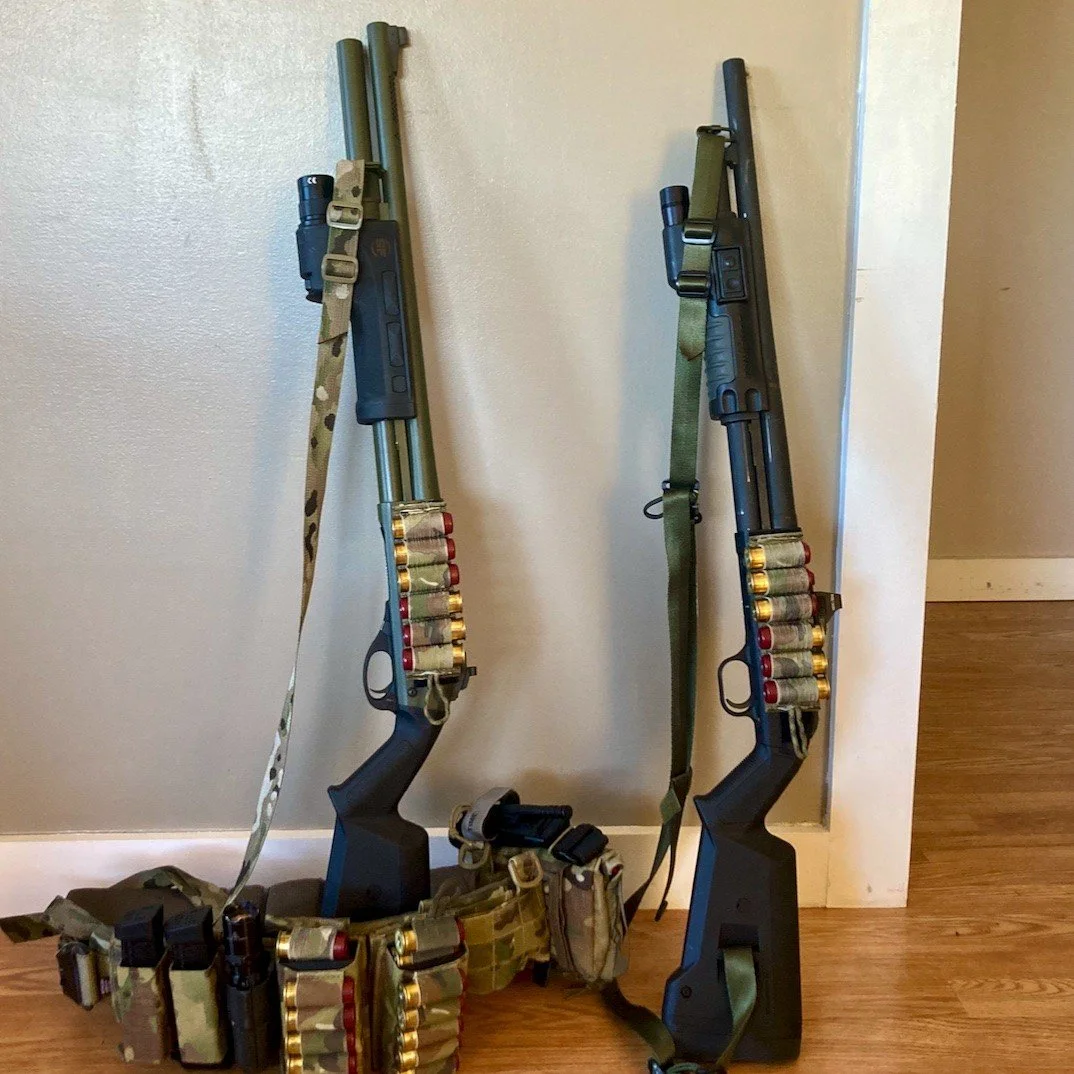
Again, I went with ESSTAC KYWI pouches. I chose the tall KYWI with 5x 12-gauge shotgun loops. This pouch carries both a STANAG 5.56 mag, or a Velcro-backed shotgun card. My girlfriend and I are both very comfortable with a 12-gauge (mine an 870, hers a 500), and both are setup with ESSTAC 6-round shotgun cards. This may seem like an arbitrary considerations, but it allows me to easily switch from a rifle setup to a shotgun setup. It is unlikely I will ever need more than maybe two or three 12-gauge shells (in this case Federal Reduced Recoil slugs) to solve any problem, but this setup supports training extremely well.
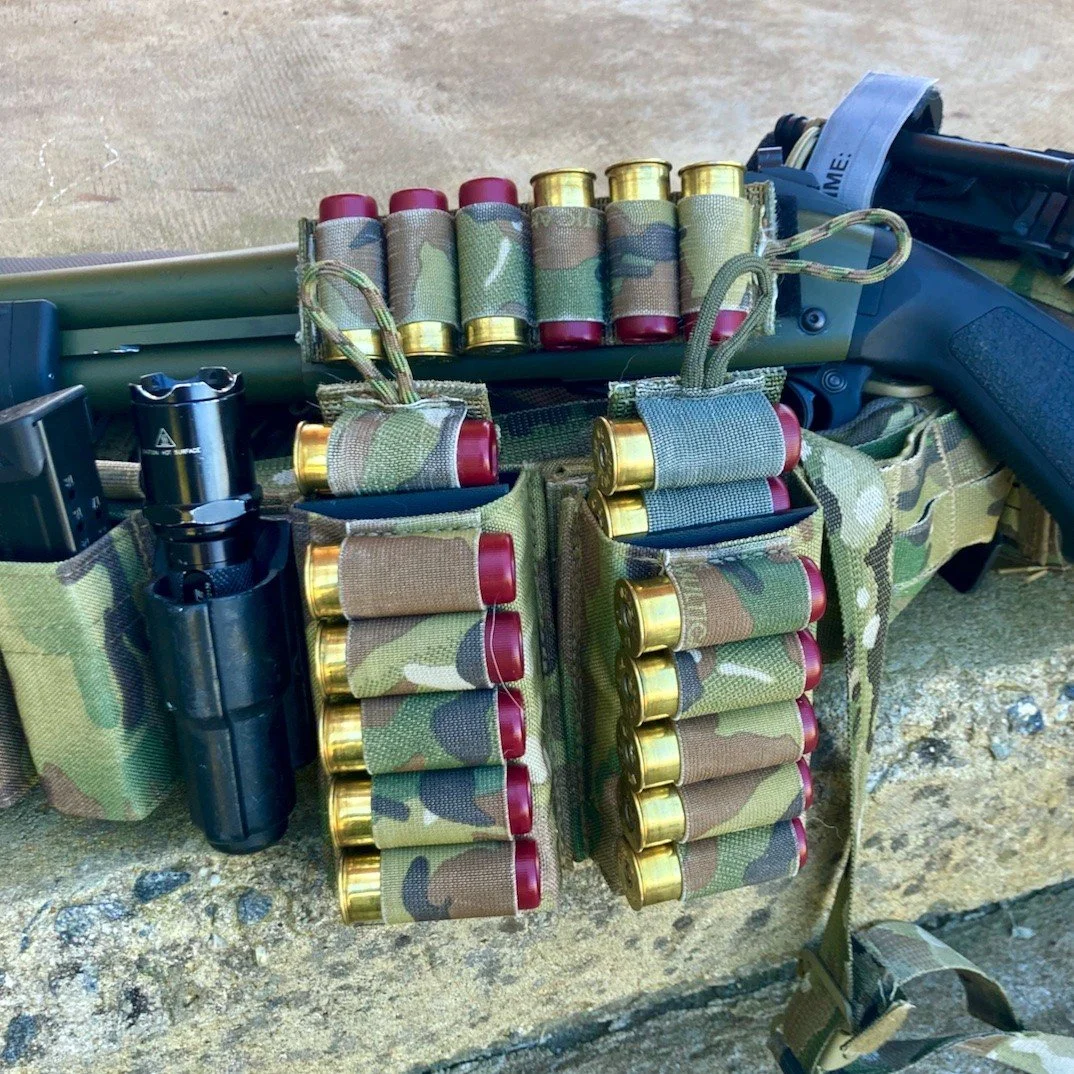
To switch from shotgun mode to rifle mode, I remove the shotgun cards. Then I replace them with AR magazines - that's it. The only thing I wish I'd done different is opt for the shorter, mid-length pouches that still also hold 4 shotgun shells. The tall pouch holds the mag more securely but also makes it more difficult to remove quickly. The mags are loaded with 62-grain Speer Gold Dots.
Other Battle Belt Items
If you're thinking about setting up one of these, here are a few things you may choose to do differently with your battle belt setup.
Go Way Lighter: My setup is heavy. It is insanely unlikely I would need more than a single reload for any of the weapons supported by this belt. You can certainly go lighter. If you don't have a long gun you can drop those pouches completely. If you do, you can drop down to one magazine pouch. Those running a long gun can also probably drop the pistol and pistol mags altogether.
Communication: one thing my belt completely ignores is a method of communication. If an event requiring you to wear a battle belt is going down, you want cops and medics on the way ASAP. You also probably want to be able to update the cops about your status. A pouch for your cell phone is not a bad idea at all. In fact, it's probably about a million times more useful than half the ammo on my belt. In fairness, I do intend to pull on my pants and my phone along with them should I need my battle belt.
Knife: I sometimes see knives like a Clinch Pick, SOCP Dagger or TDI added to these belts. I don't feel the need for one, but if you do, hey, I'm not the boss of you!
Other Battle Belt Setup Thoughts
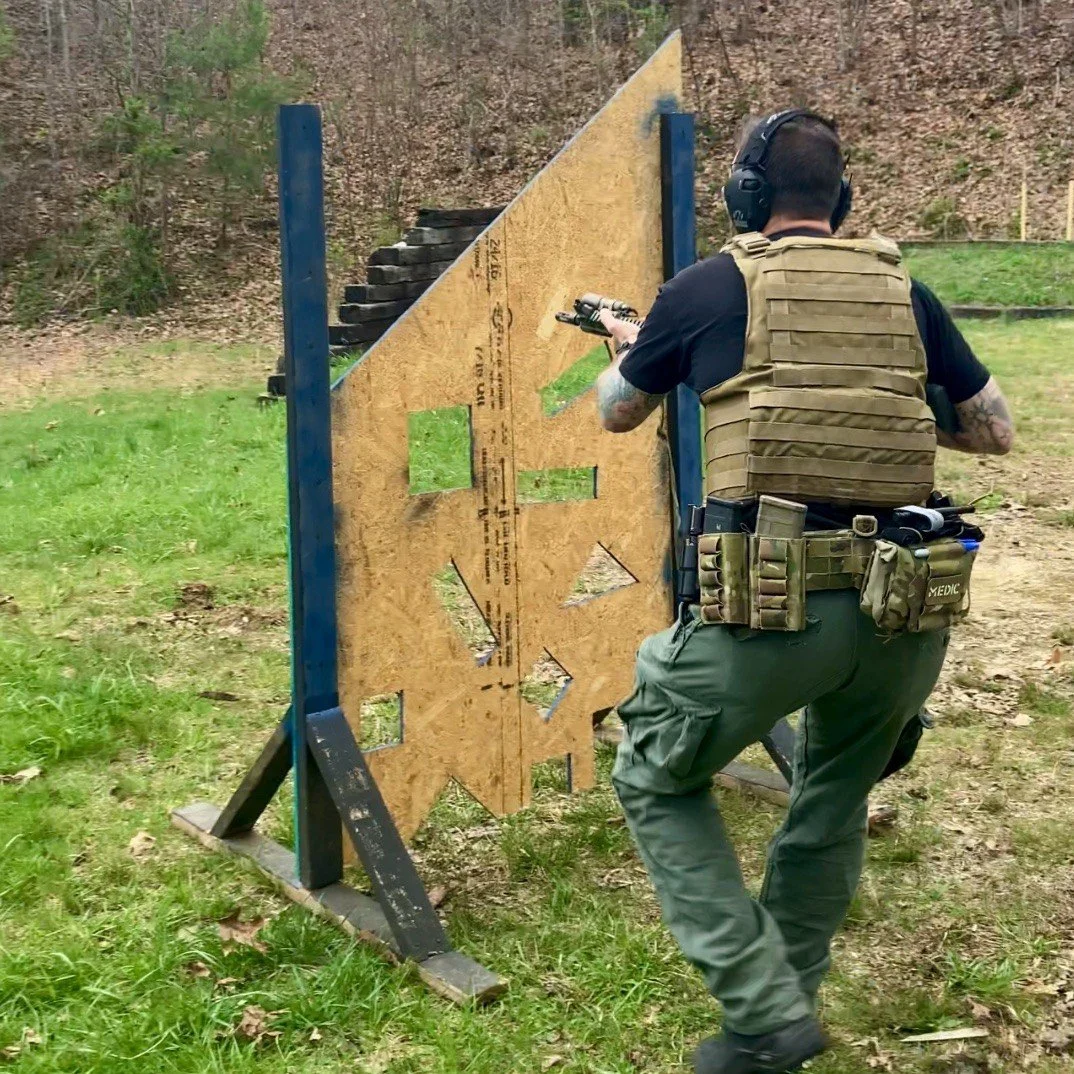
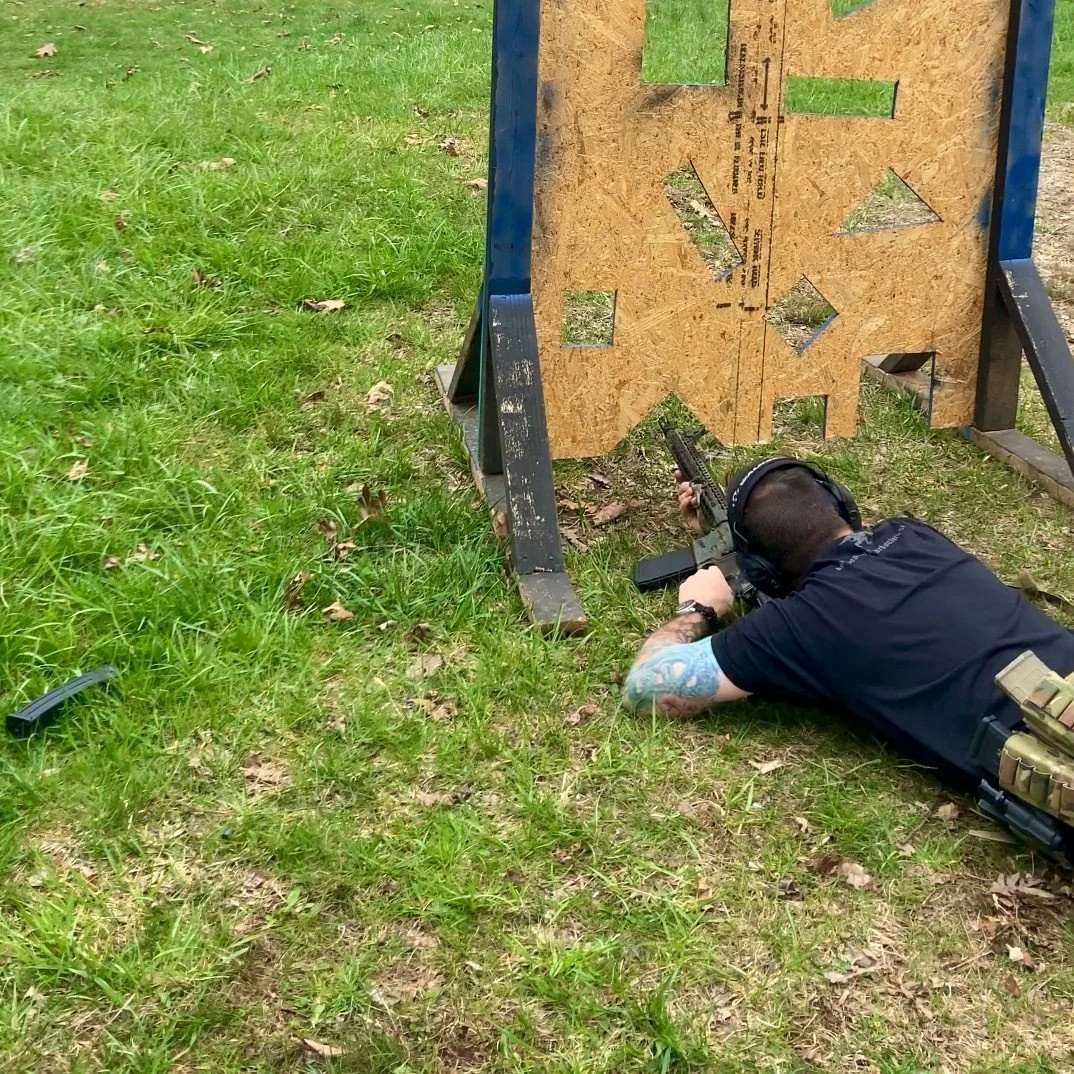
Keep the front flat. You want to retain the ability to get into the prone position. If you put stuff on the front that is going to be difficult to do, Keep the front clear to the extent possible. You also want to pay attention to balance. If you stack too much stuff on one side (or the back) the belt will become unbalanced and pull to one side. This can be uncomfortable in the short term. Over longer periods it can move your belt enough to foul your draw.
As in elementary school, neatness counts. This means that loose straps should be taped up. Raveling strings should have their ends burned. Superfluous cool-guy shit should be removed or secured. Loose straps, strings, shock cord, buckles and the like are hazards waiting to happen. At best, they can get caught on stuff and. At worst find can their way into your gun's trigger guard. This stuff should all be removed or secured.
You should also attempt to streamline your kit as much as possible. Pouches should be tight to the belt. Tight pouches both hold items better, and release them better when needed. A well-secured holster provides a consistent draw stroke. The belt should be tight to the body. The wider the kit is, the more difficulty you will have moving through narrow spaces, like moving past someone in a hallway, or fitting through tight doorways. Keep your kit as streamlined as you possibly can.
Closing Thoughts on Battle Belt Setup
You've seen my civilian battle belt setup. It works for me...at least for now. This setup may not work for you. For a completely different take on battle belt setup (and the most intelligent approach I've ever seen) check out Matt Robertson's Complete Guide to Battle Belt Setup.
If you have debt, don't have savings, or haven't met other, more basic preparedness needs, a civilian battle belt should not be a high priority for you. Preparing your body, developing mental toughness, being financially resilient, and having some basic emergency preparedness items should all be higher priorities. If you have met those milestones and are fairly resilient already, this may be something to increase your preparedness/security posture.